Minecraft + Fabric + OptiFine + BSL How-To (1.16.5)

Here’s a quick and dirty overview of how to install and play Minecraft with client-side mods and shaders.

Base Game

  1. Install Minecraft, if you haven’t already
  2. Open the launcher and start the game (1.16.5), if you haven’t already (to ensure the base game is installed and up to date)
  3. Once the game has started, quit the game and launcher, if still open.

Fabric

  1. Grab the Fabric universal installer jar here: https://fabricmc.net/use/
  2. Run the downloaded file, fabric-installer-*.jar (on Mac, you may need to right-click on the file, then hold option and click Open to bypass security restrictions)
  3. When the Fabric Installer appears, click Install. It’s likely defaulted to all the correct values already.
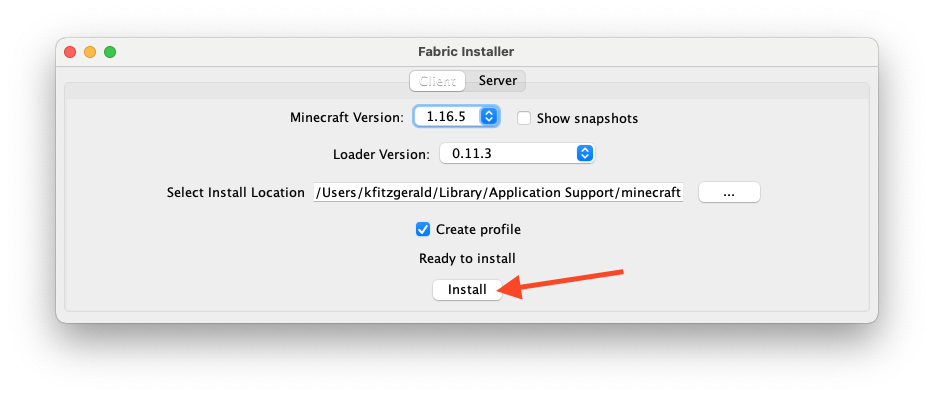
  4. Open the Minecraft launcher and you should now see a new profile fabric-loader-1.16.5 selected. (if not already selected, change the dropdown to it)
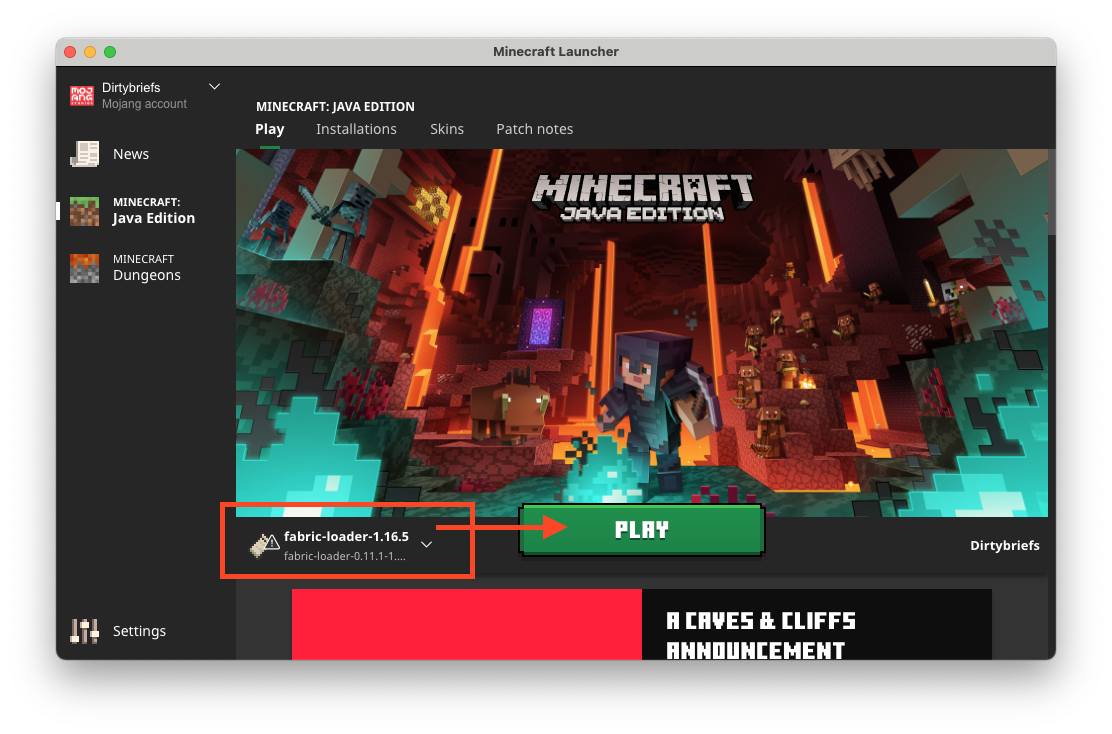
  5. Start the game. Once the game menu appears, you should see in the bottom-left corner that the game has been modded.
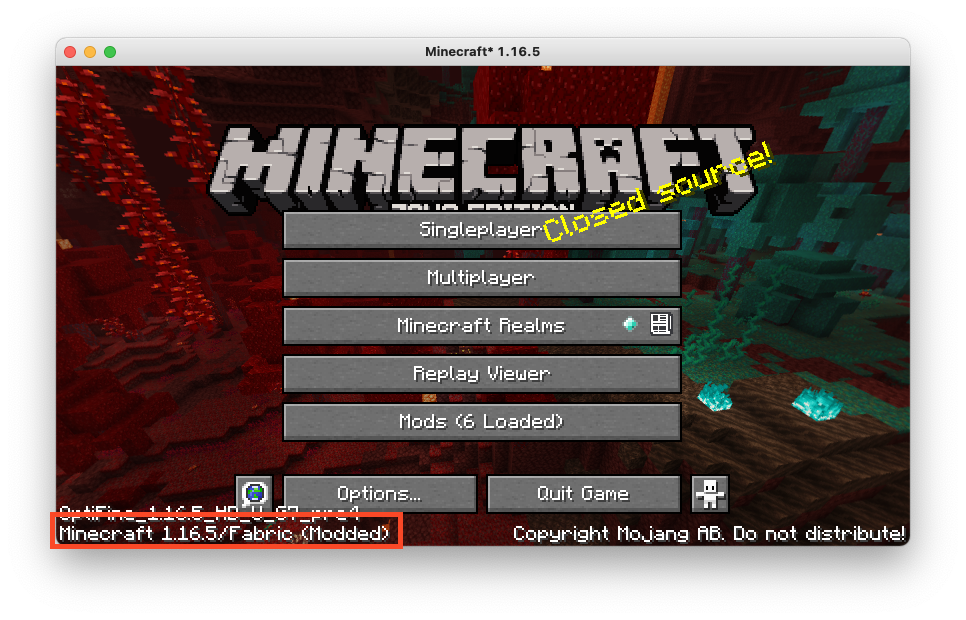
    (In this screenshot, I have a few other mods installed at this point, so I have more menu options than you would here)

OptiFine

If you’d like to get in on the insane shader action, do these steps too!

  1. Download OptiFine from here: https://optifine.net/downloads
  2. Download OptiFabric from here: https://www.curseforge.com/minecraft/mc-mods/optifabric/download
  3. Download Fabric-API from here: https://www.curseforge.com/minecraft/mc-mods/fabric-api/download
  4. Download the BSL shader pack from here: https://www.curseforge.com/minecraft/customization/bsl-shaders/download
  5. Open your Minecraft game directory. The easiest way to do this is from the Minecraft launcher, select the Installations tab, mouse over the fabric-loader-1.16.5 installation, and click the Folder icon.
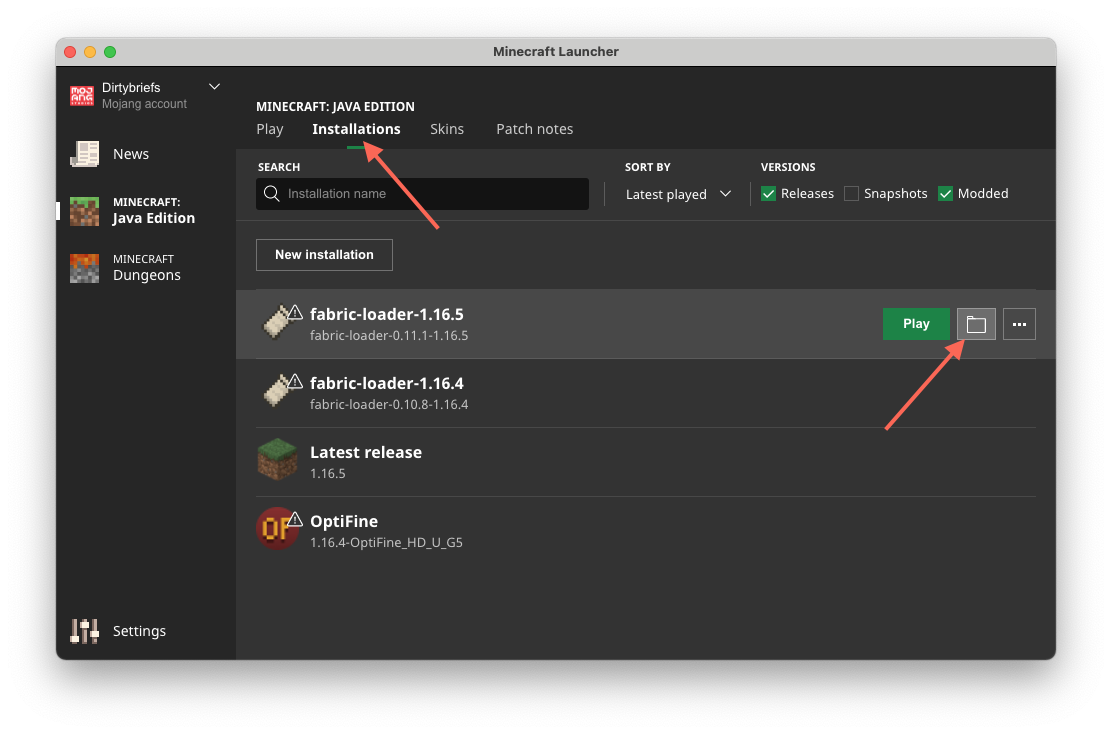
  6. Copy fabric-api-*.jar, optifabric-*.jar, OptiFine_*.jar to the mods directory
  7. Copy BSL_*.zip to the shaderpacks directory
  8. Start the game. You should now see in the bottom-left corner of the main menu that OptiFine is loaded!
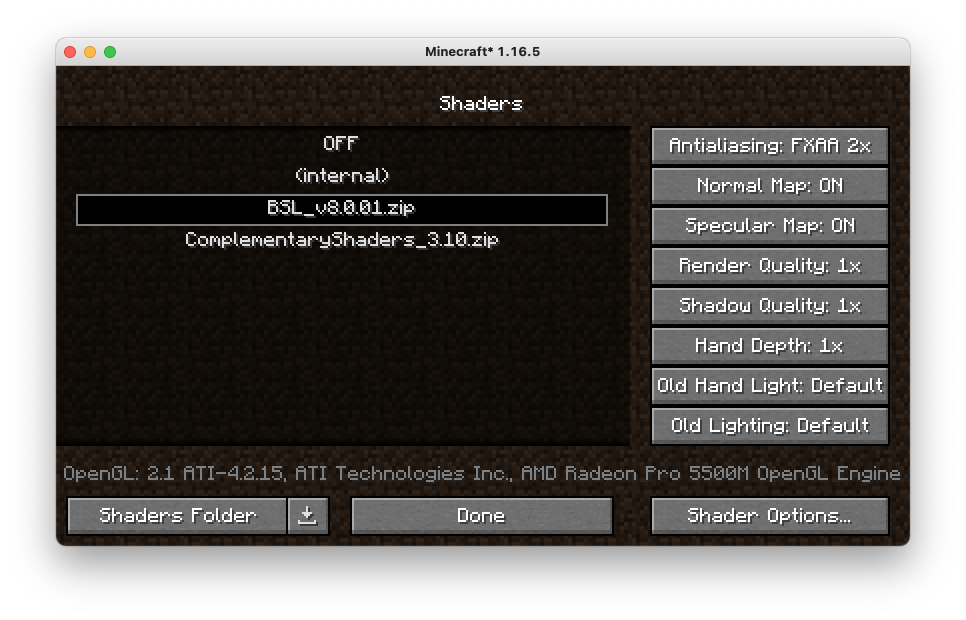
  9. To enable the BSL shaders in the game, open Options > Video Settings… > Shaders, and select BSL_*.zip from the list of shaders. To disable, select OFF or (internal).

Feel free to tweak other video and performance settings as you see fit!

Happy Shading!

ESP32-S2 Has Arrived!

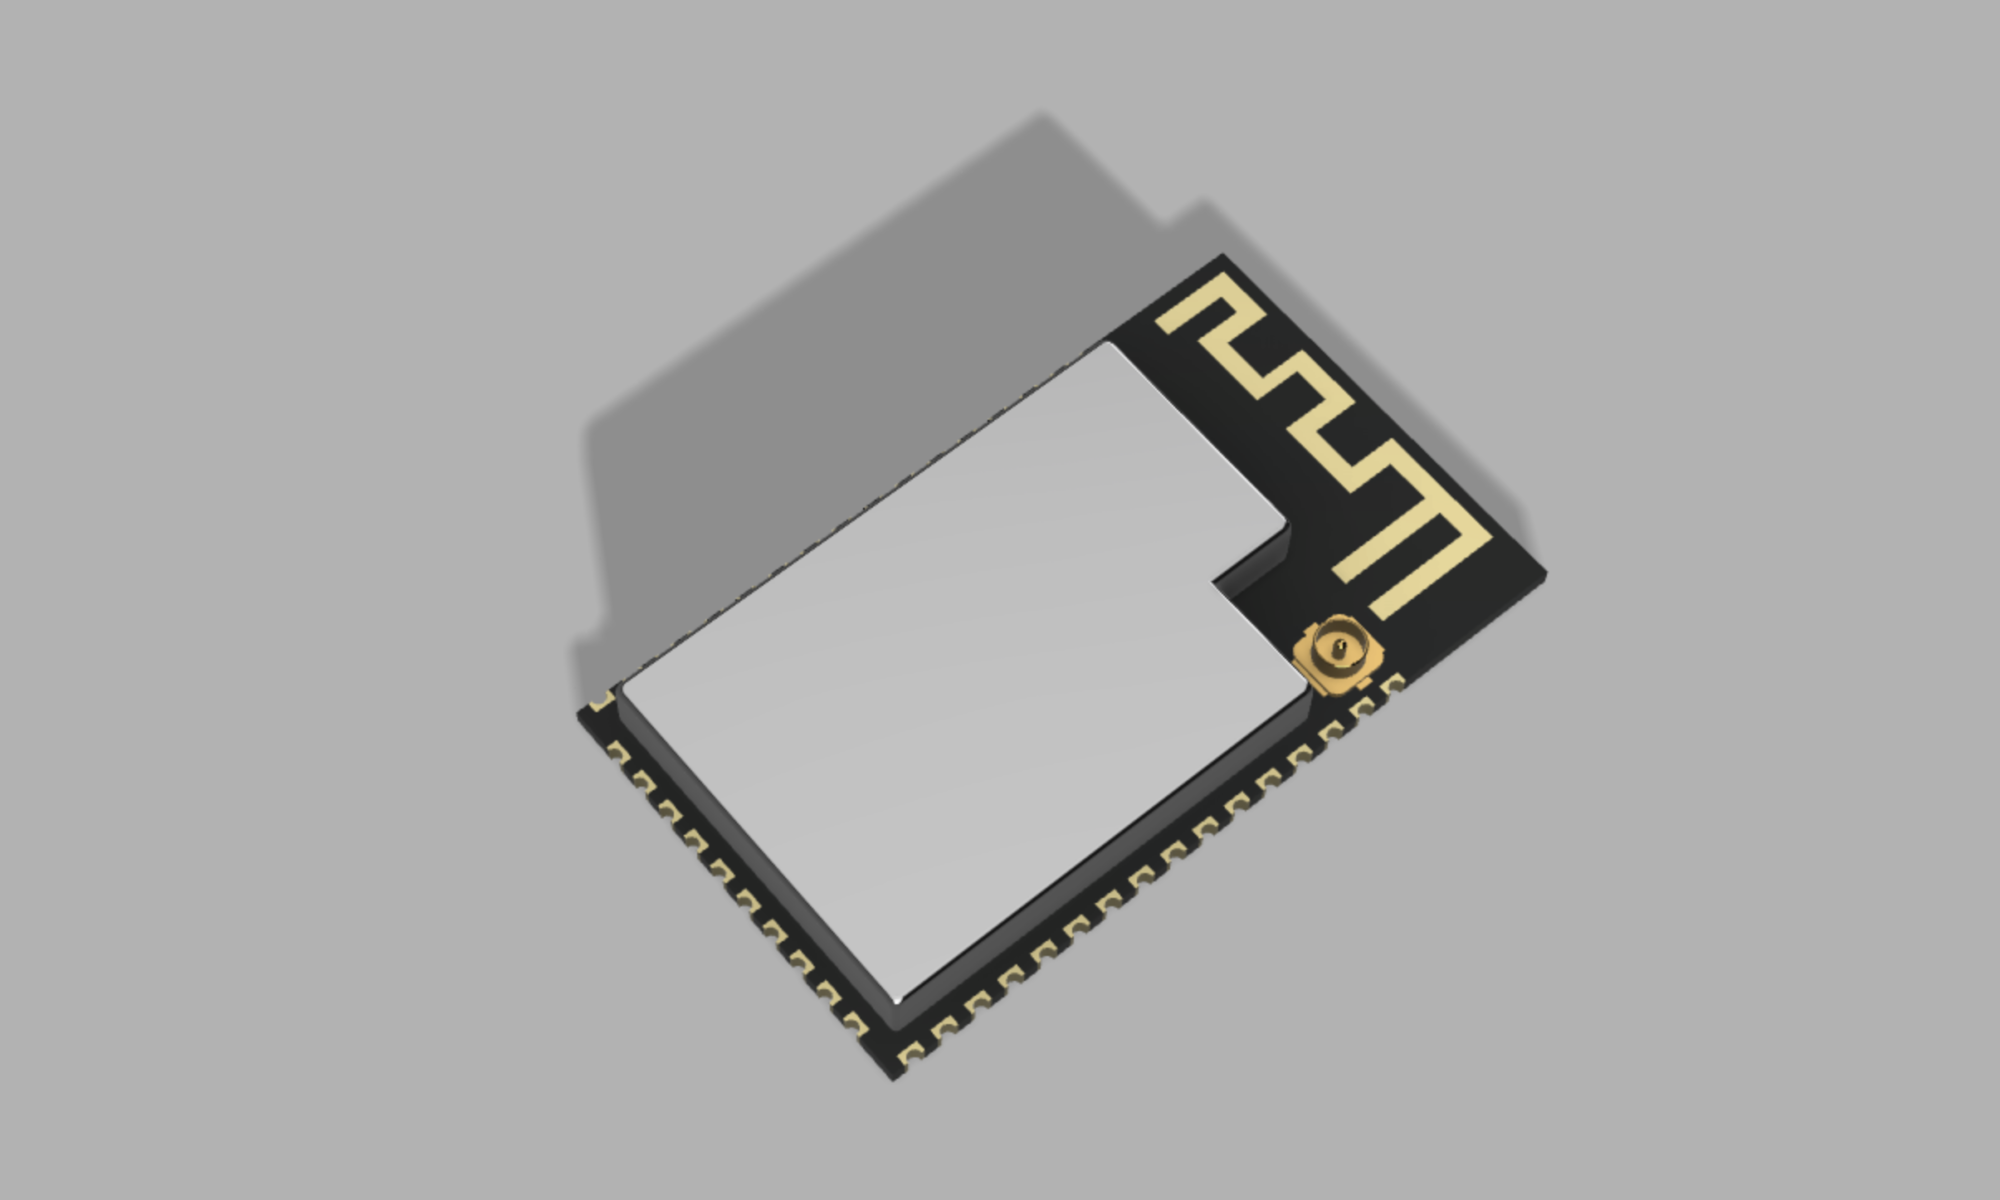
esp32-s2-wrover rendering

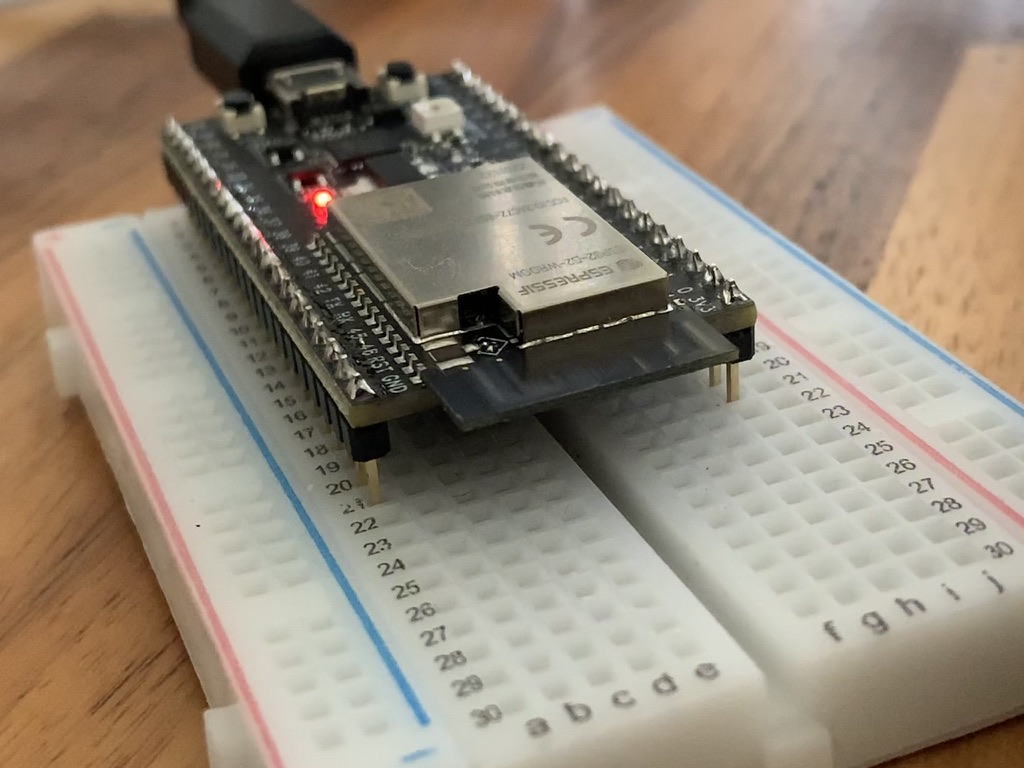
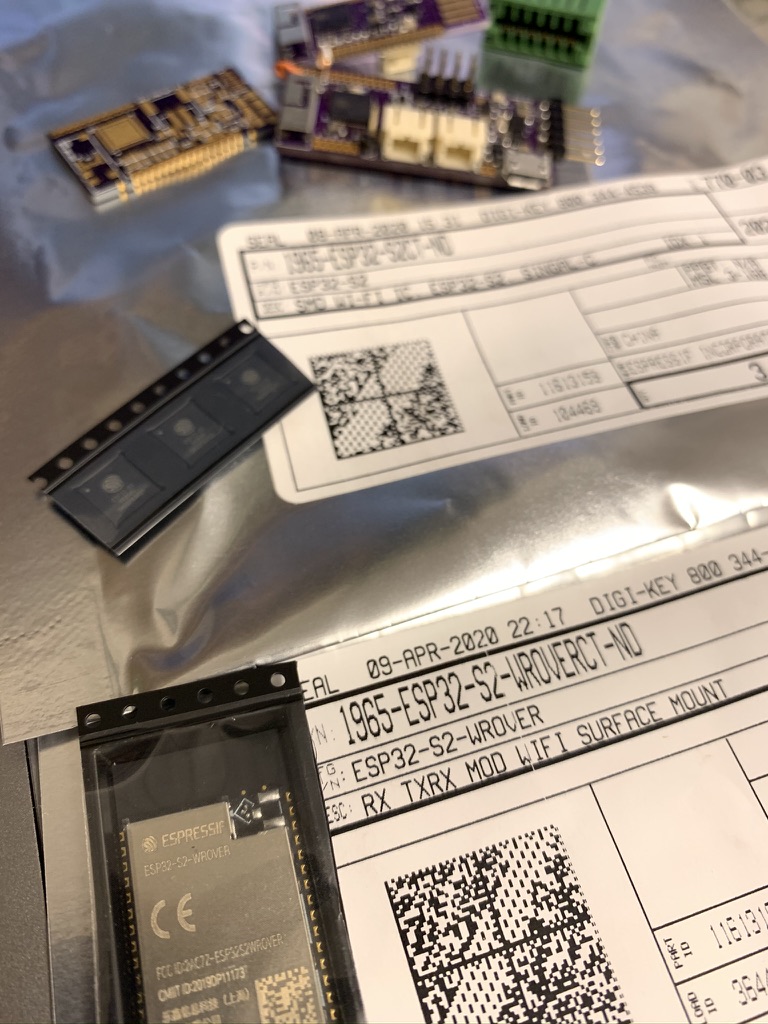
Received a few of my ESP32-S2 chips and modules this weekend. Pretty excited to update some designs I have for the new chip. Crazy that the module is half the cost of the ESP32-PICO-D4 chip I’ve been using religiously. I’m a bit bummed that it no longer has Bluetooth, but I’m hopeful that it’s lower cost and USB interface makes up for that.

While I was at it, I quick whipped up a 3D model of the ESP32-S2-WROVER chip and published it on GitHub and SnapEDA. Made in Fusion 360, so feel free to change it up. Would appreciate a PR if you do!

Rosalia Bed

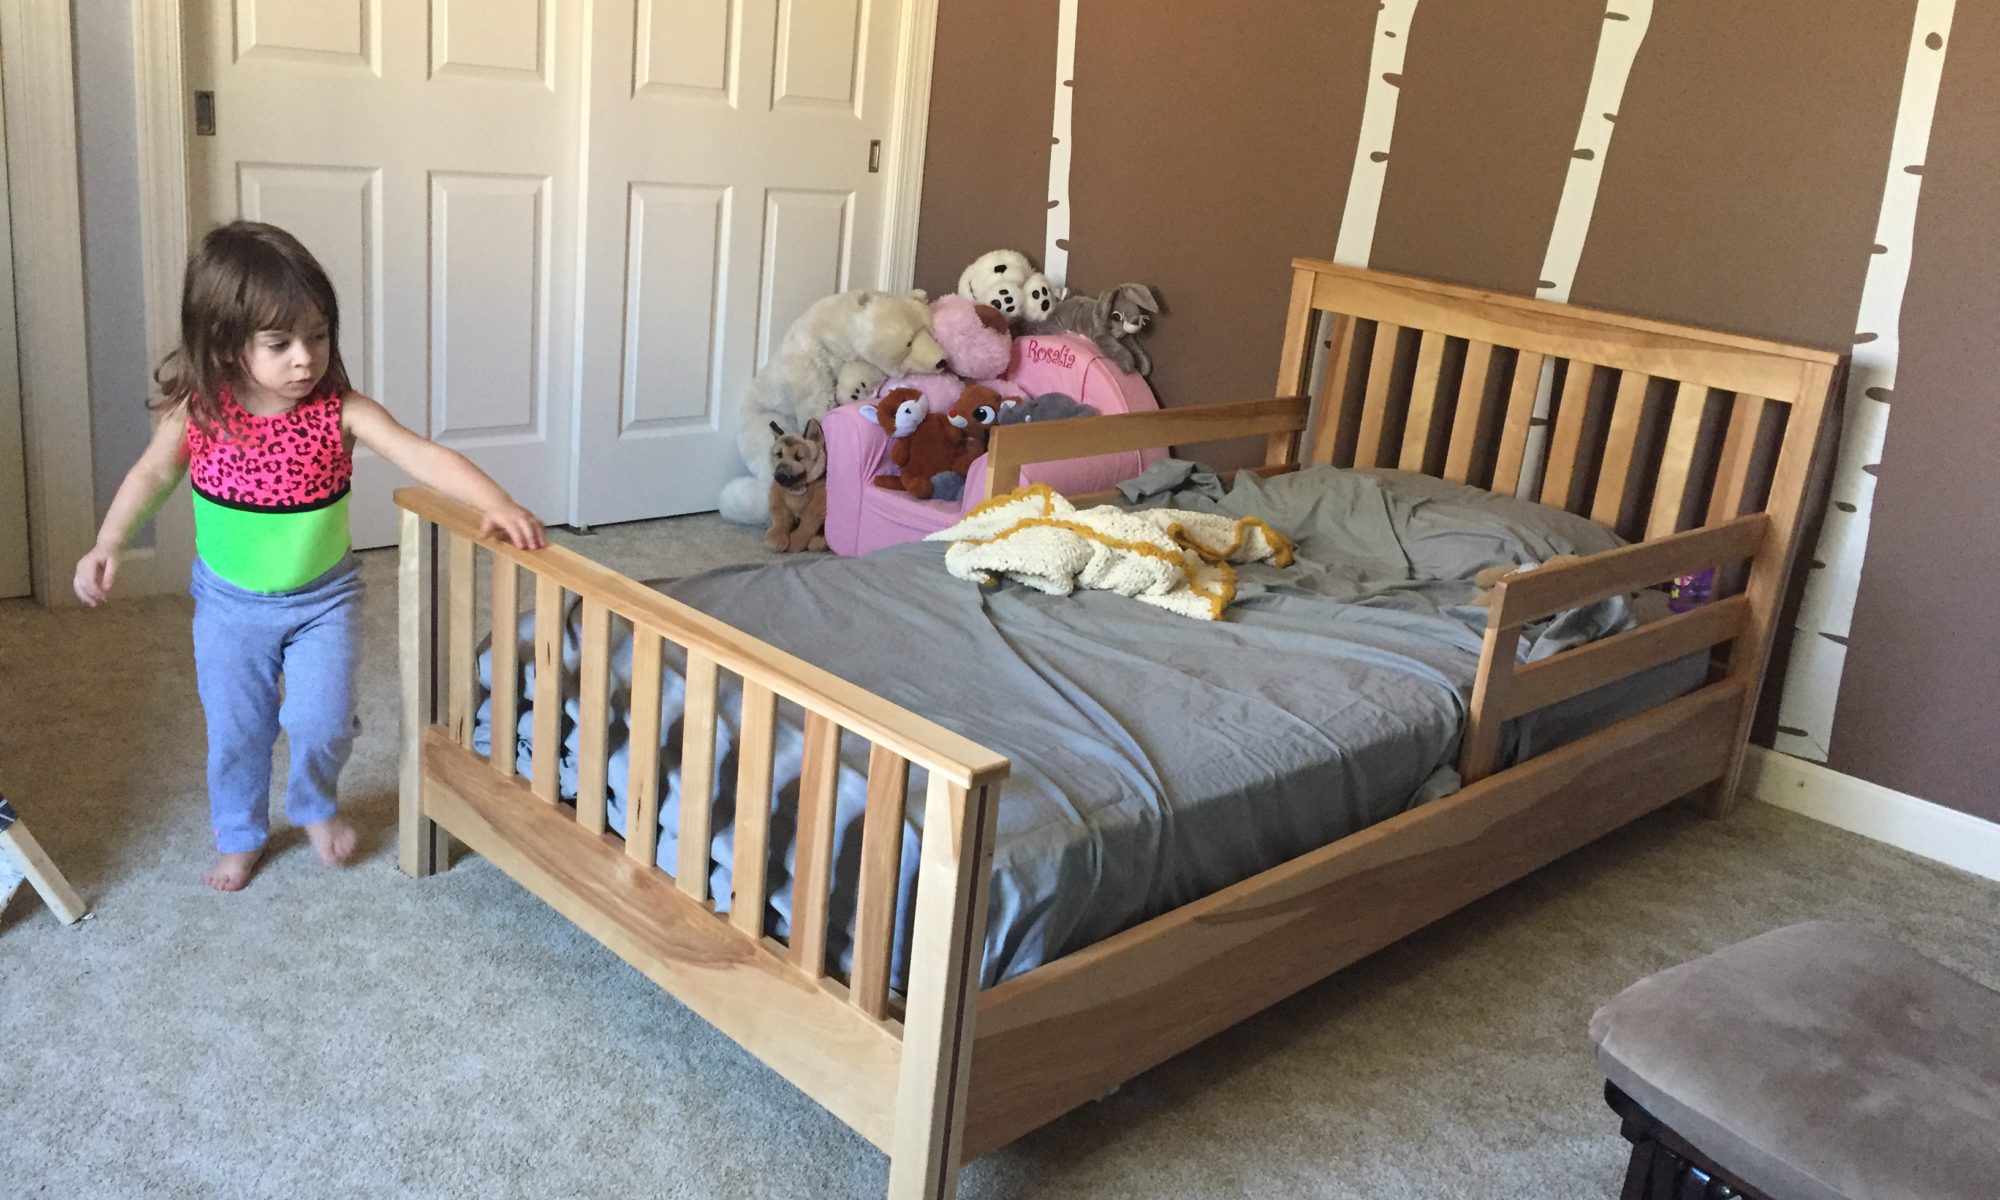
Designed and built Rosalia her own “big girl” twin-size bed. The headboard, footboard, bed rails and guard rails are all made from solid birch. The mattress frame is made from select pine. The footboard and headboard are glued so they’re permanent pieces. The bed rails attach using fancy hidden hardware that saved me the time from pounding out mortises. The guard rails are fastened using screws, so they can be removed with age.

The bed is a solid as a tank, and I’m really happy with how it turned out. Rosalia loves her big girl bed.

Continue reading “Rosalia Bed”

Workbench v2

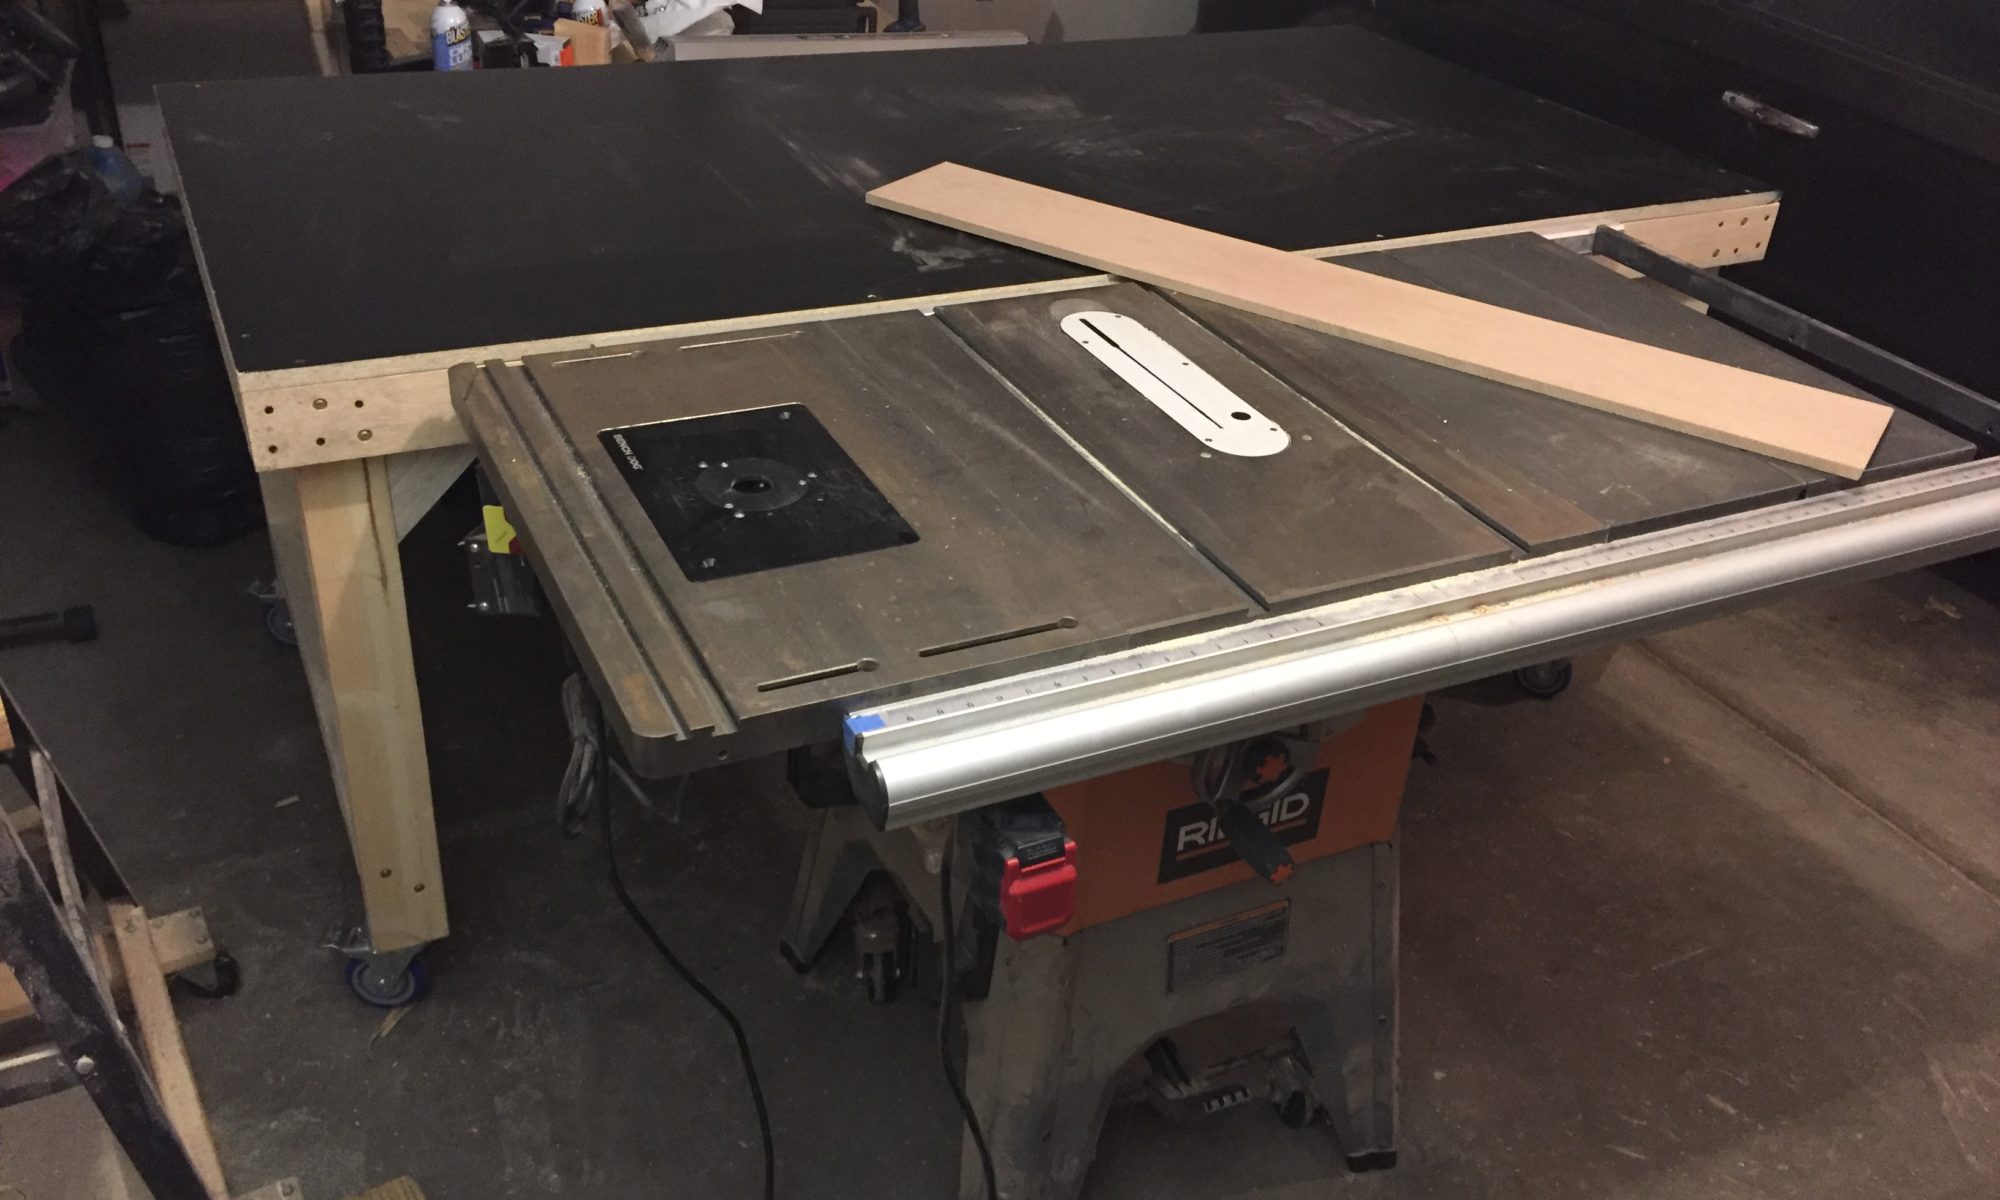
Built a new workbench to replace the treated-lumber table I made a few years back. The problem with the old one was that it was made in a hurry (an hour before people were coming over to eat outside) so using wet treated lumber caused it to warp, and the casters were never really mounted in a way that made it easy to use. It just took up room and collected junk. What’s the point of having a workbench table if you don’t use it?

The goals of this version were:

  • Super mobile – I want it to be able to move around the garage to wherever I need it
  • Table saw height – I want to use it as an out-feed table. Also, I find working at the table saw comfortable because it’s just the right height (~37″)
  • Rock solid – I want to be able to bang on it and put really heavy things on there without it warping or distorting
  • Small enough to be functional – I want the table to not take up as much room as the other worktable, which just was a dumping ground for 4×8 sheets of plywood. The size of the top is just large enough to accommodate the bed project I’m designing.
  • Easy clamping  – I want to be able to clamp work pieces down to the table really easily. The 2×4 lip around the edge of the table made clamping a dream.
  • Good work surface – I like using the cast-iron top of the table saw for general working, but I don’t like to risk damaging the top. I also like the flat and smoothness of MDF, but it can damage easily. I chose this cool black melamine top, which combines flatness and easy to clean surface (one that glue squeeze-out will be easy to clean)

Continue reading “Workbench v2”

Thermal Camera

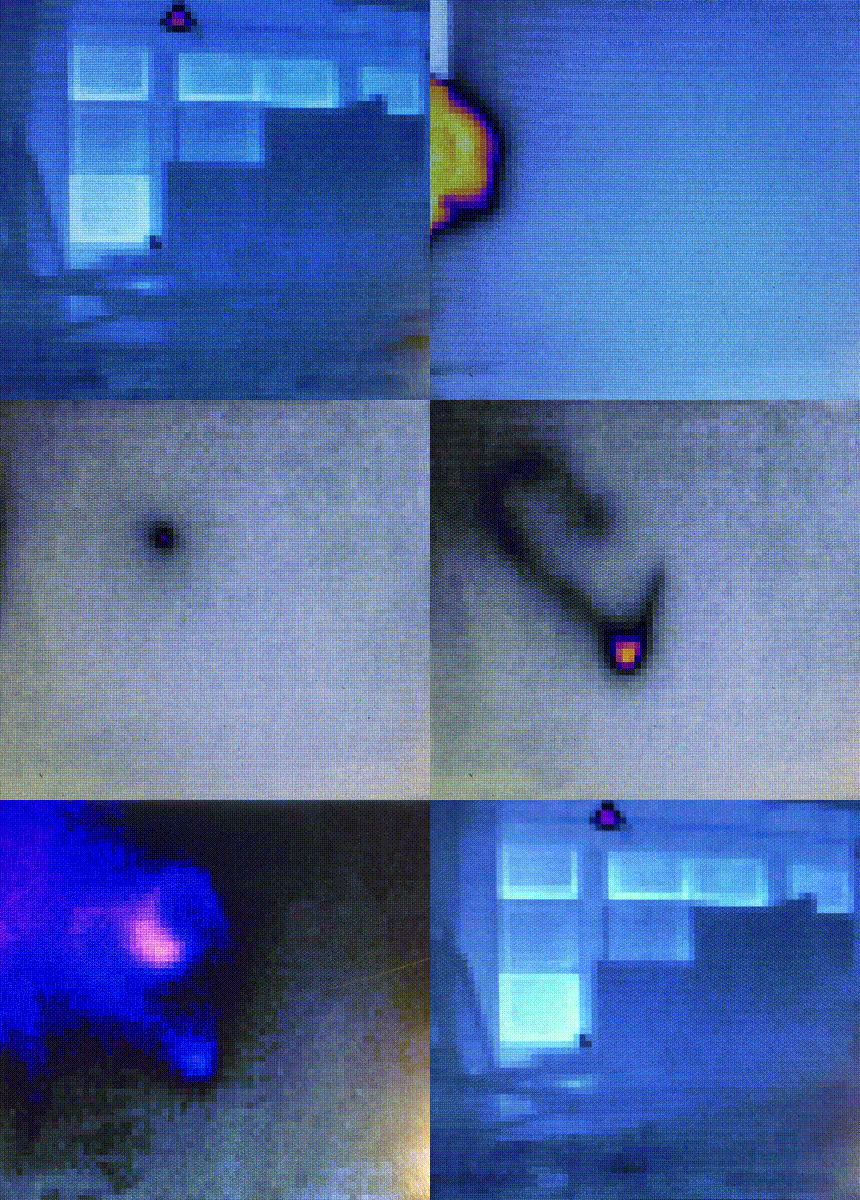
Made my own DIY thermal camera using a Raspberry PI and a FLIR Lepton module. Has great resolution for the price point and works quite well. Started working on a Node.js module that can interface directly with the module, which seems to be somewhat working.

I nabbed the LeptonModule source and hacked up some additional features for locking the temperature range scale, which is super useful for getting a visual on something, locking the range, and then looking at other objects for comparison to what you locked on.

Continue reading “Thermal Camera”

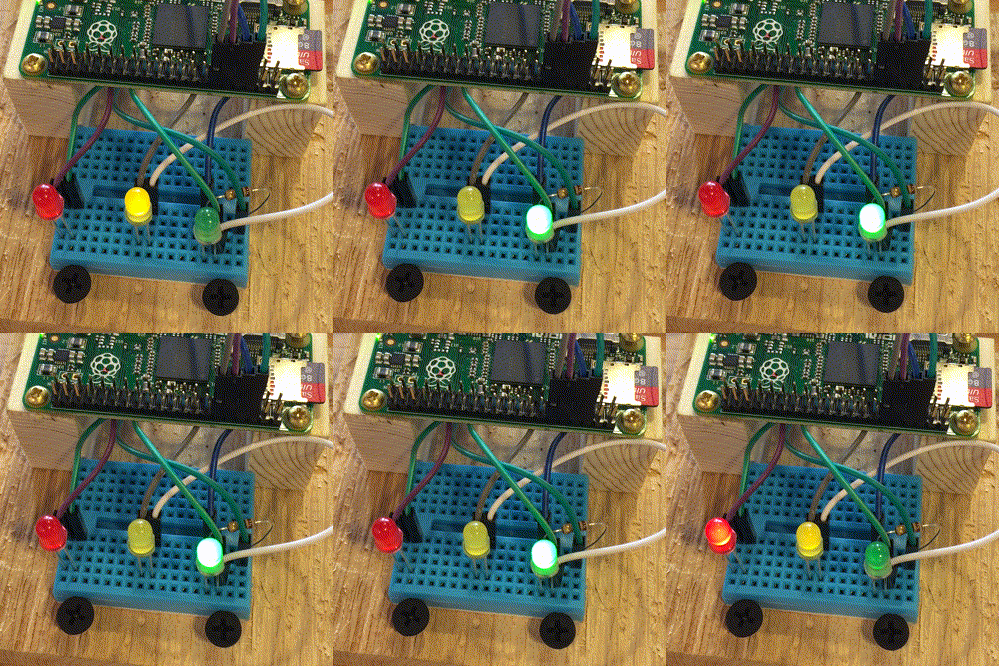
Raspberry Pi Box

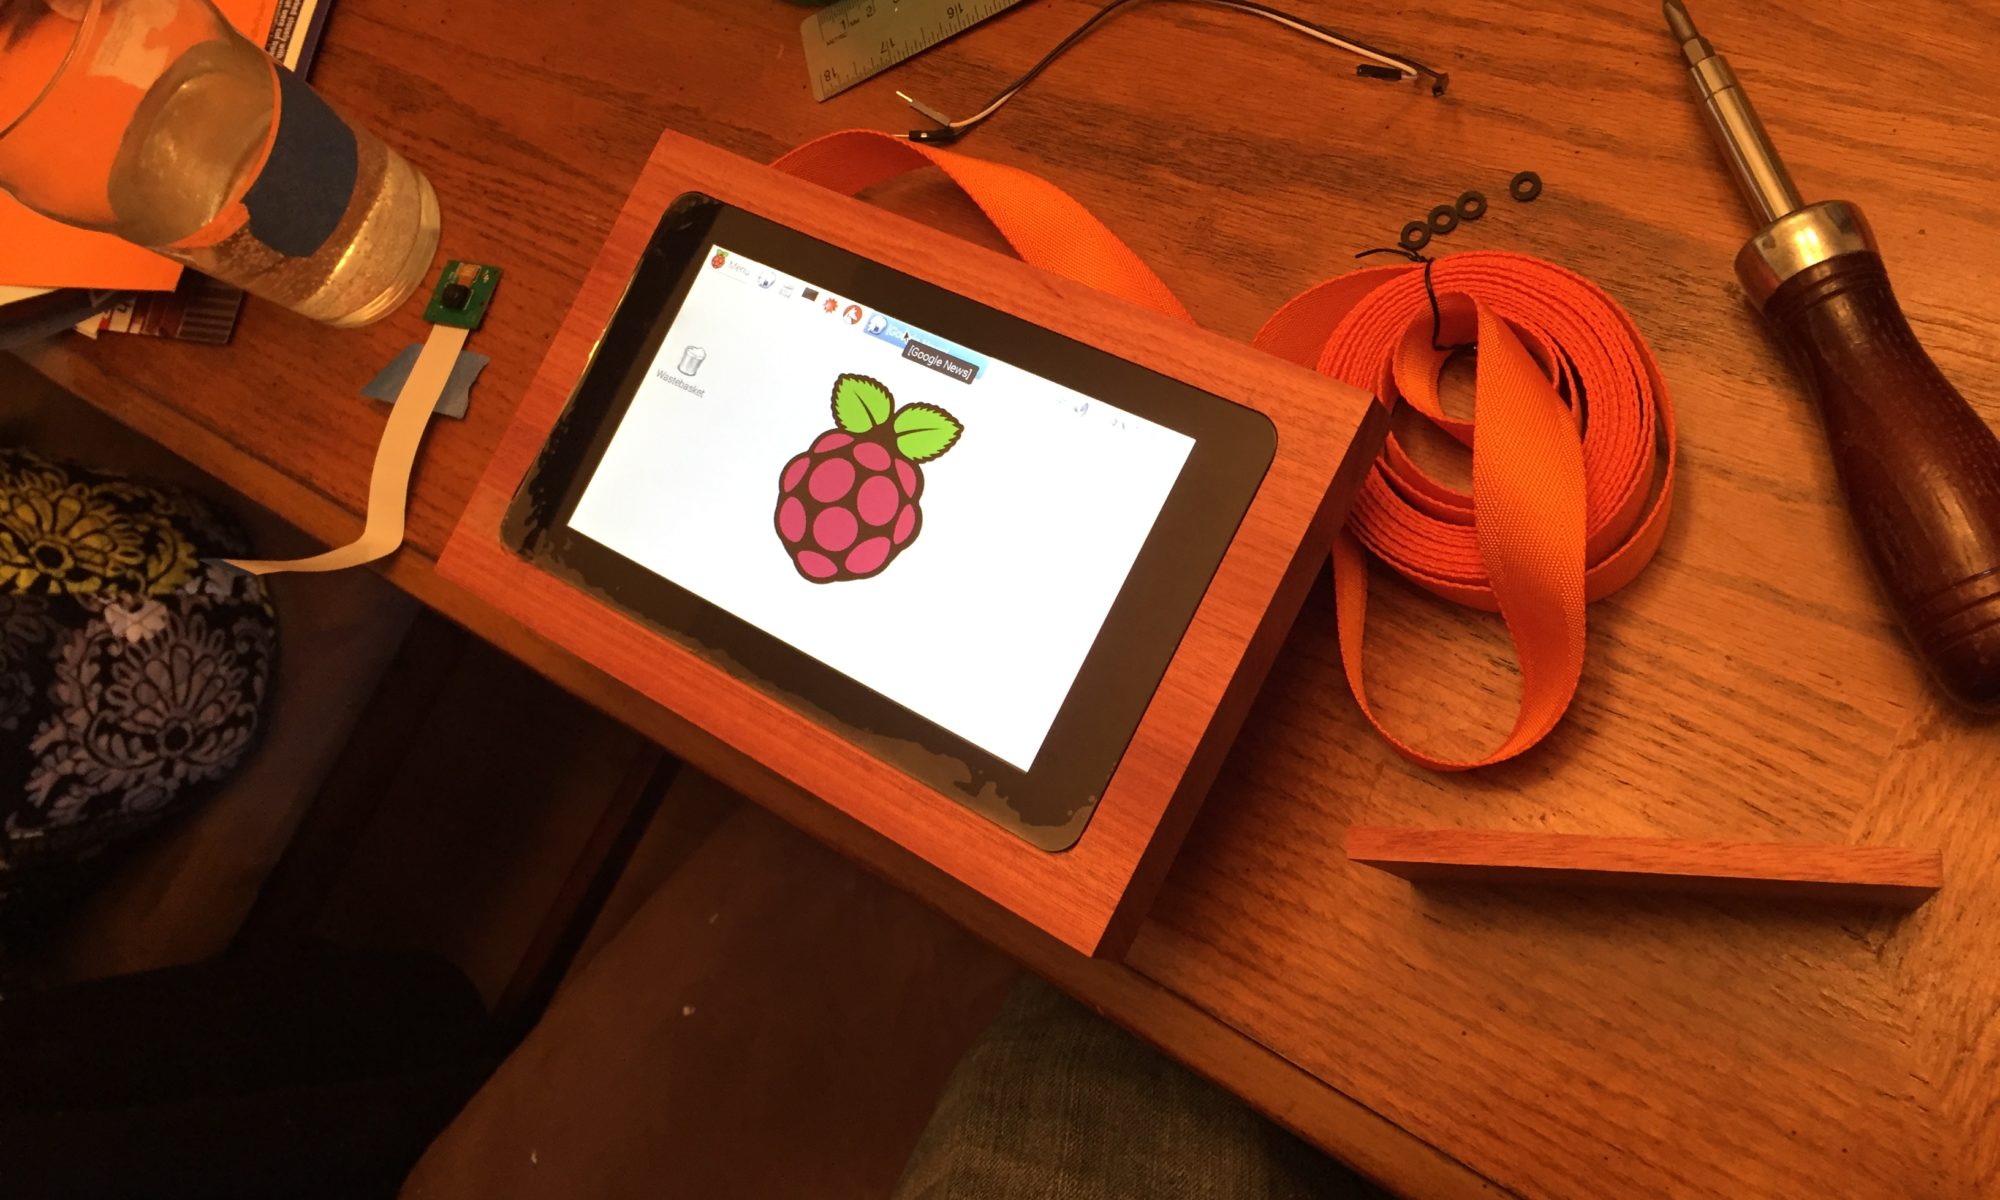
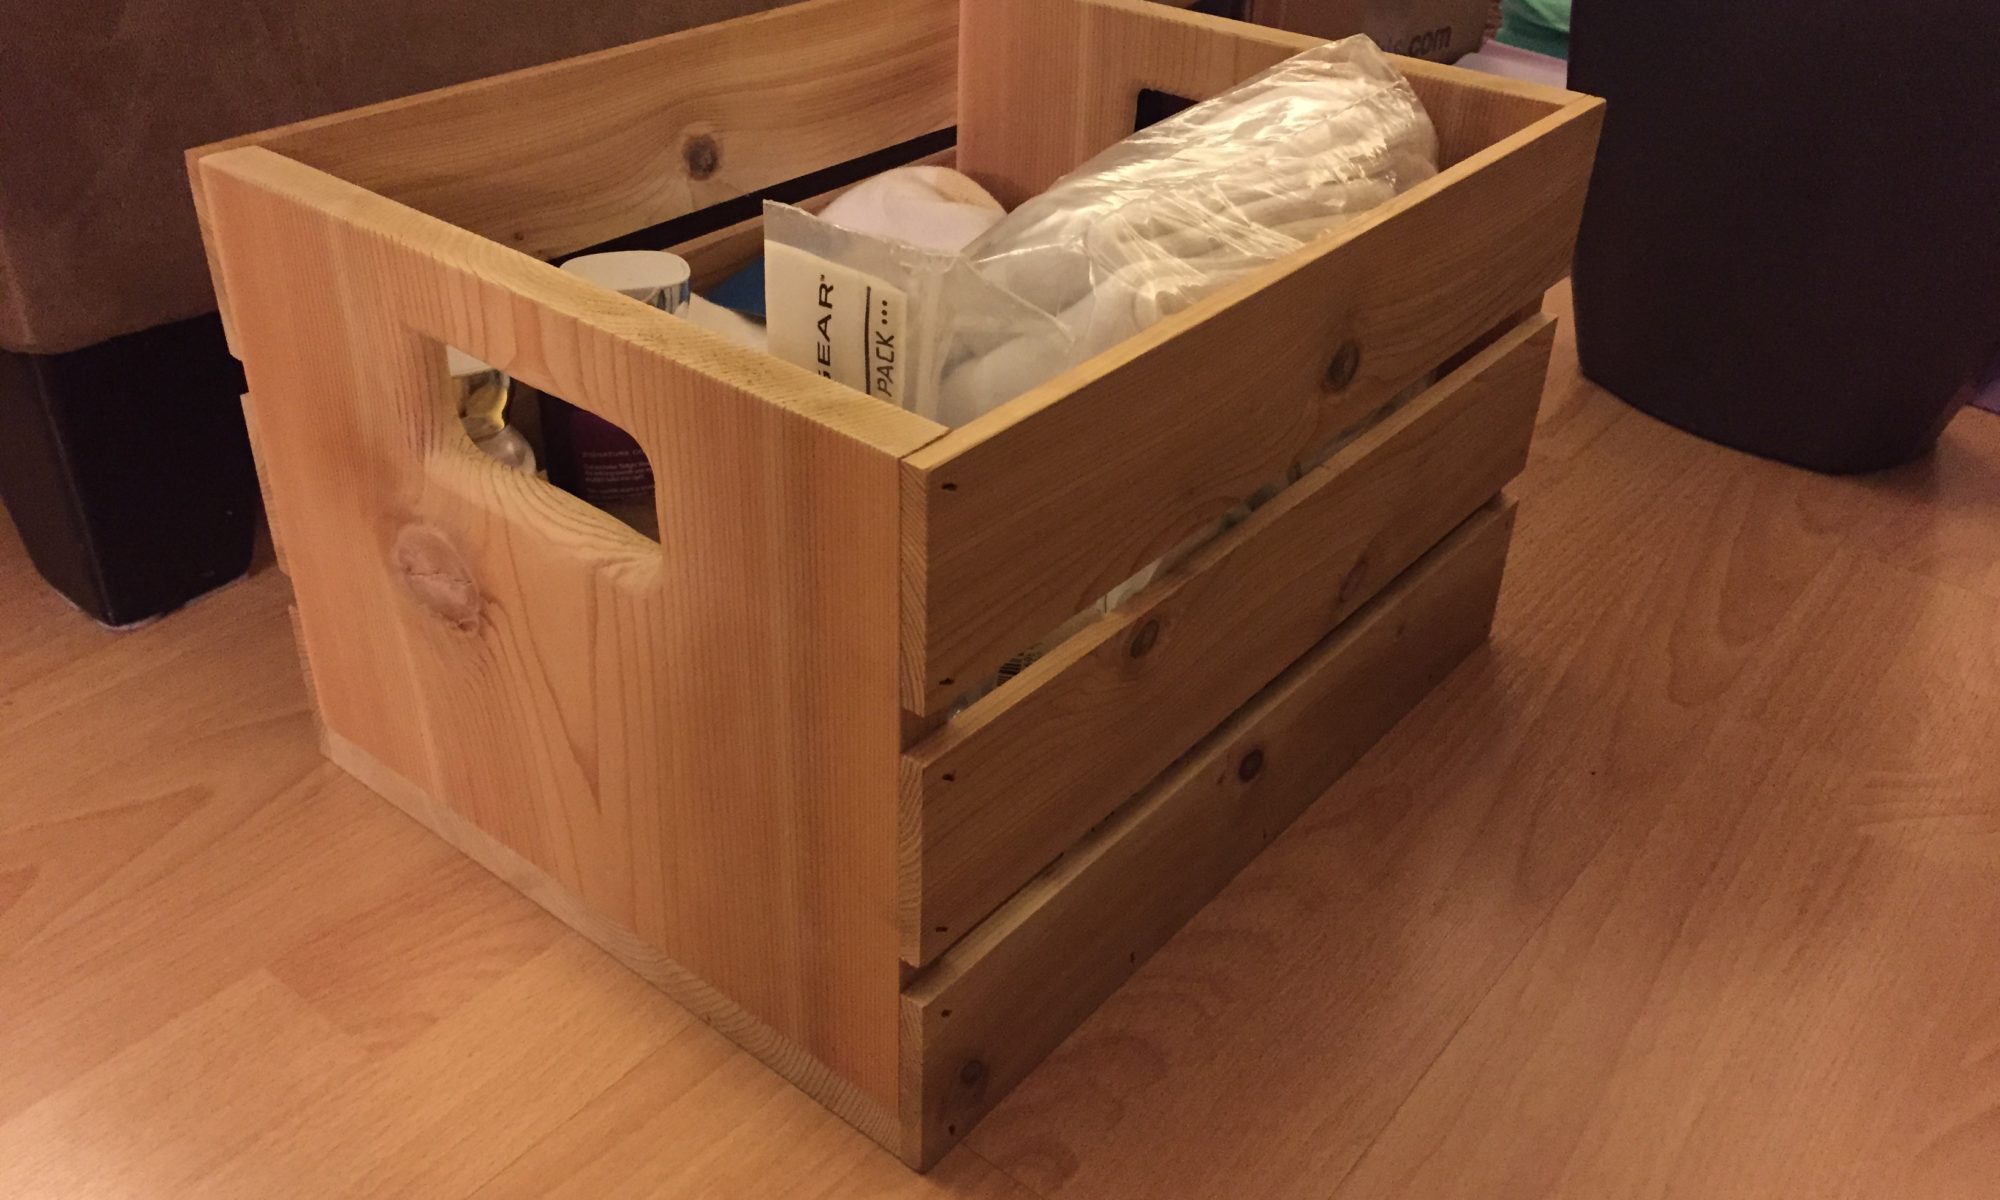
Took some time this last month to work on trying to make a box out of bloodwood for a Raspberry PI with integral recessed area for the LCD touch screen. The idea was to mount the screen / PI to the top block and then figure out how to latch it to the box underneath.

So far, I’ve managed to break a slew of 1/8″ router bits, even being as delicate as I can and doing many shallow passes. Perhaps the wood is super hard or I’m just being careless. Who knows.

The project was a fun excuse to practice box joinery techniques using a router jig. Had some reasonable success there, though there was some occasional tear out. A table saw jig would be better but I used what already have.

Continue reading “Raspberry Pi Box”

WeaselVision™

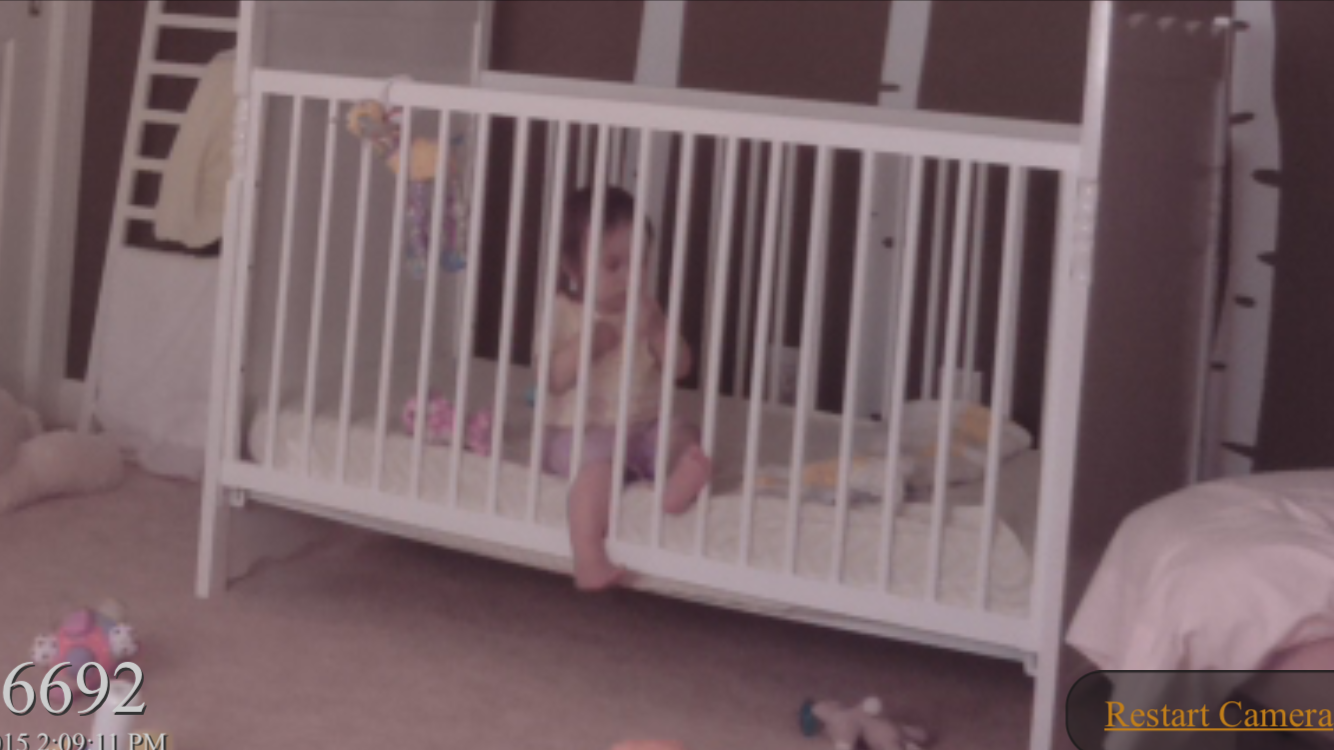
Made a baby-monitor camera system using a Raspberry Pi, Node.js, and WebSockets to stream still images of what our little weasel is up to when she should be sleeping. Works fantastically well, even in low light, due to to using the RPI camera without the IR filter, so the room can be lit with IR for better night vision.

Continue reading “WeaselVision™”