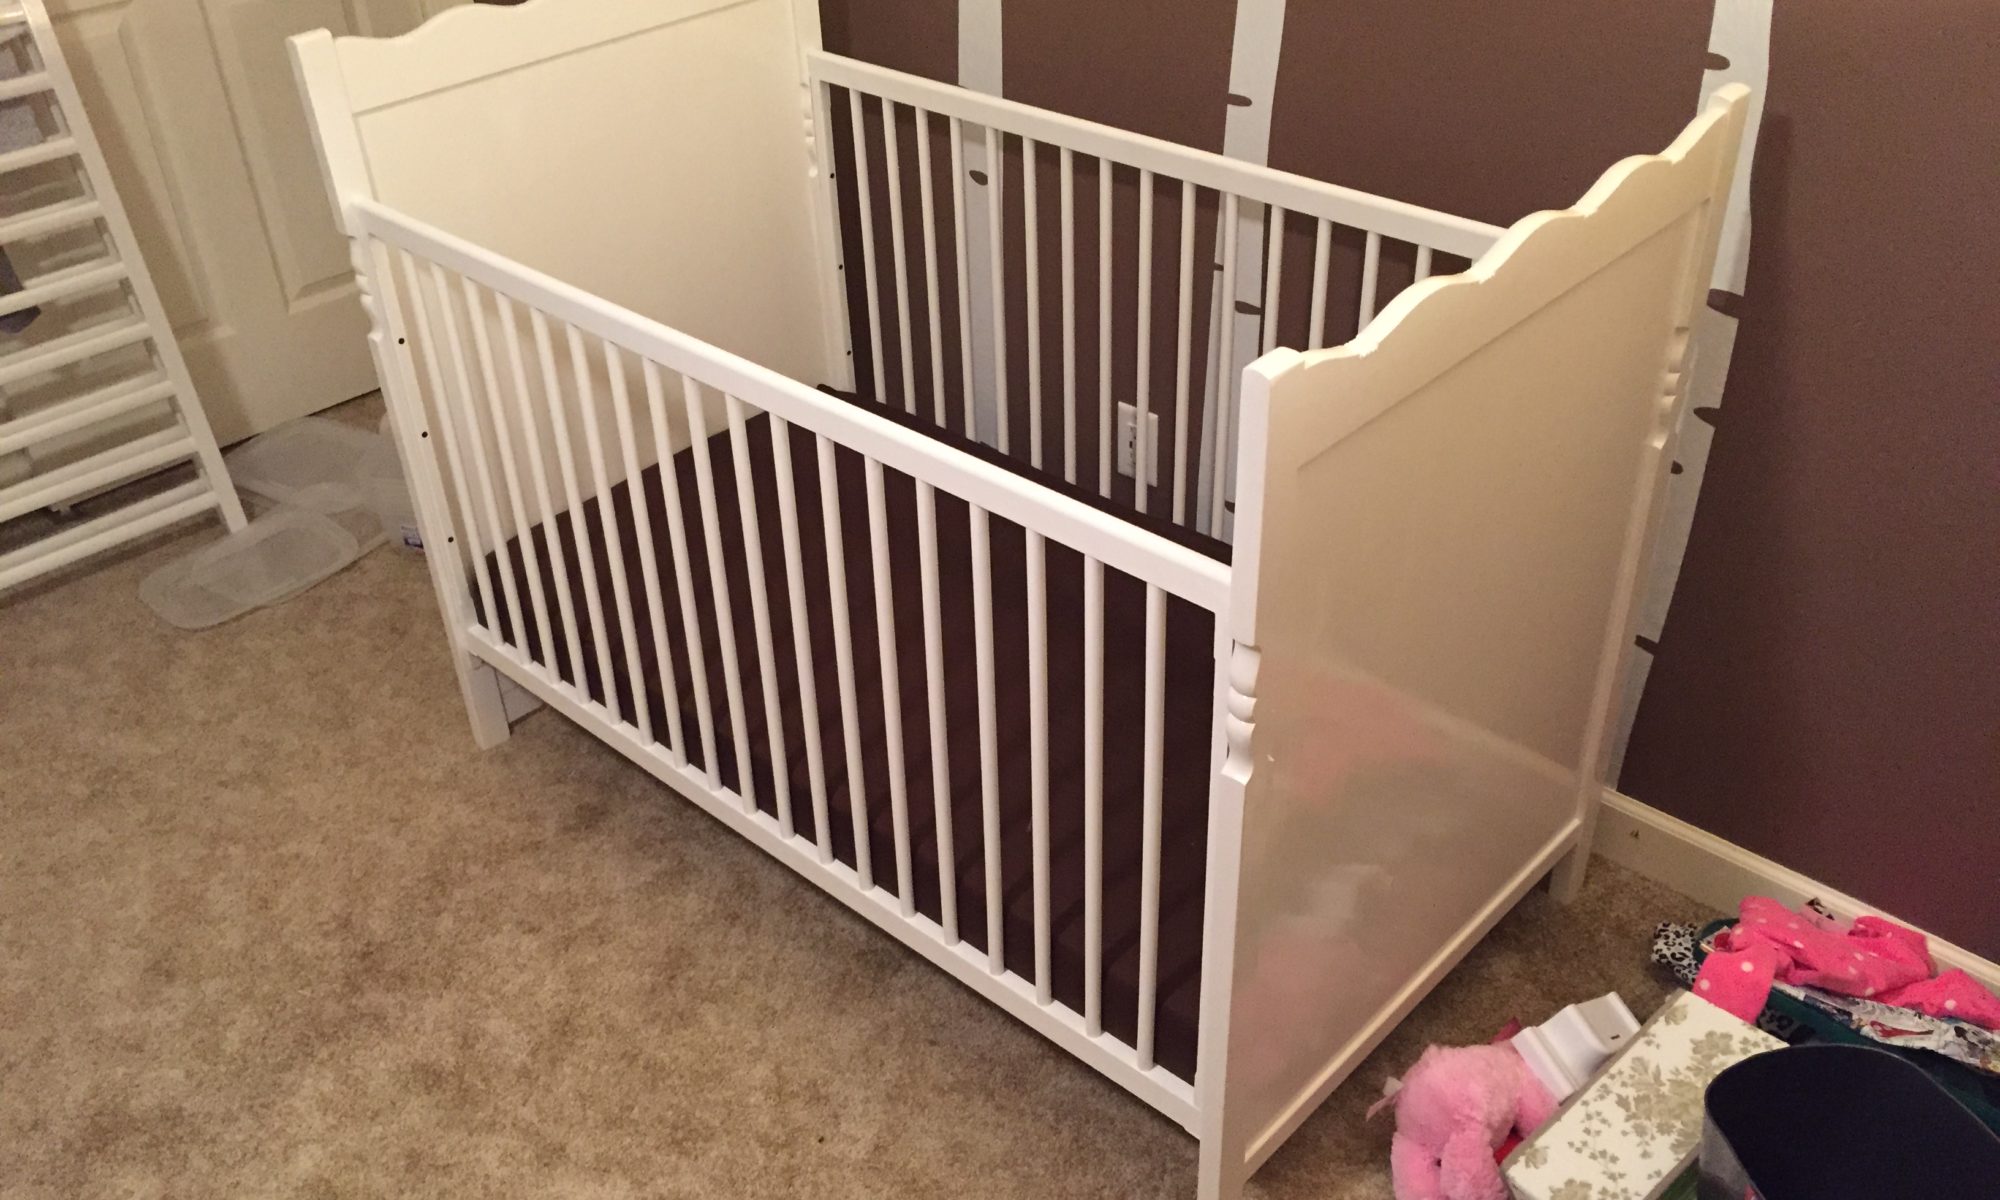
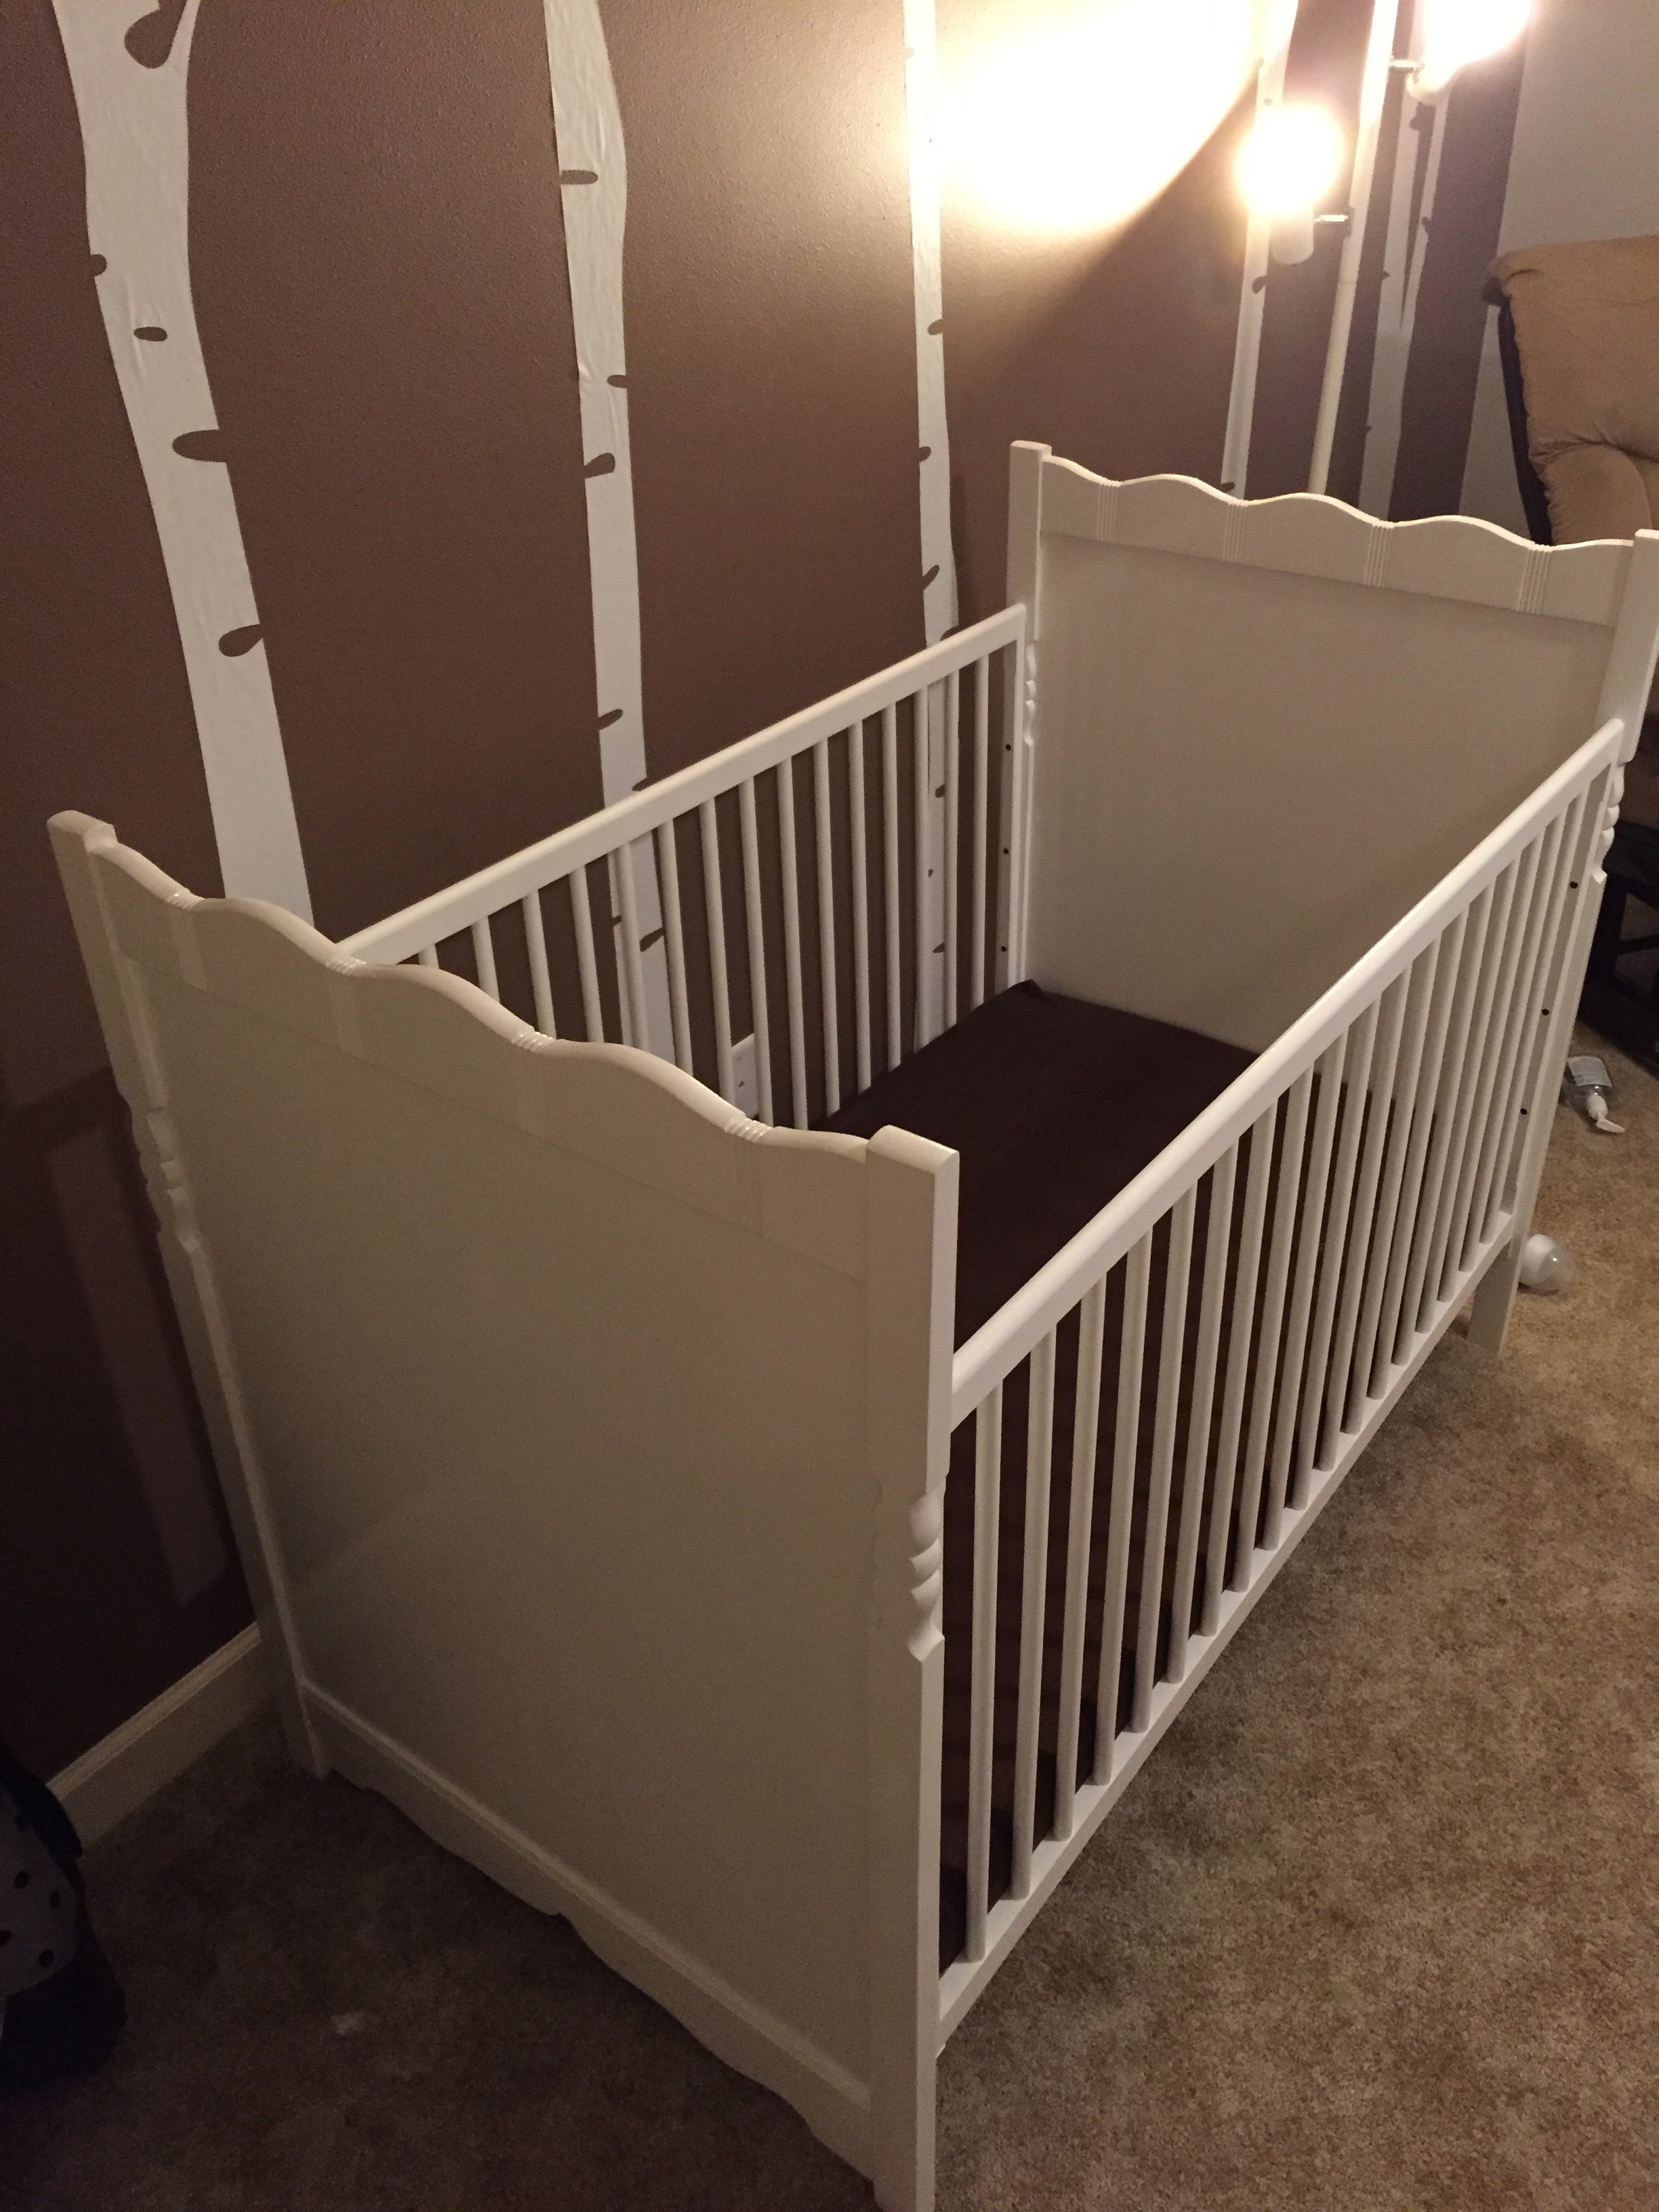
We received an heirloom crib that many family members used. In order to use it however, some work needed to be done to bring it up to safety standards.
First, it was originally a drop-side crib. These things are deathtraps to today’s standards. Additionally, the wall slat width was substantially larger than todays ~2″ standard. Those two things combined basically meant that new walls needed to be built from scratch. Also, my father-in-law spent some effort refurbishing and paining the crib before I took it over.
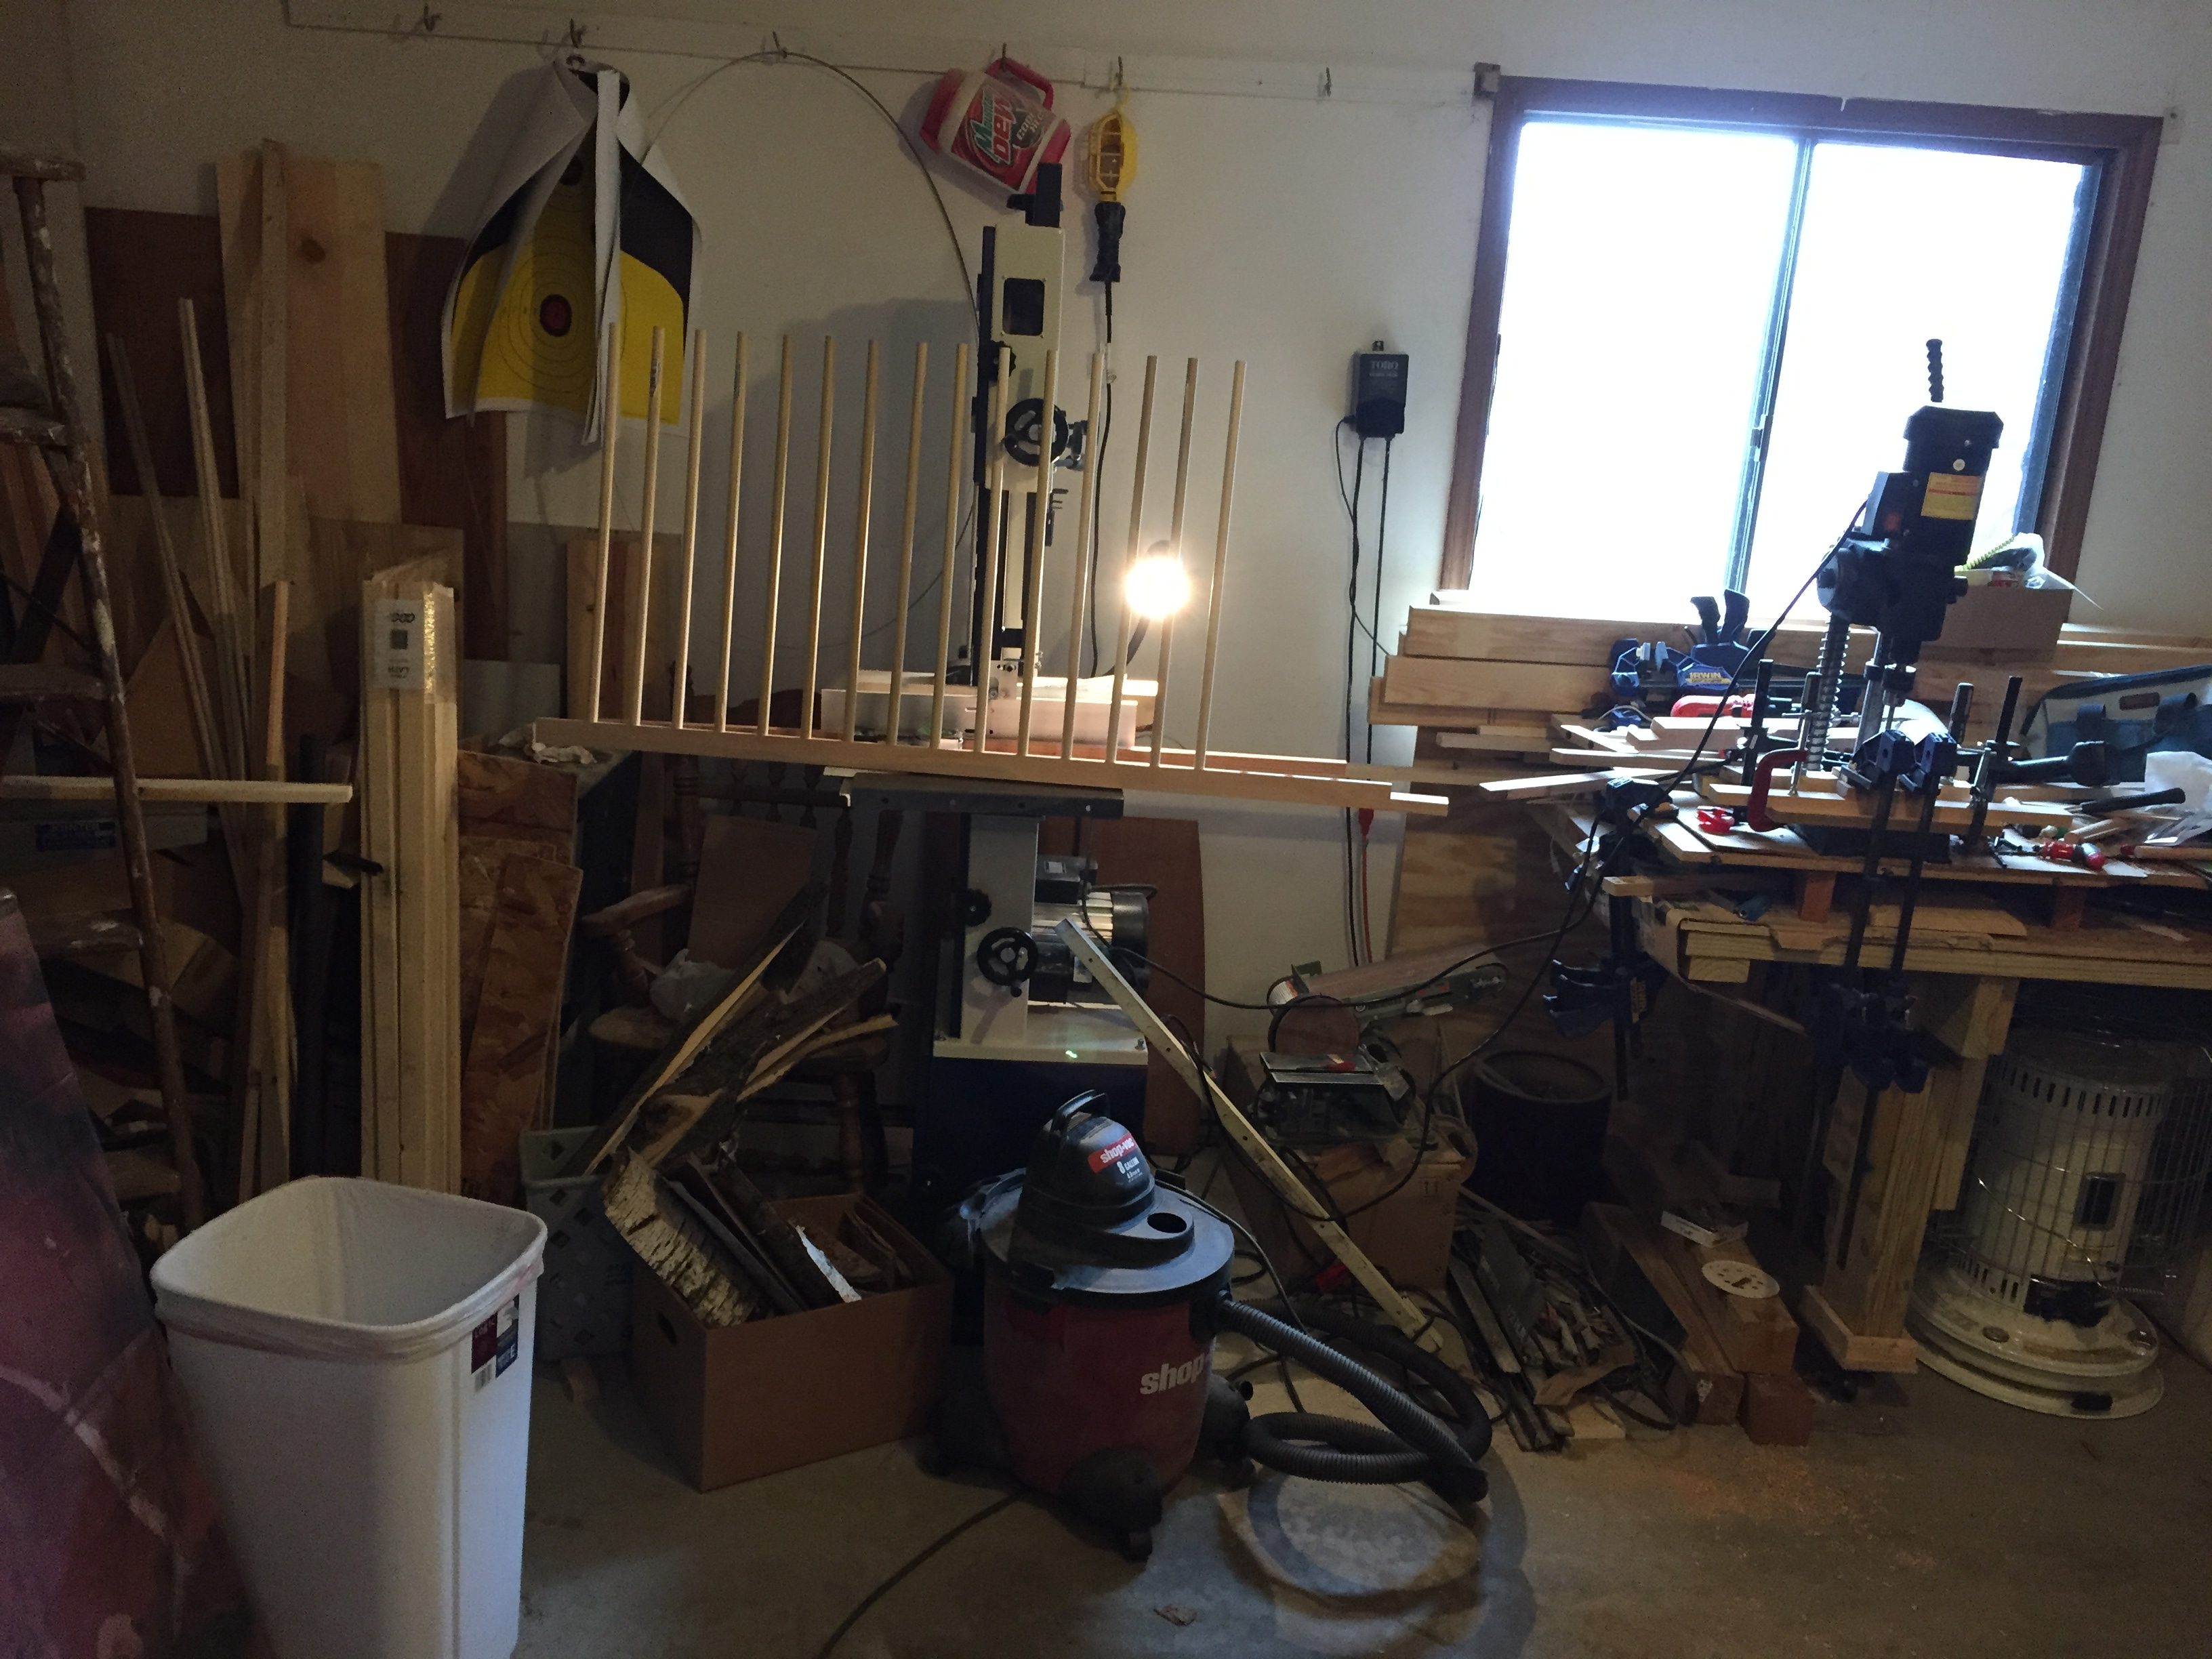
Here’s how it went:
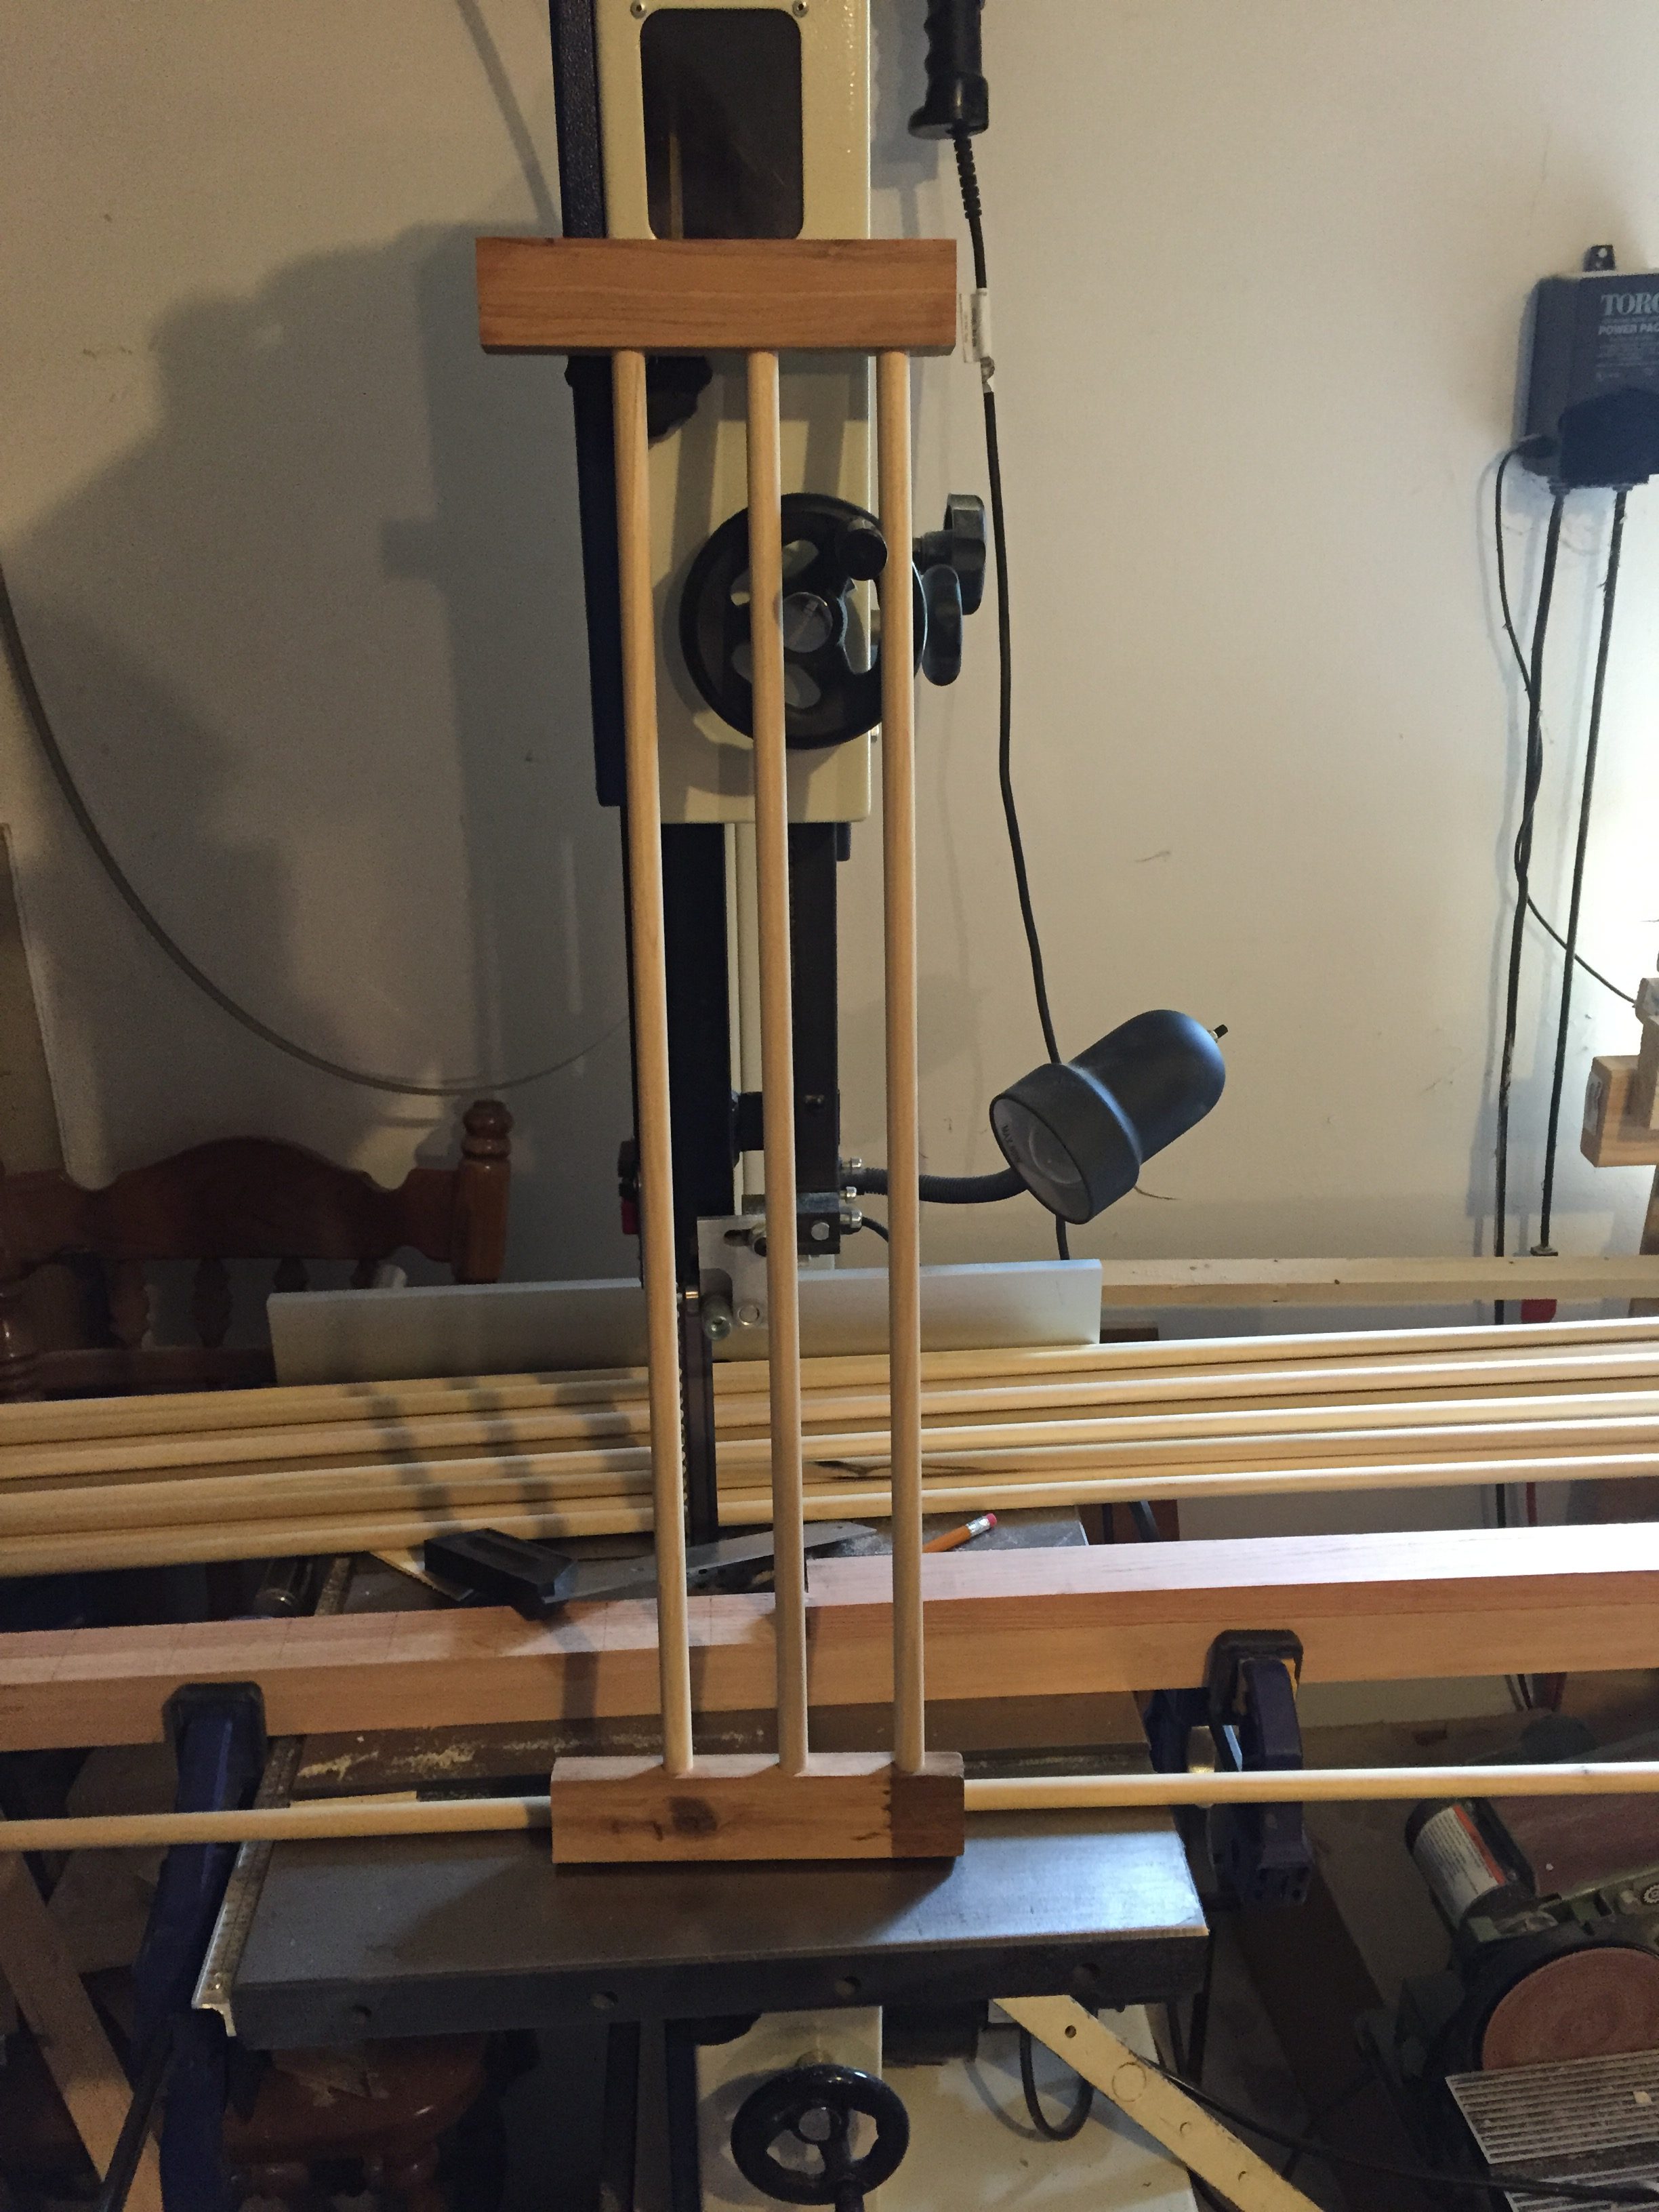
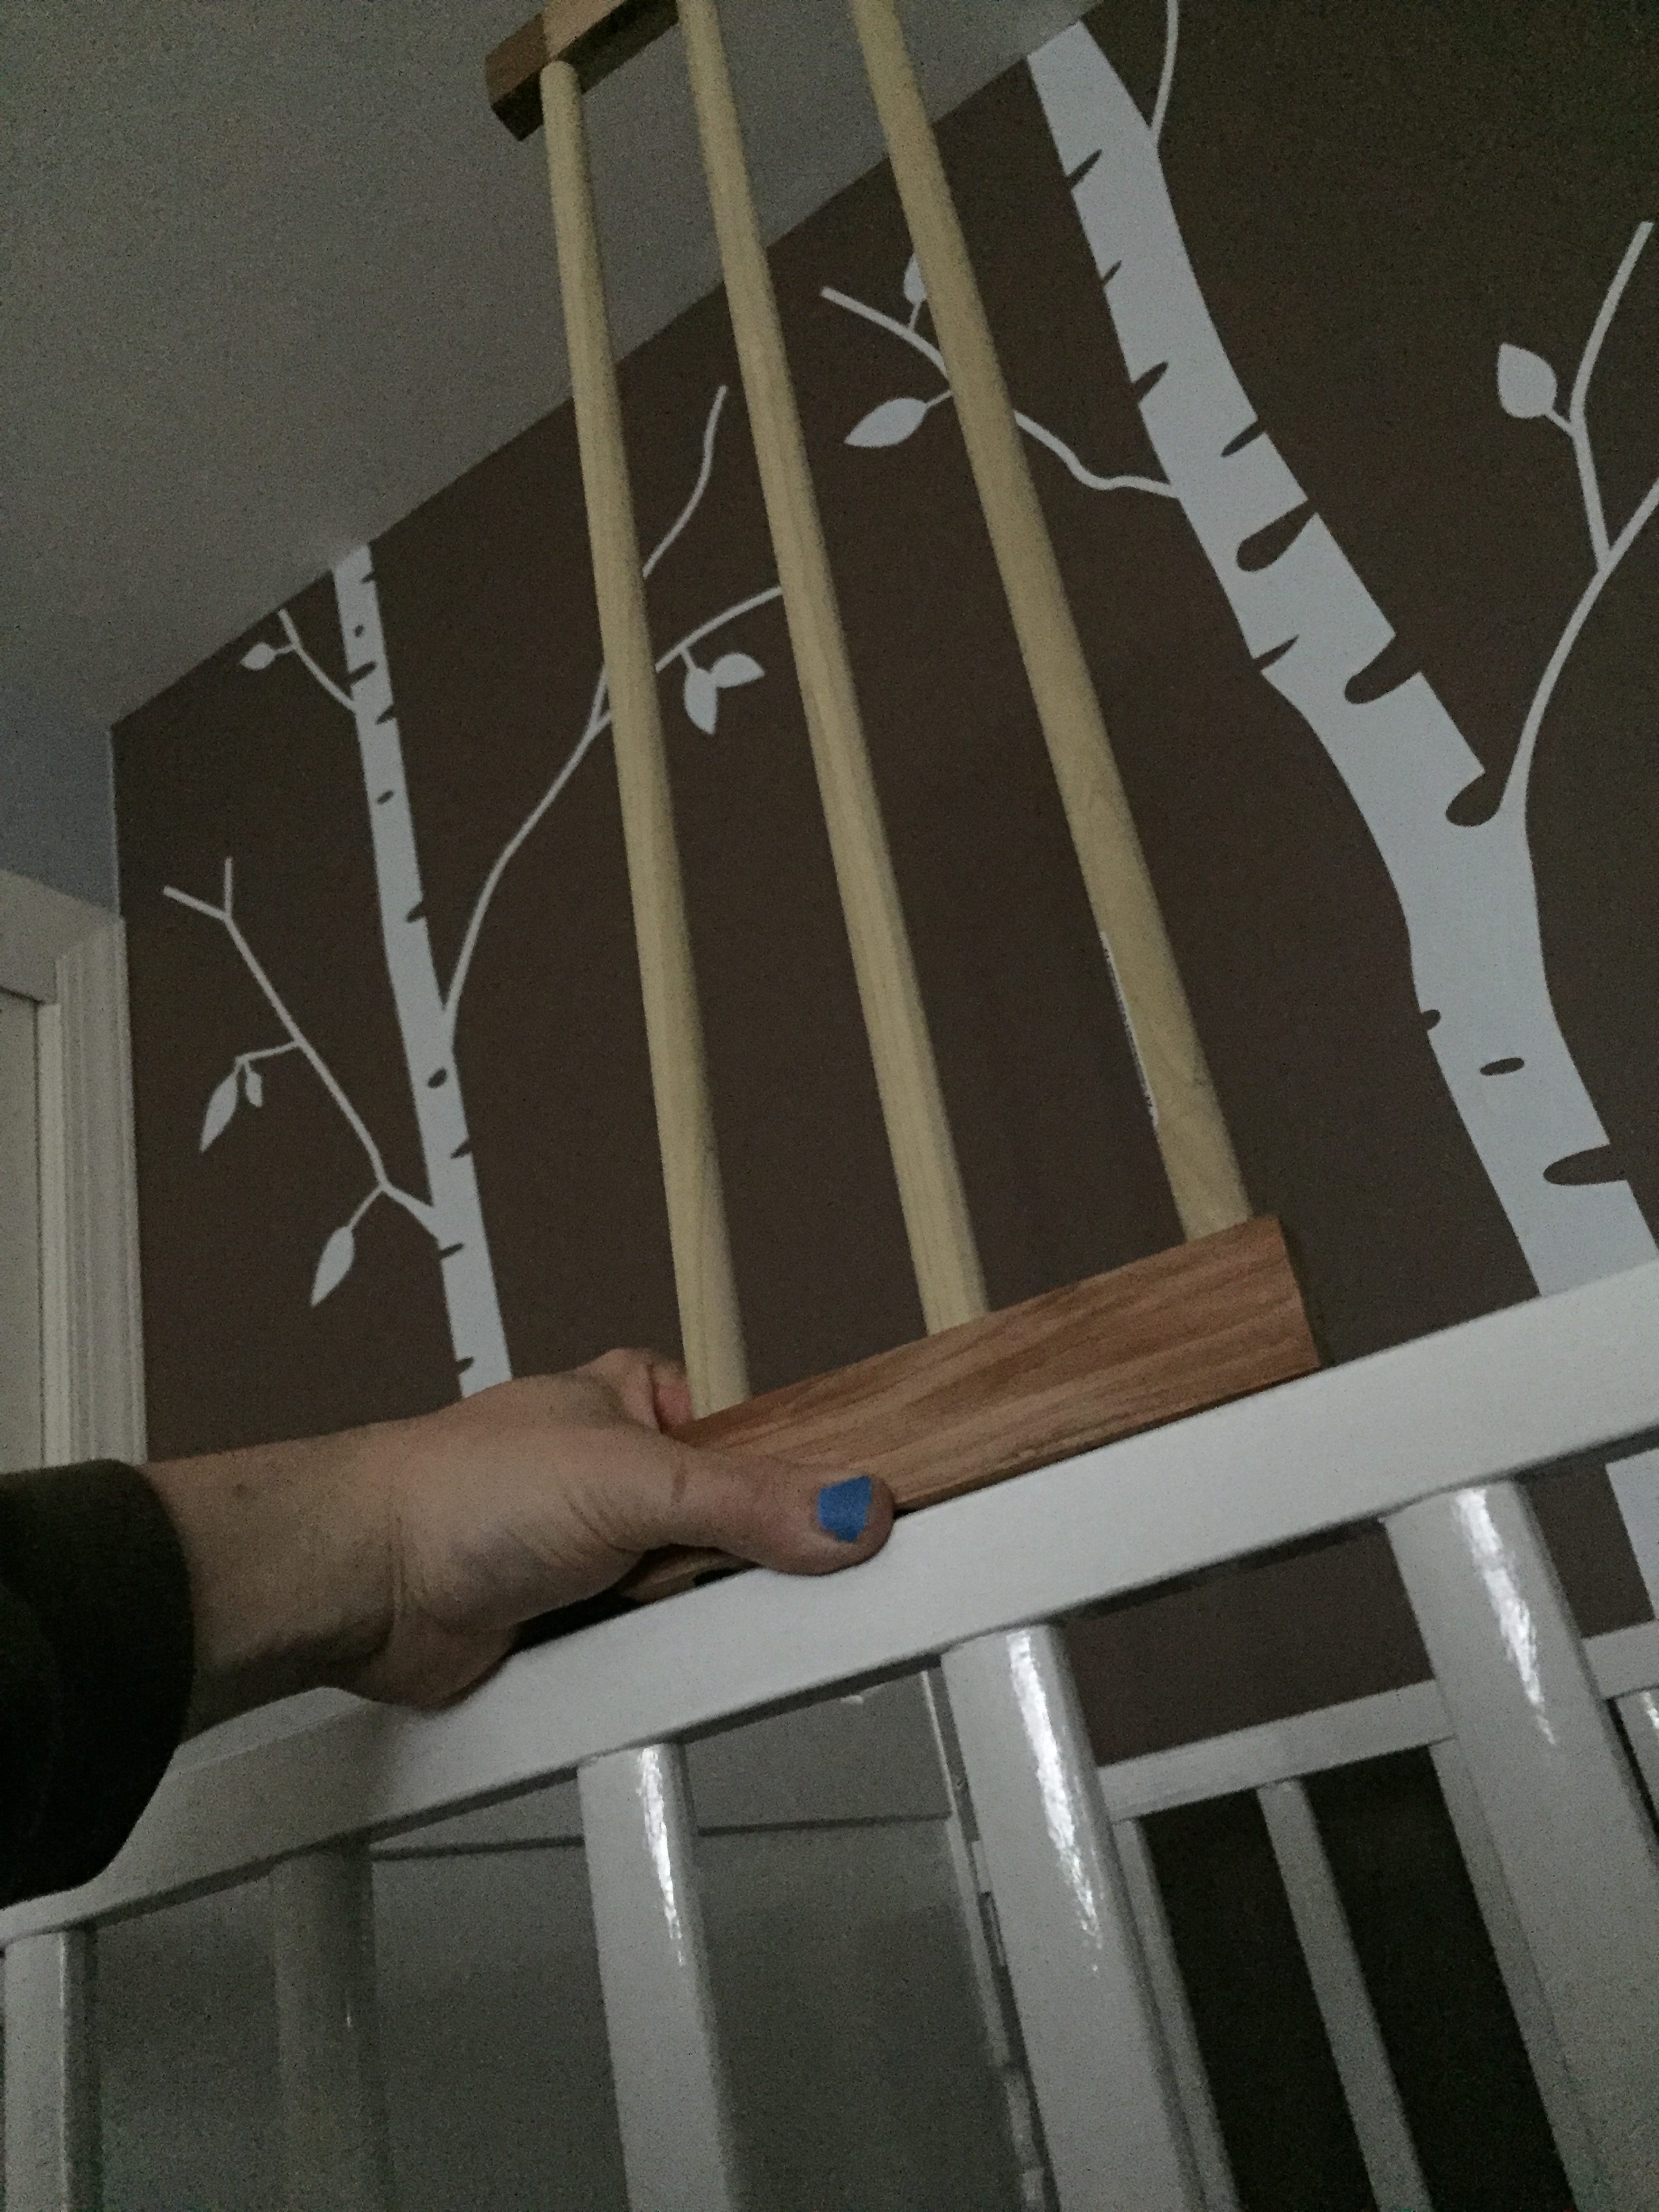
Prototype testing smaller dowels and spacing.
Prototype testing thicker dowels and spacing.
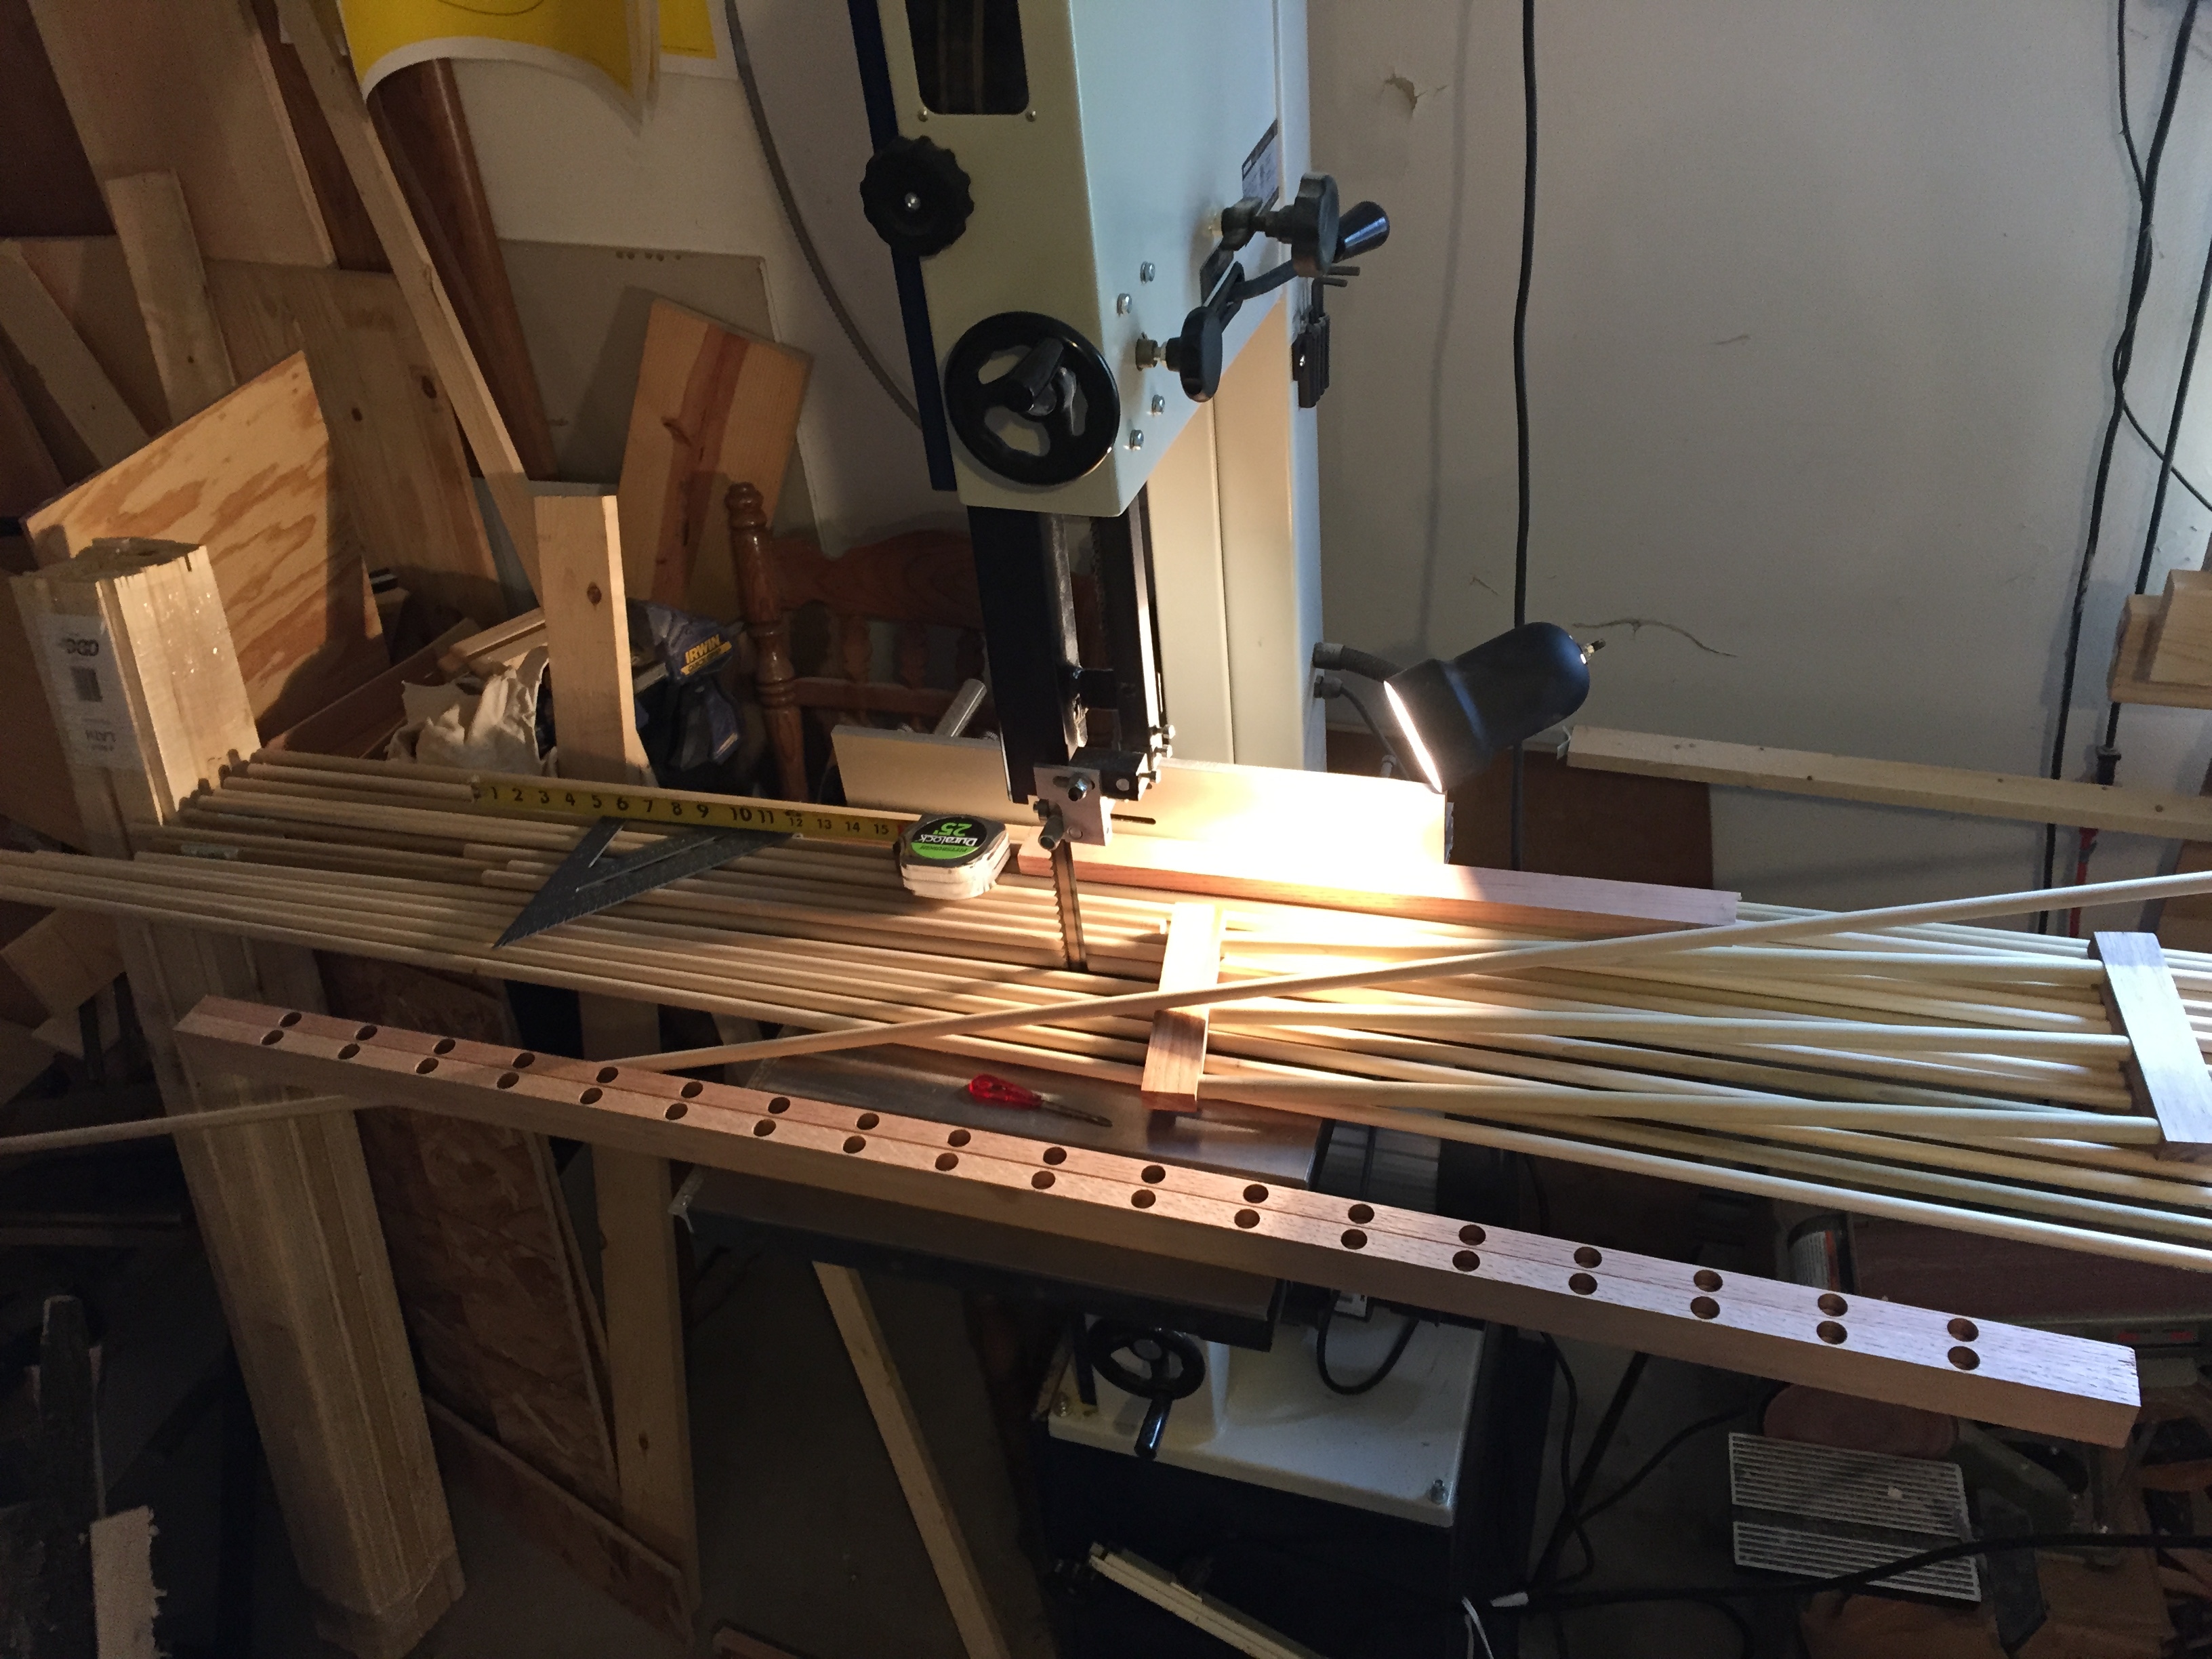
Holes drilled, dowels piled up.
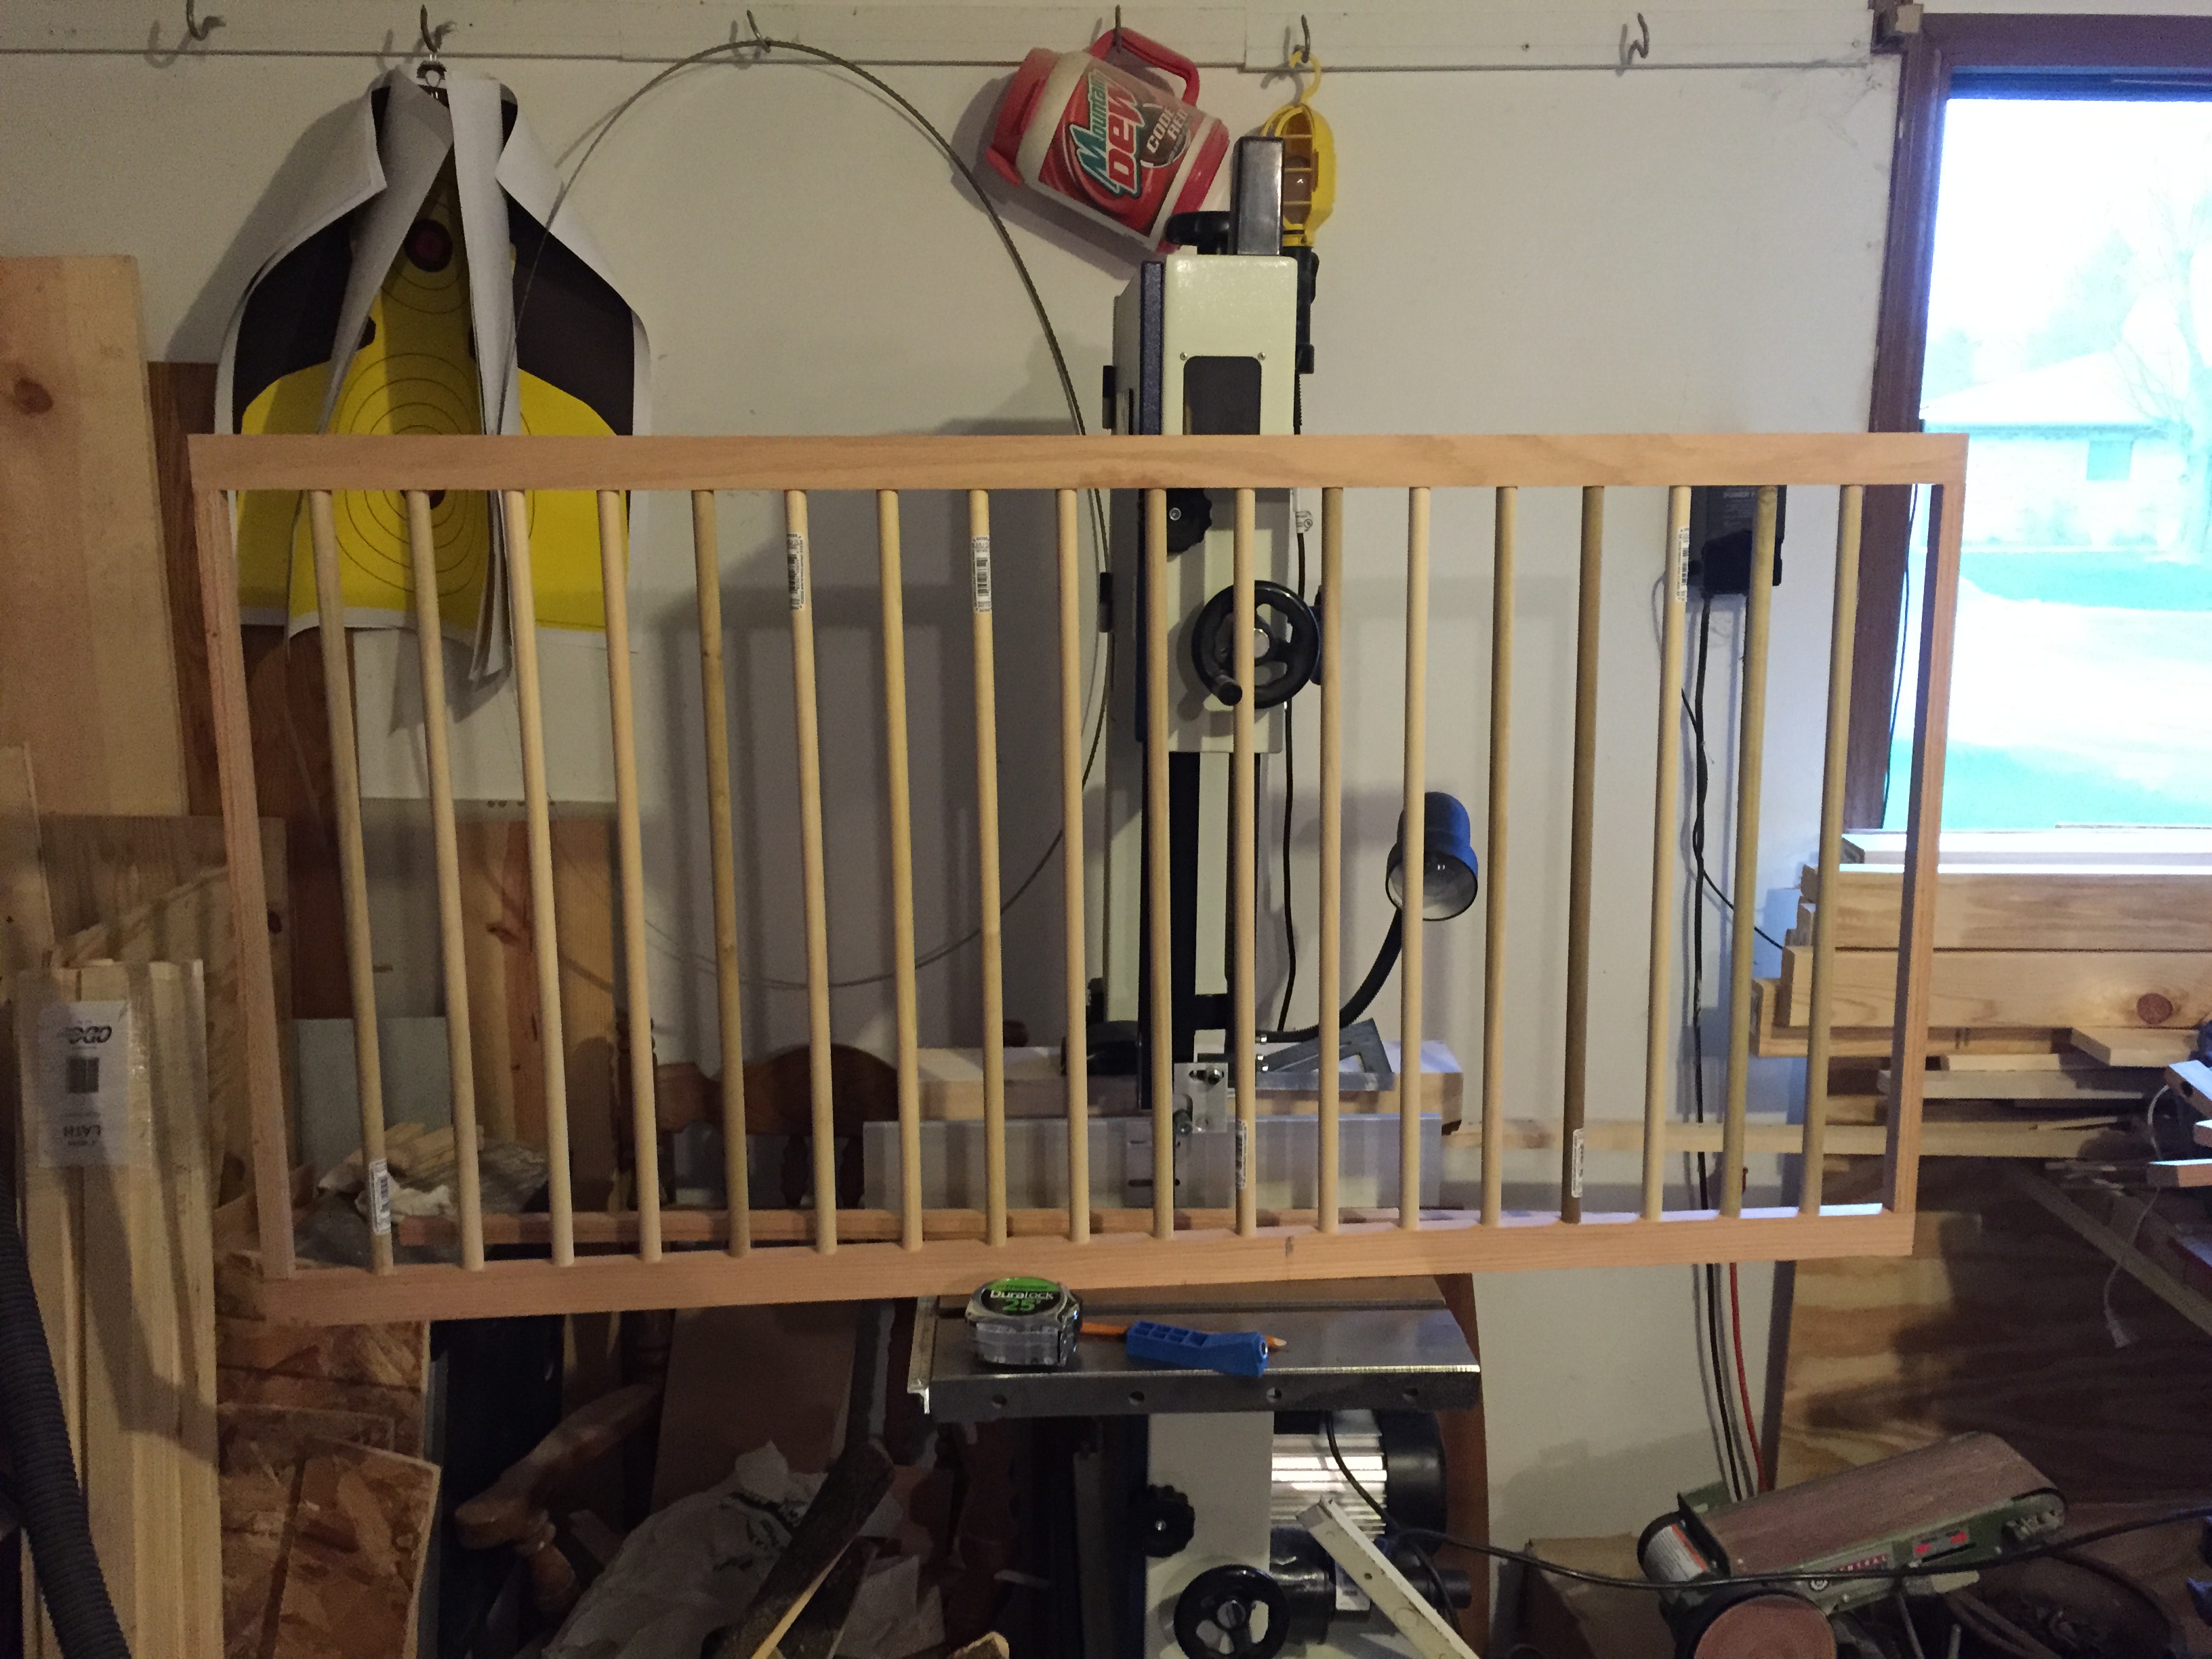
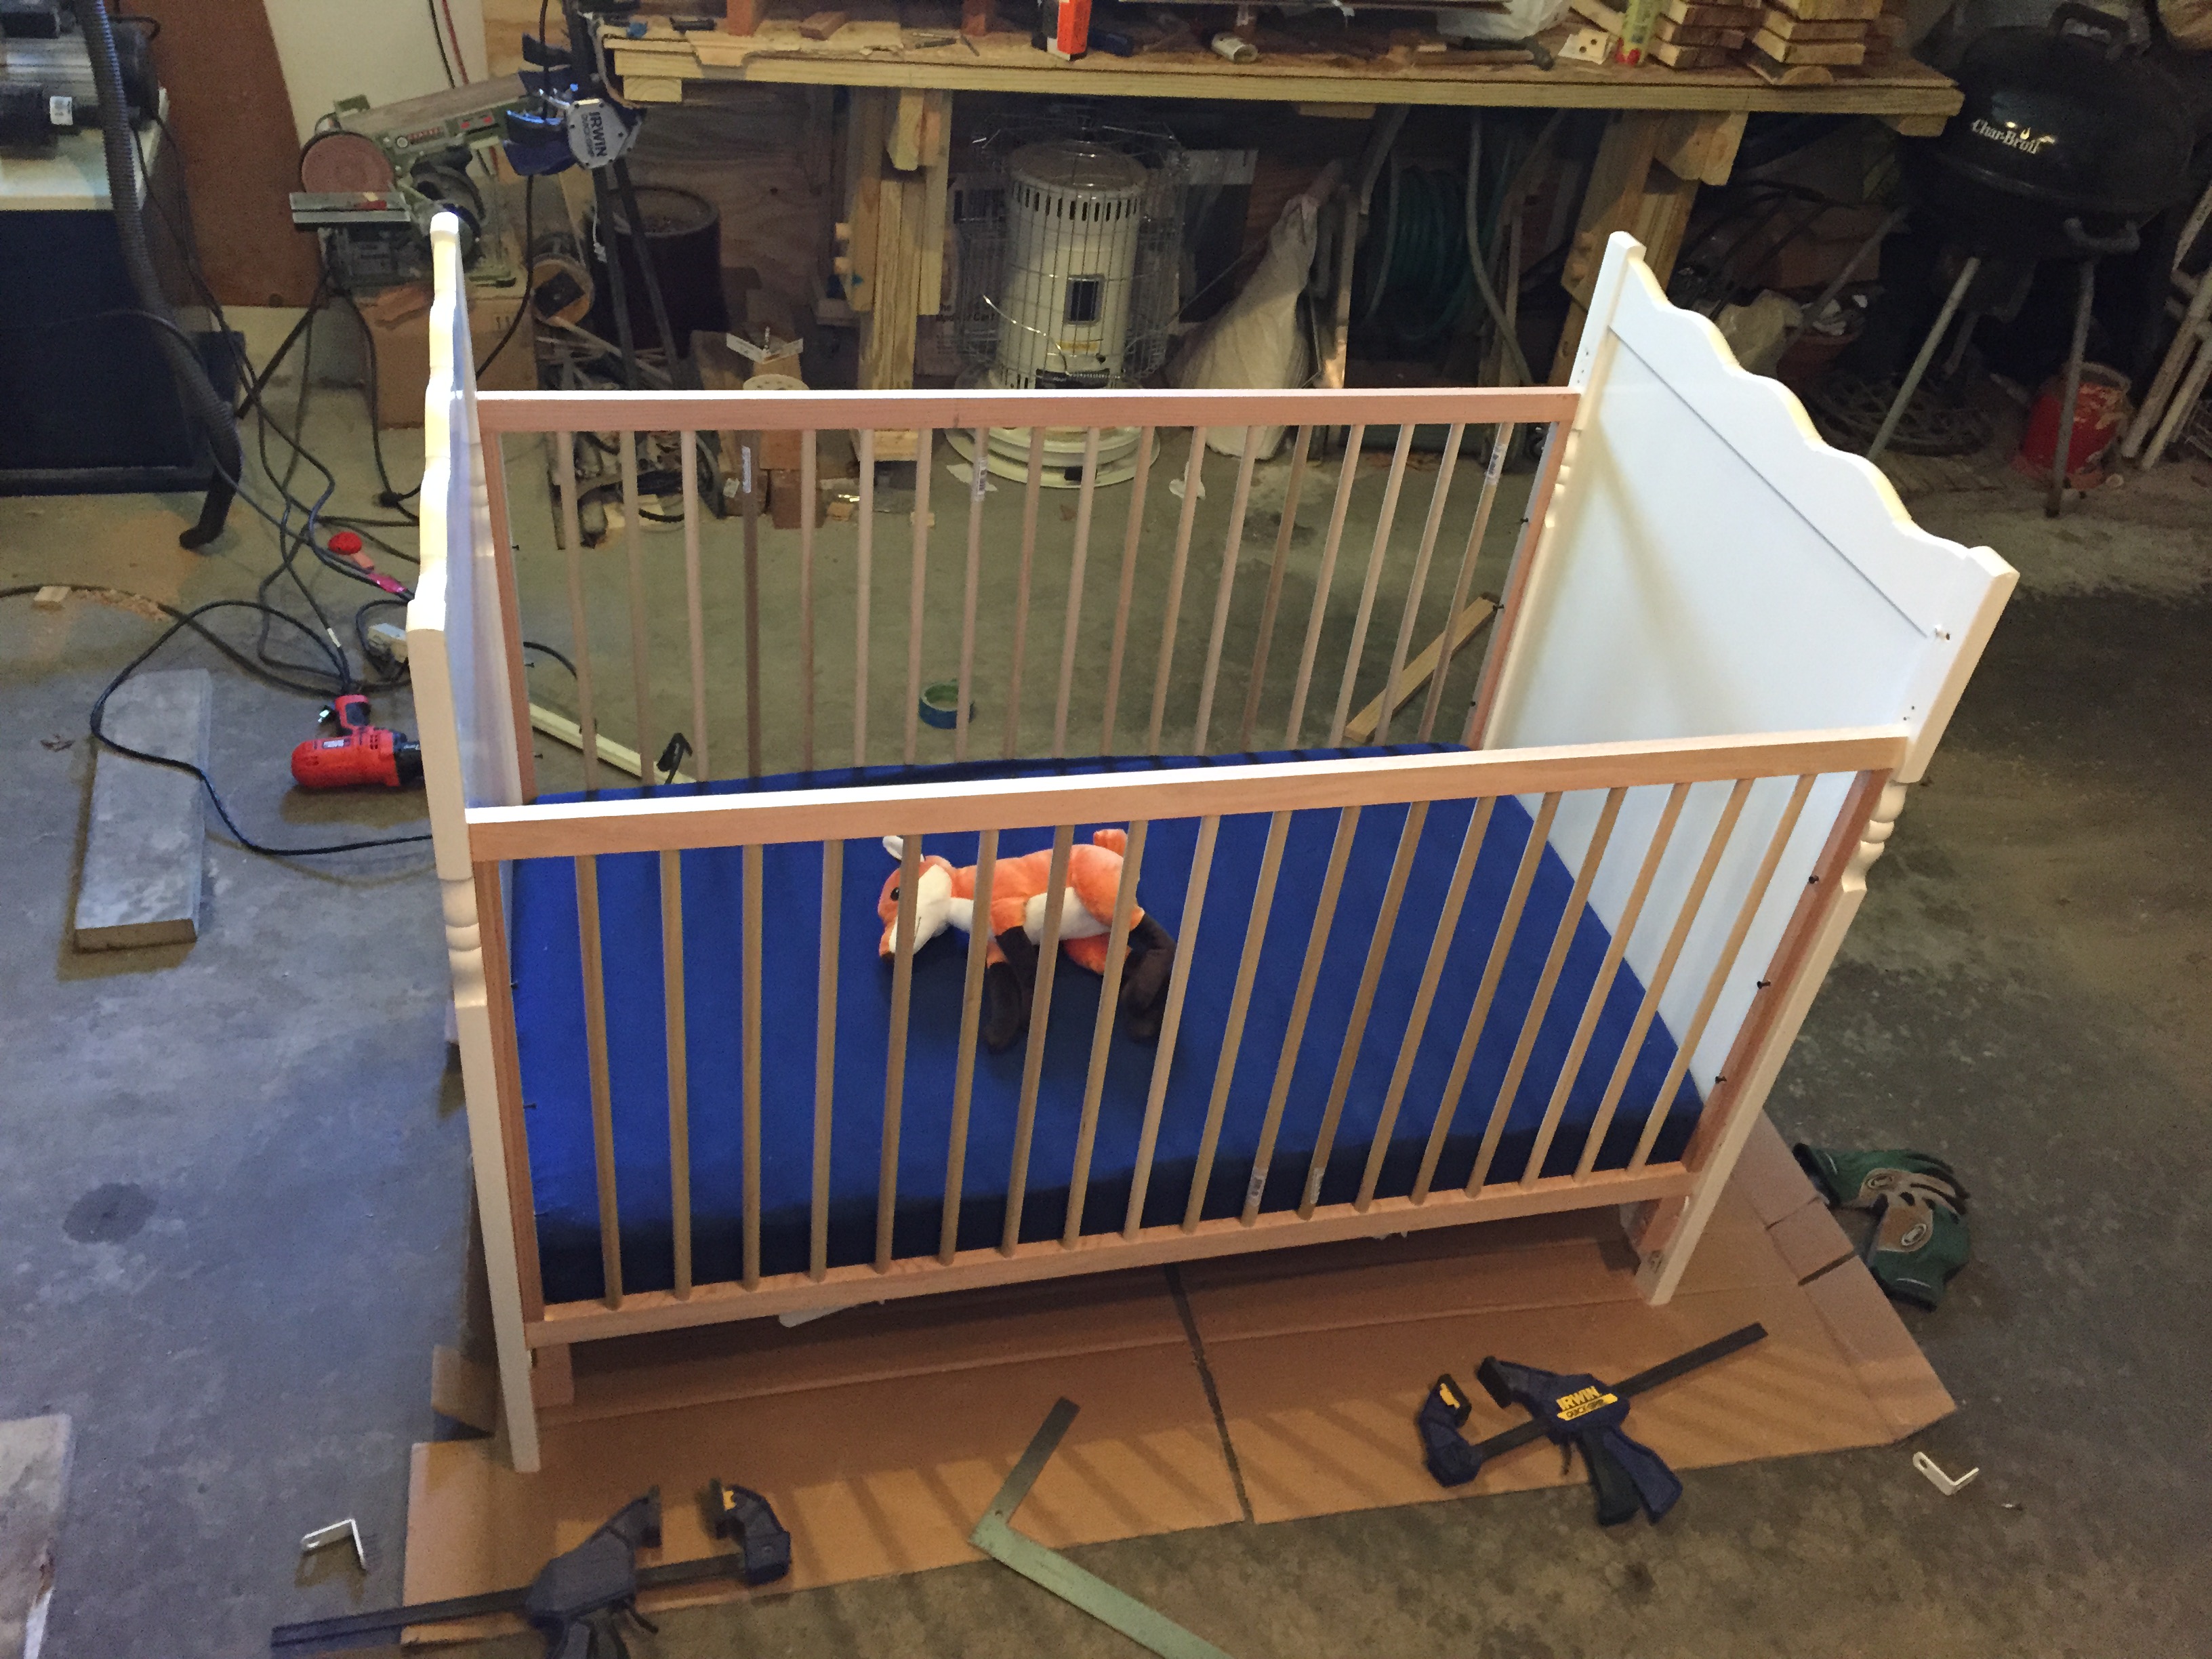
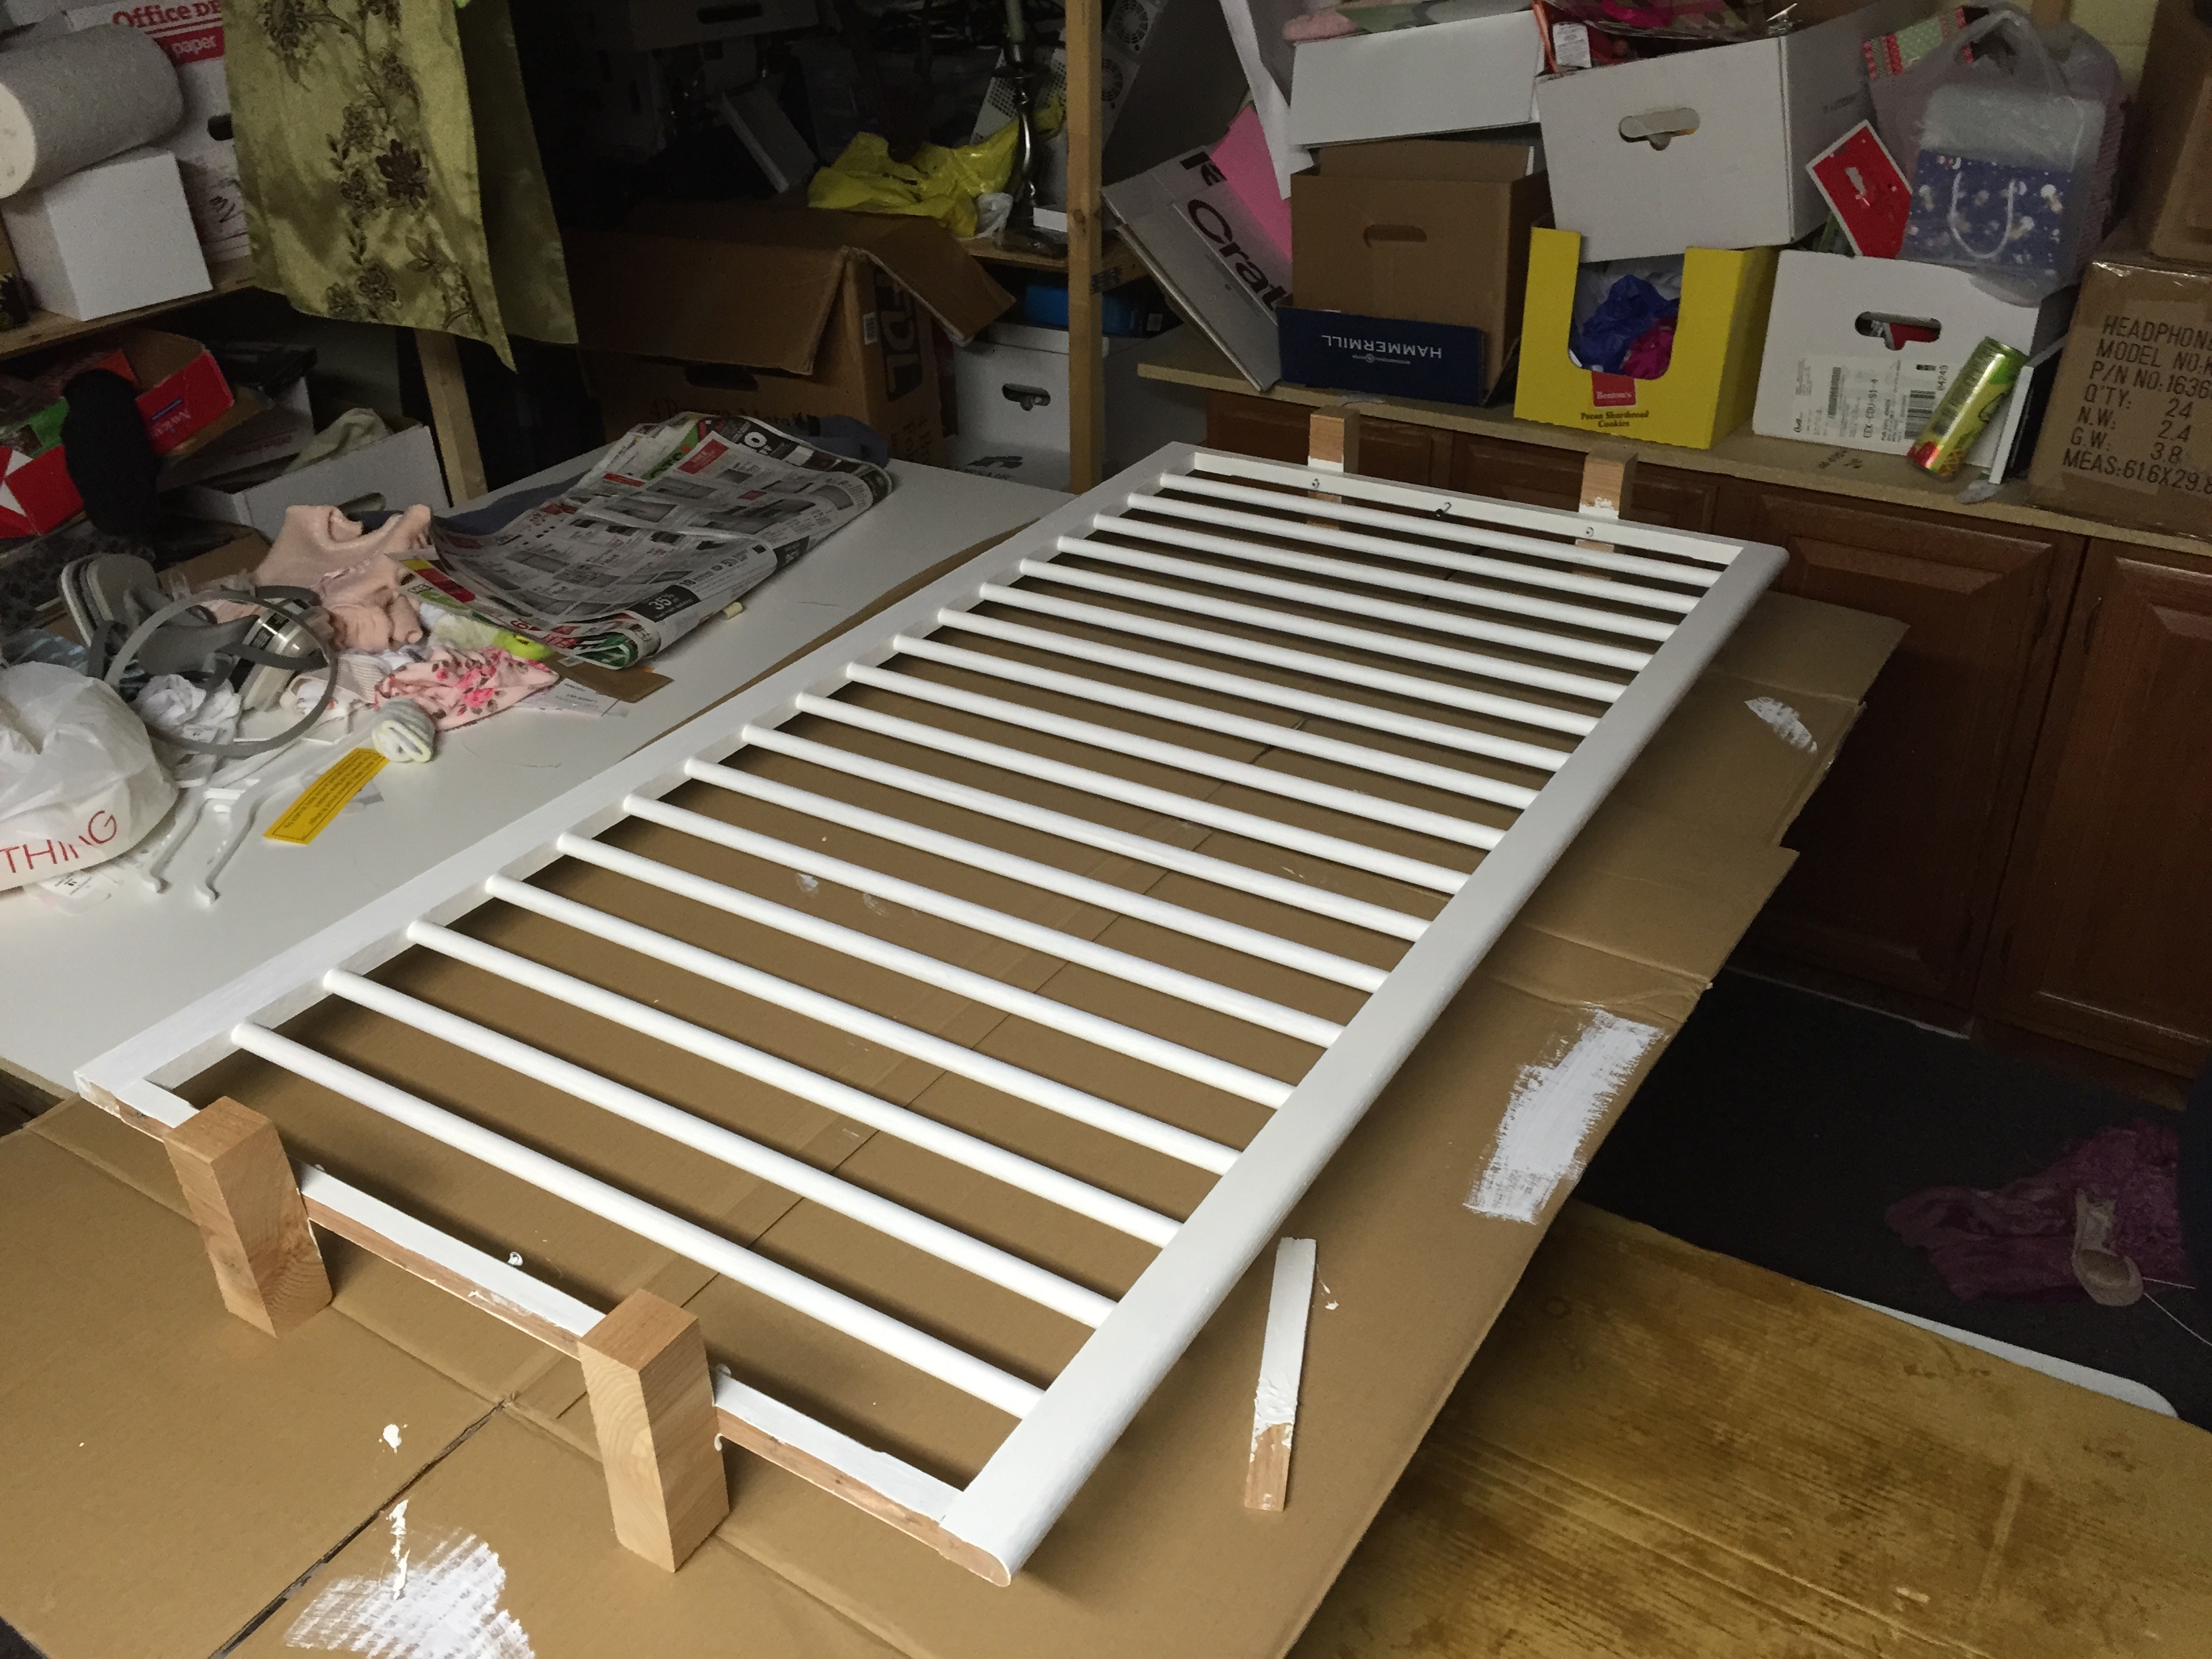
First wall completed!
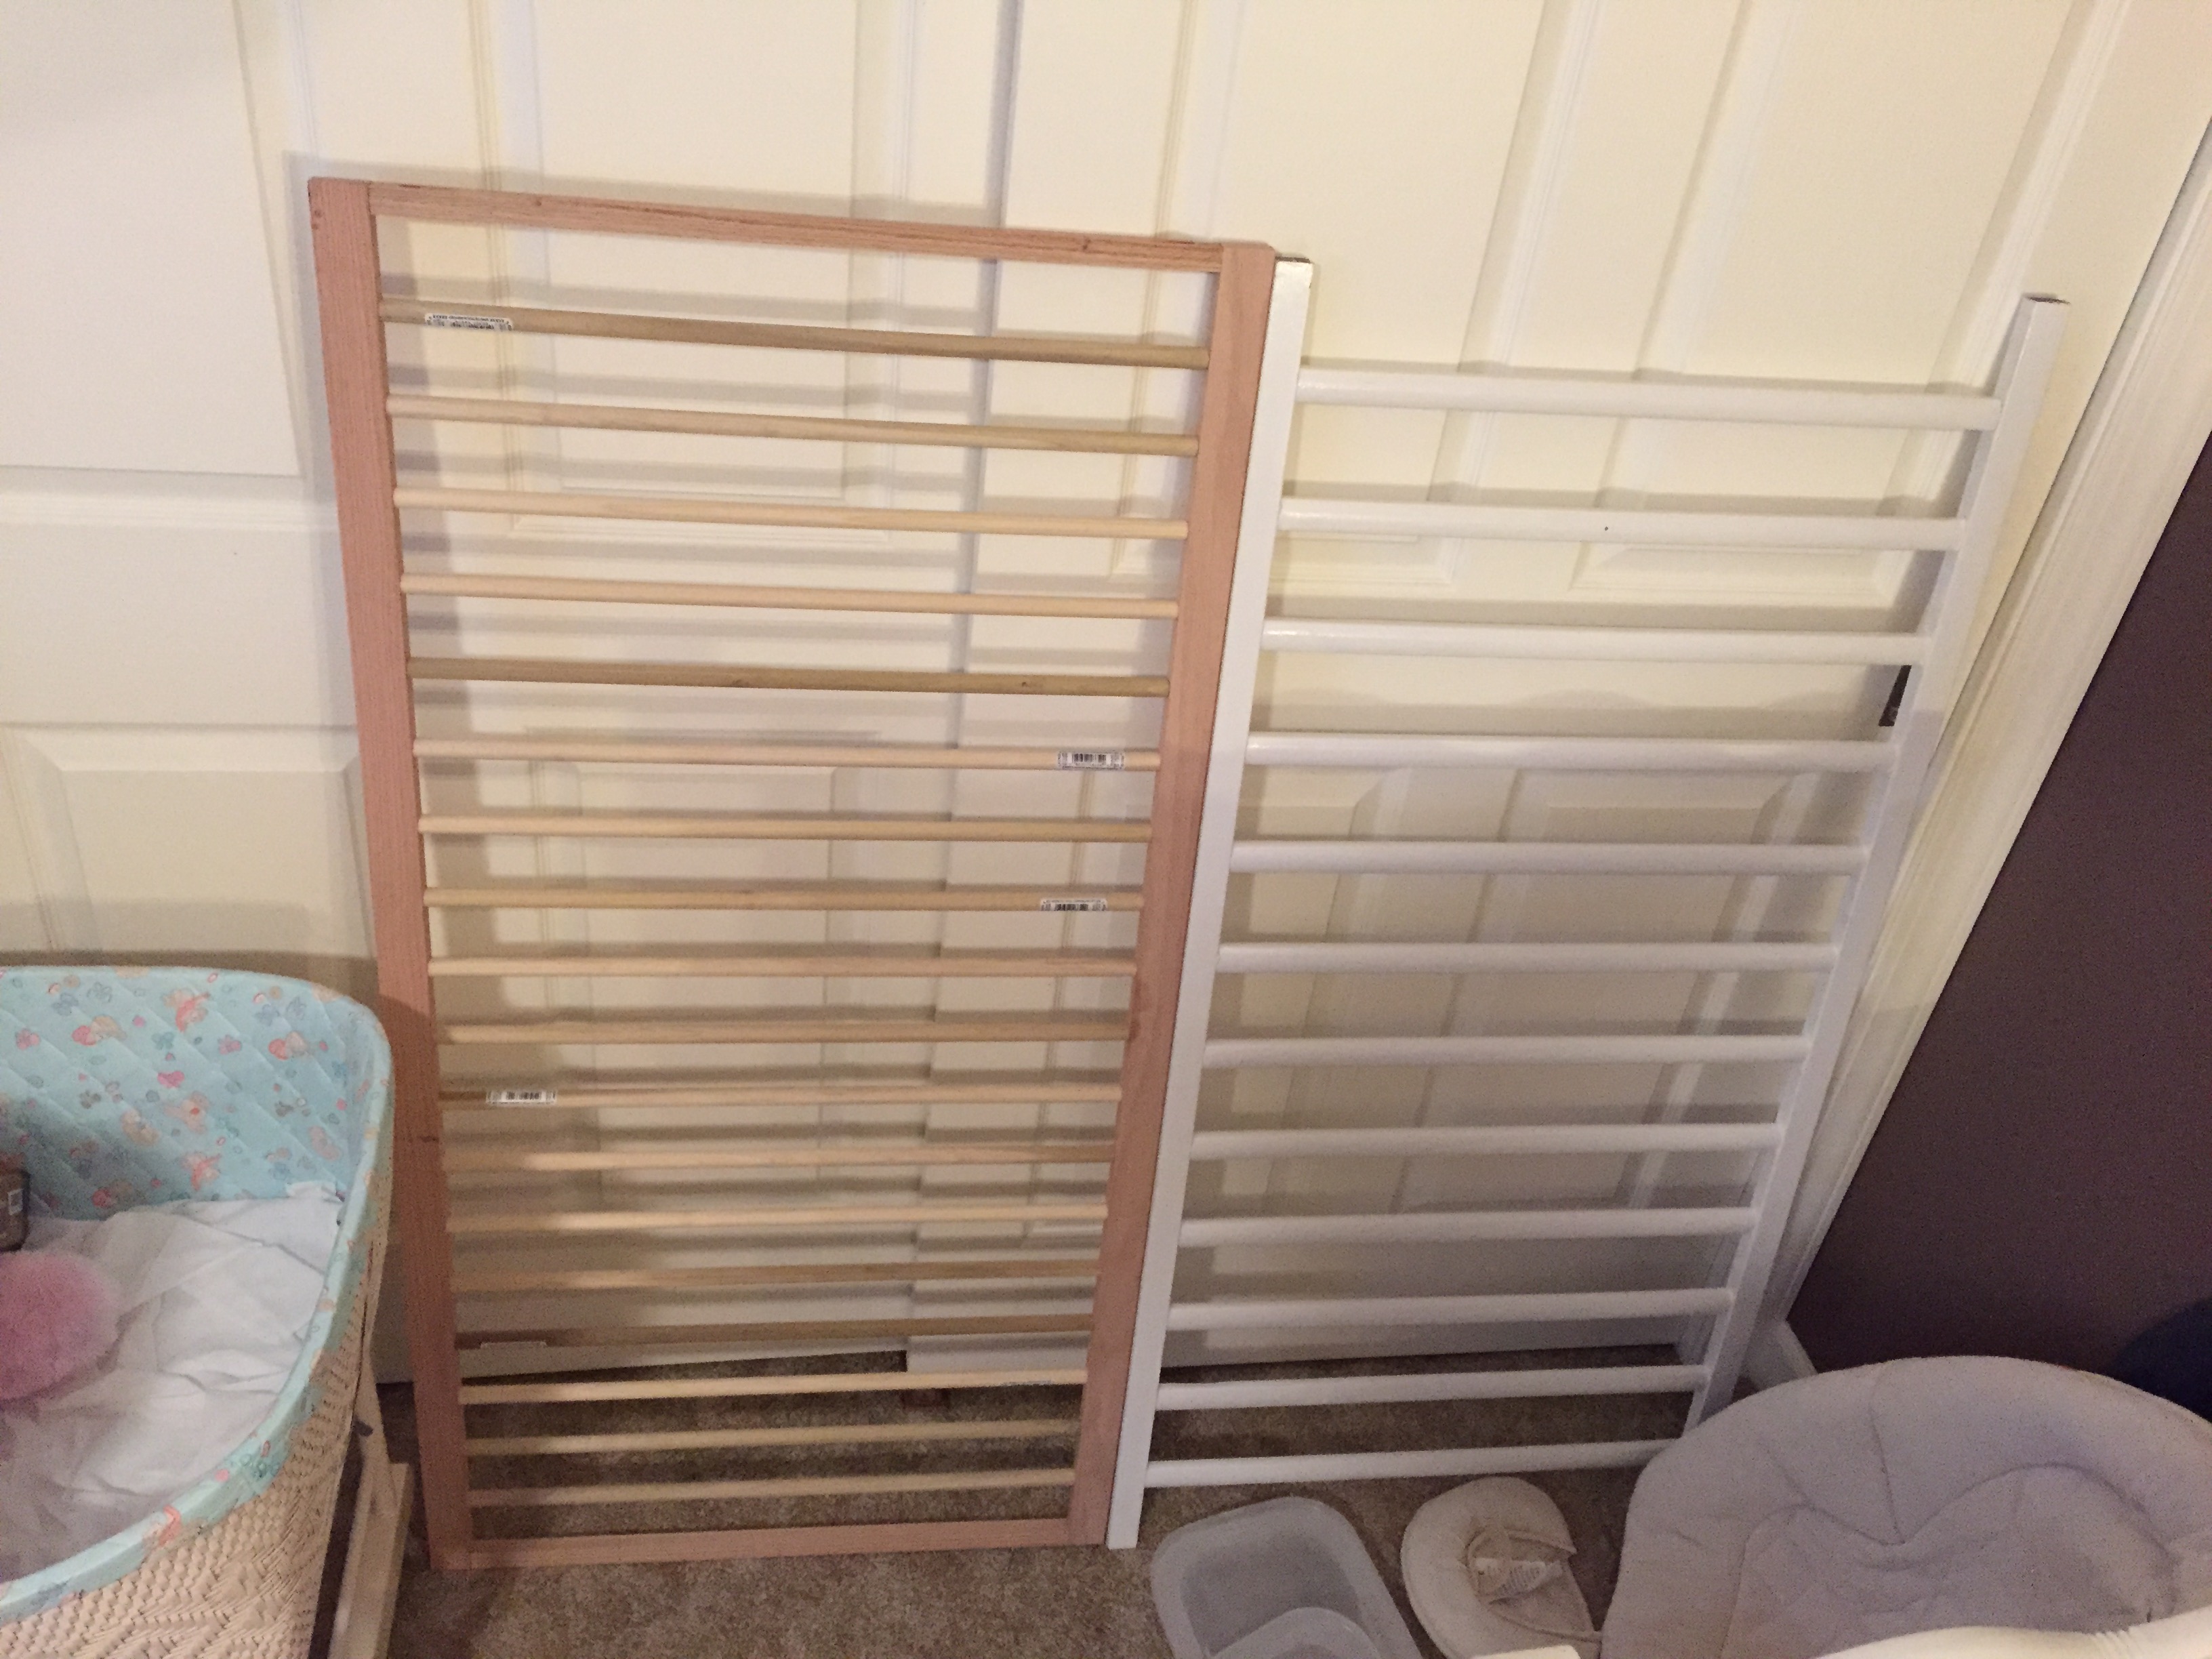
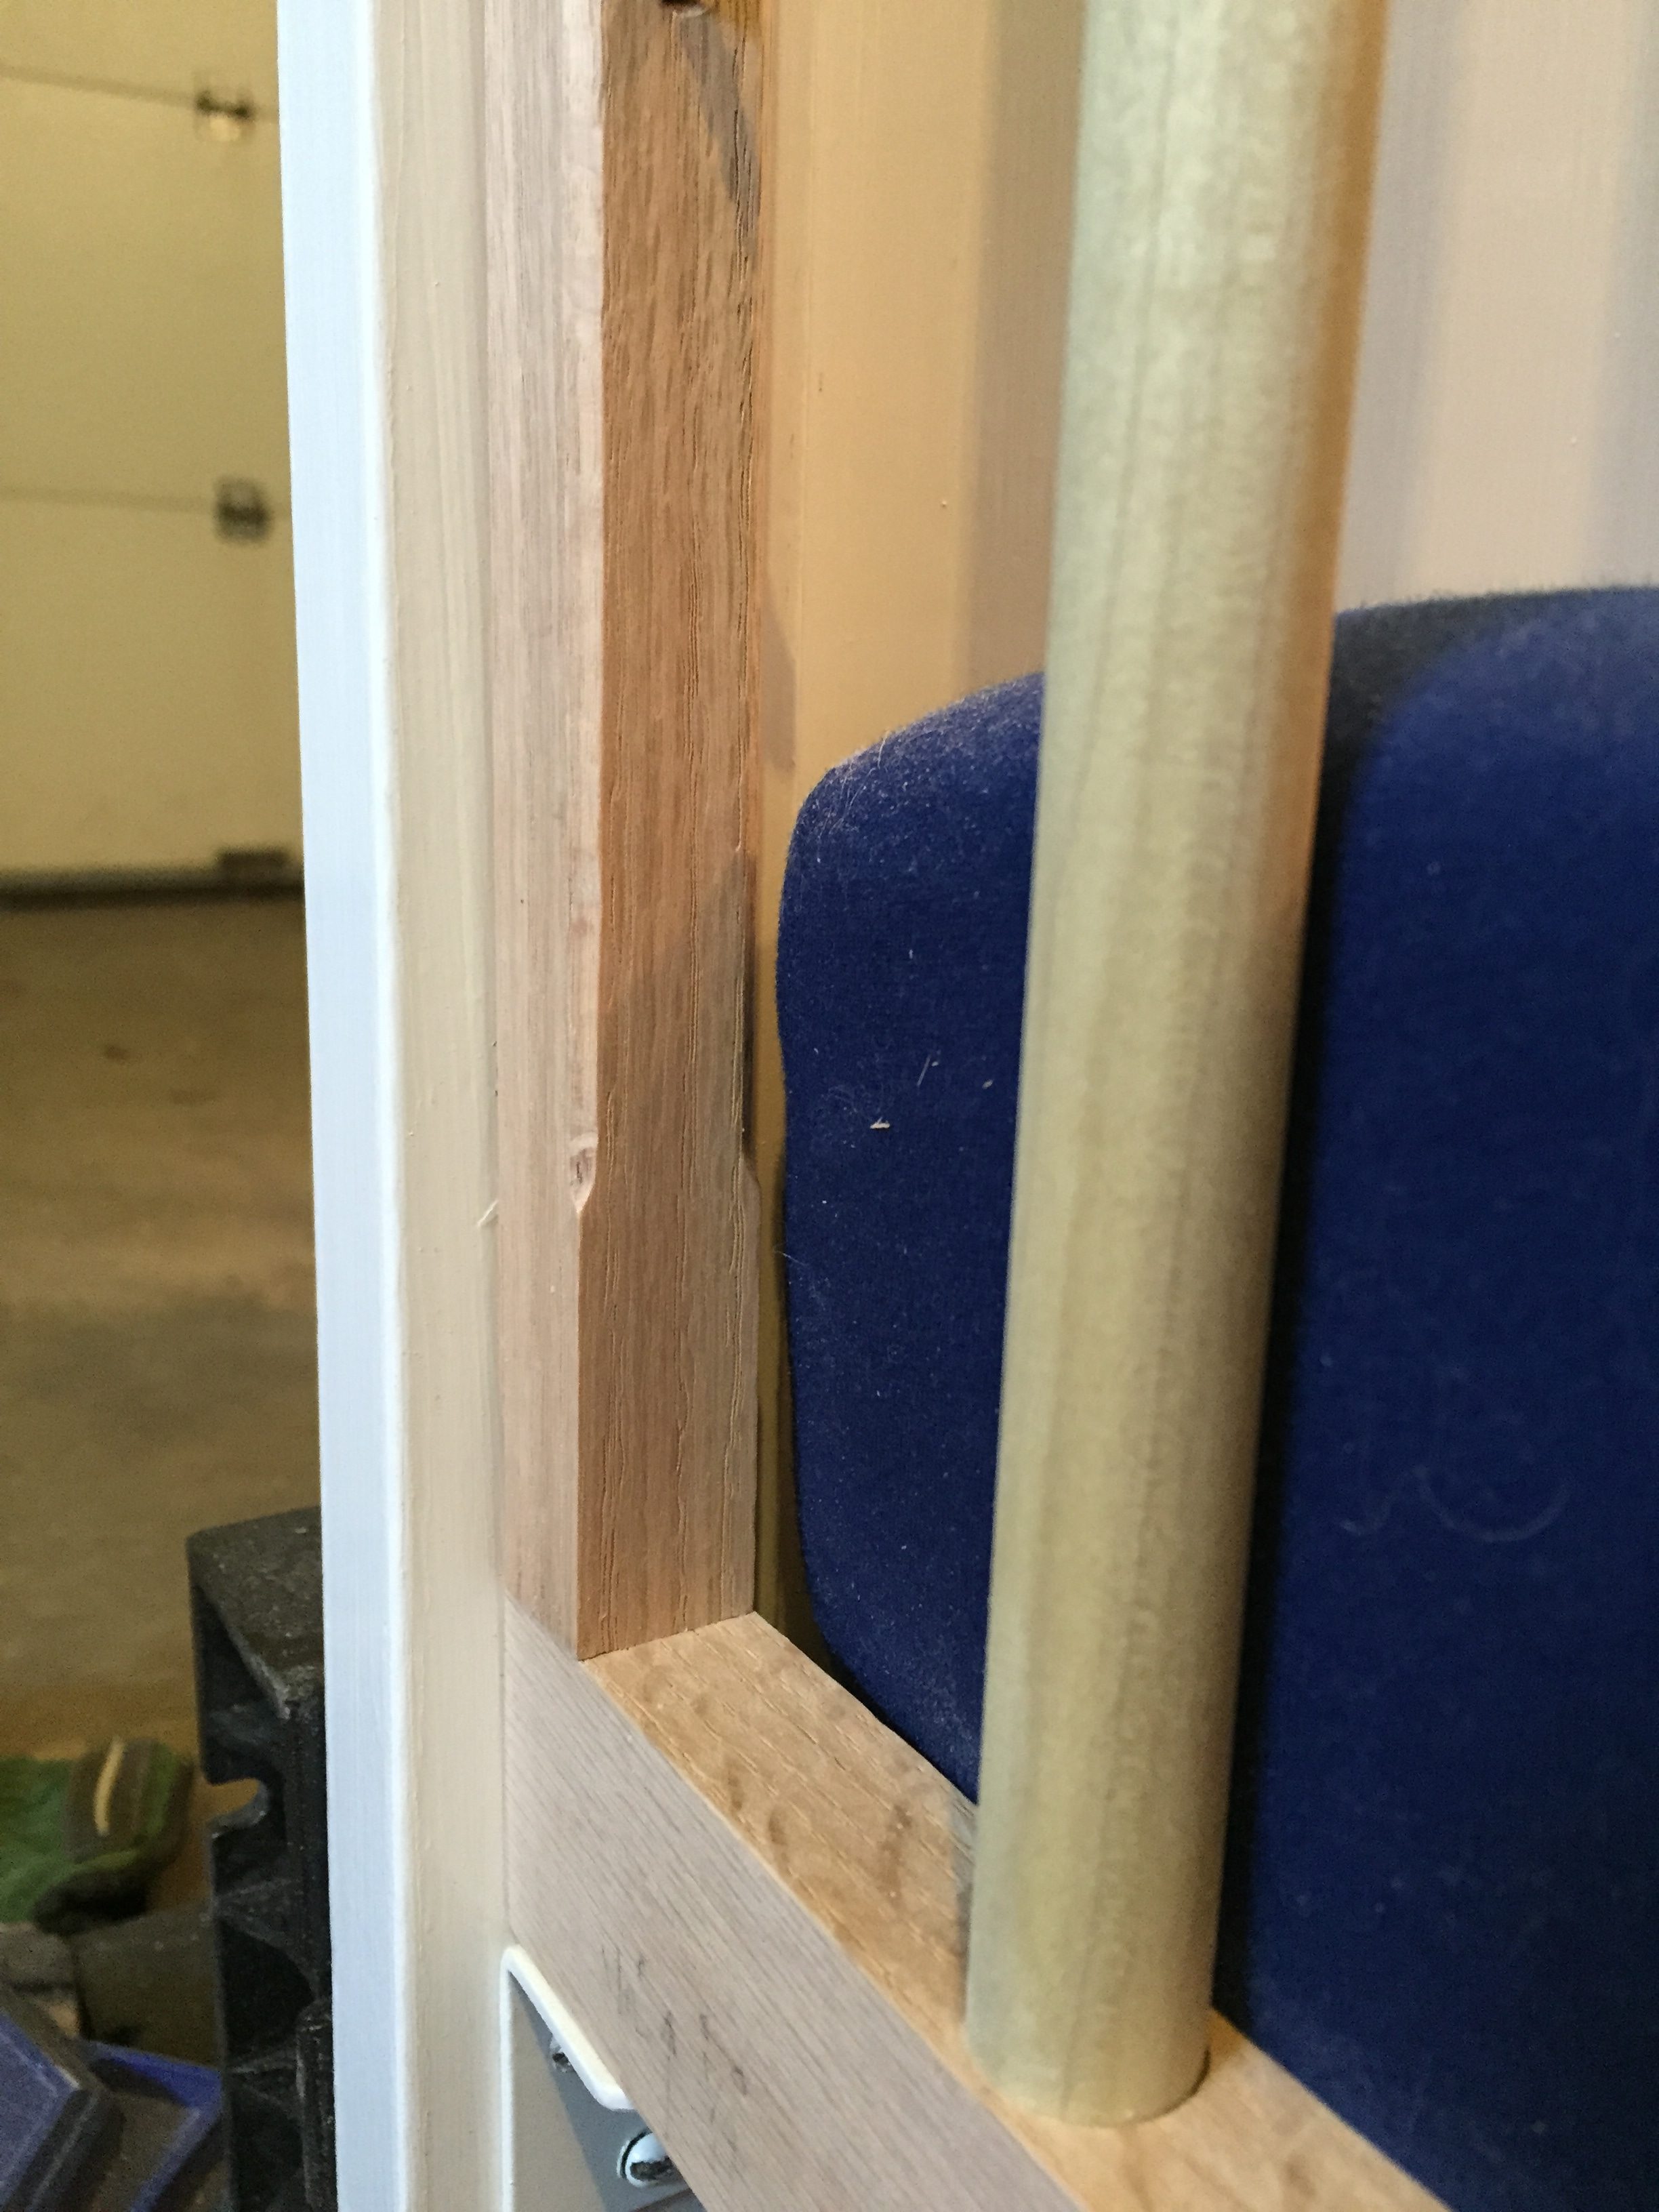
Comparison of the new wall versus old wall.
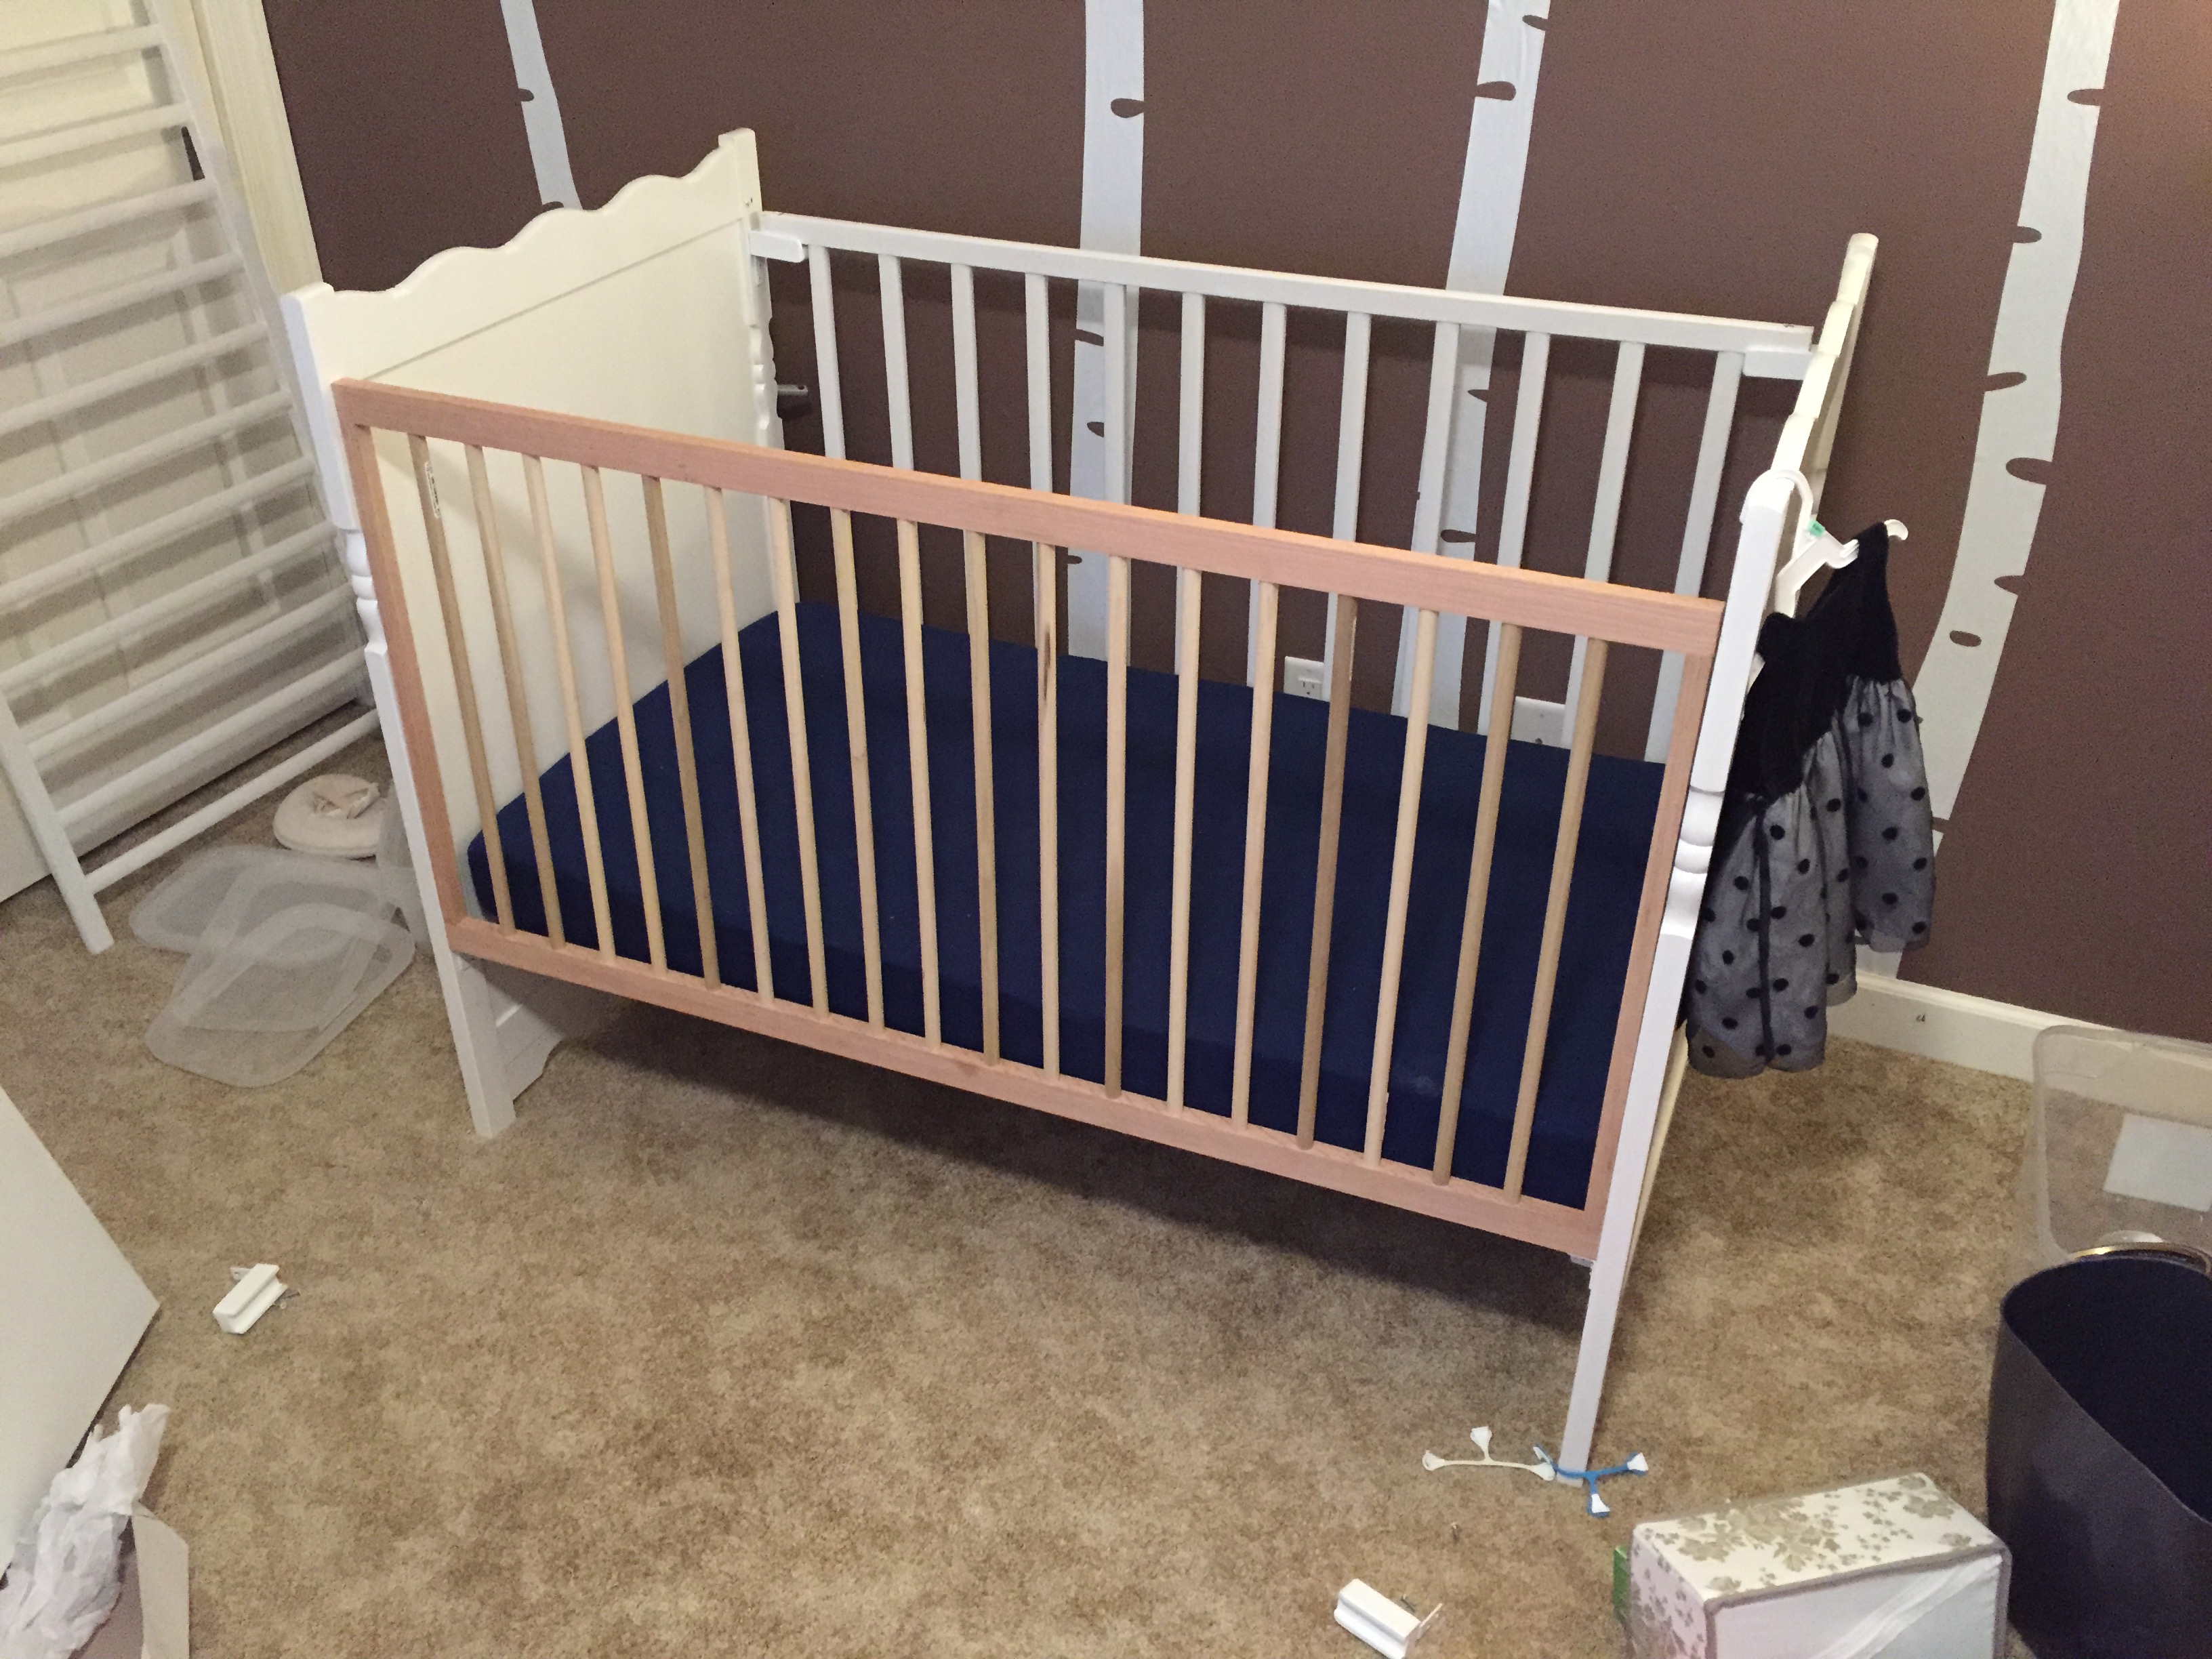
Test fit and comparison to old walls.
Second wall in progress.
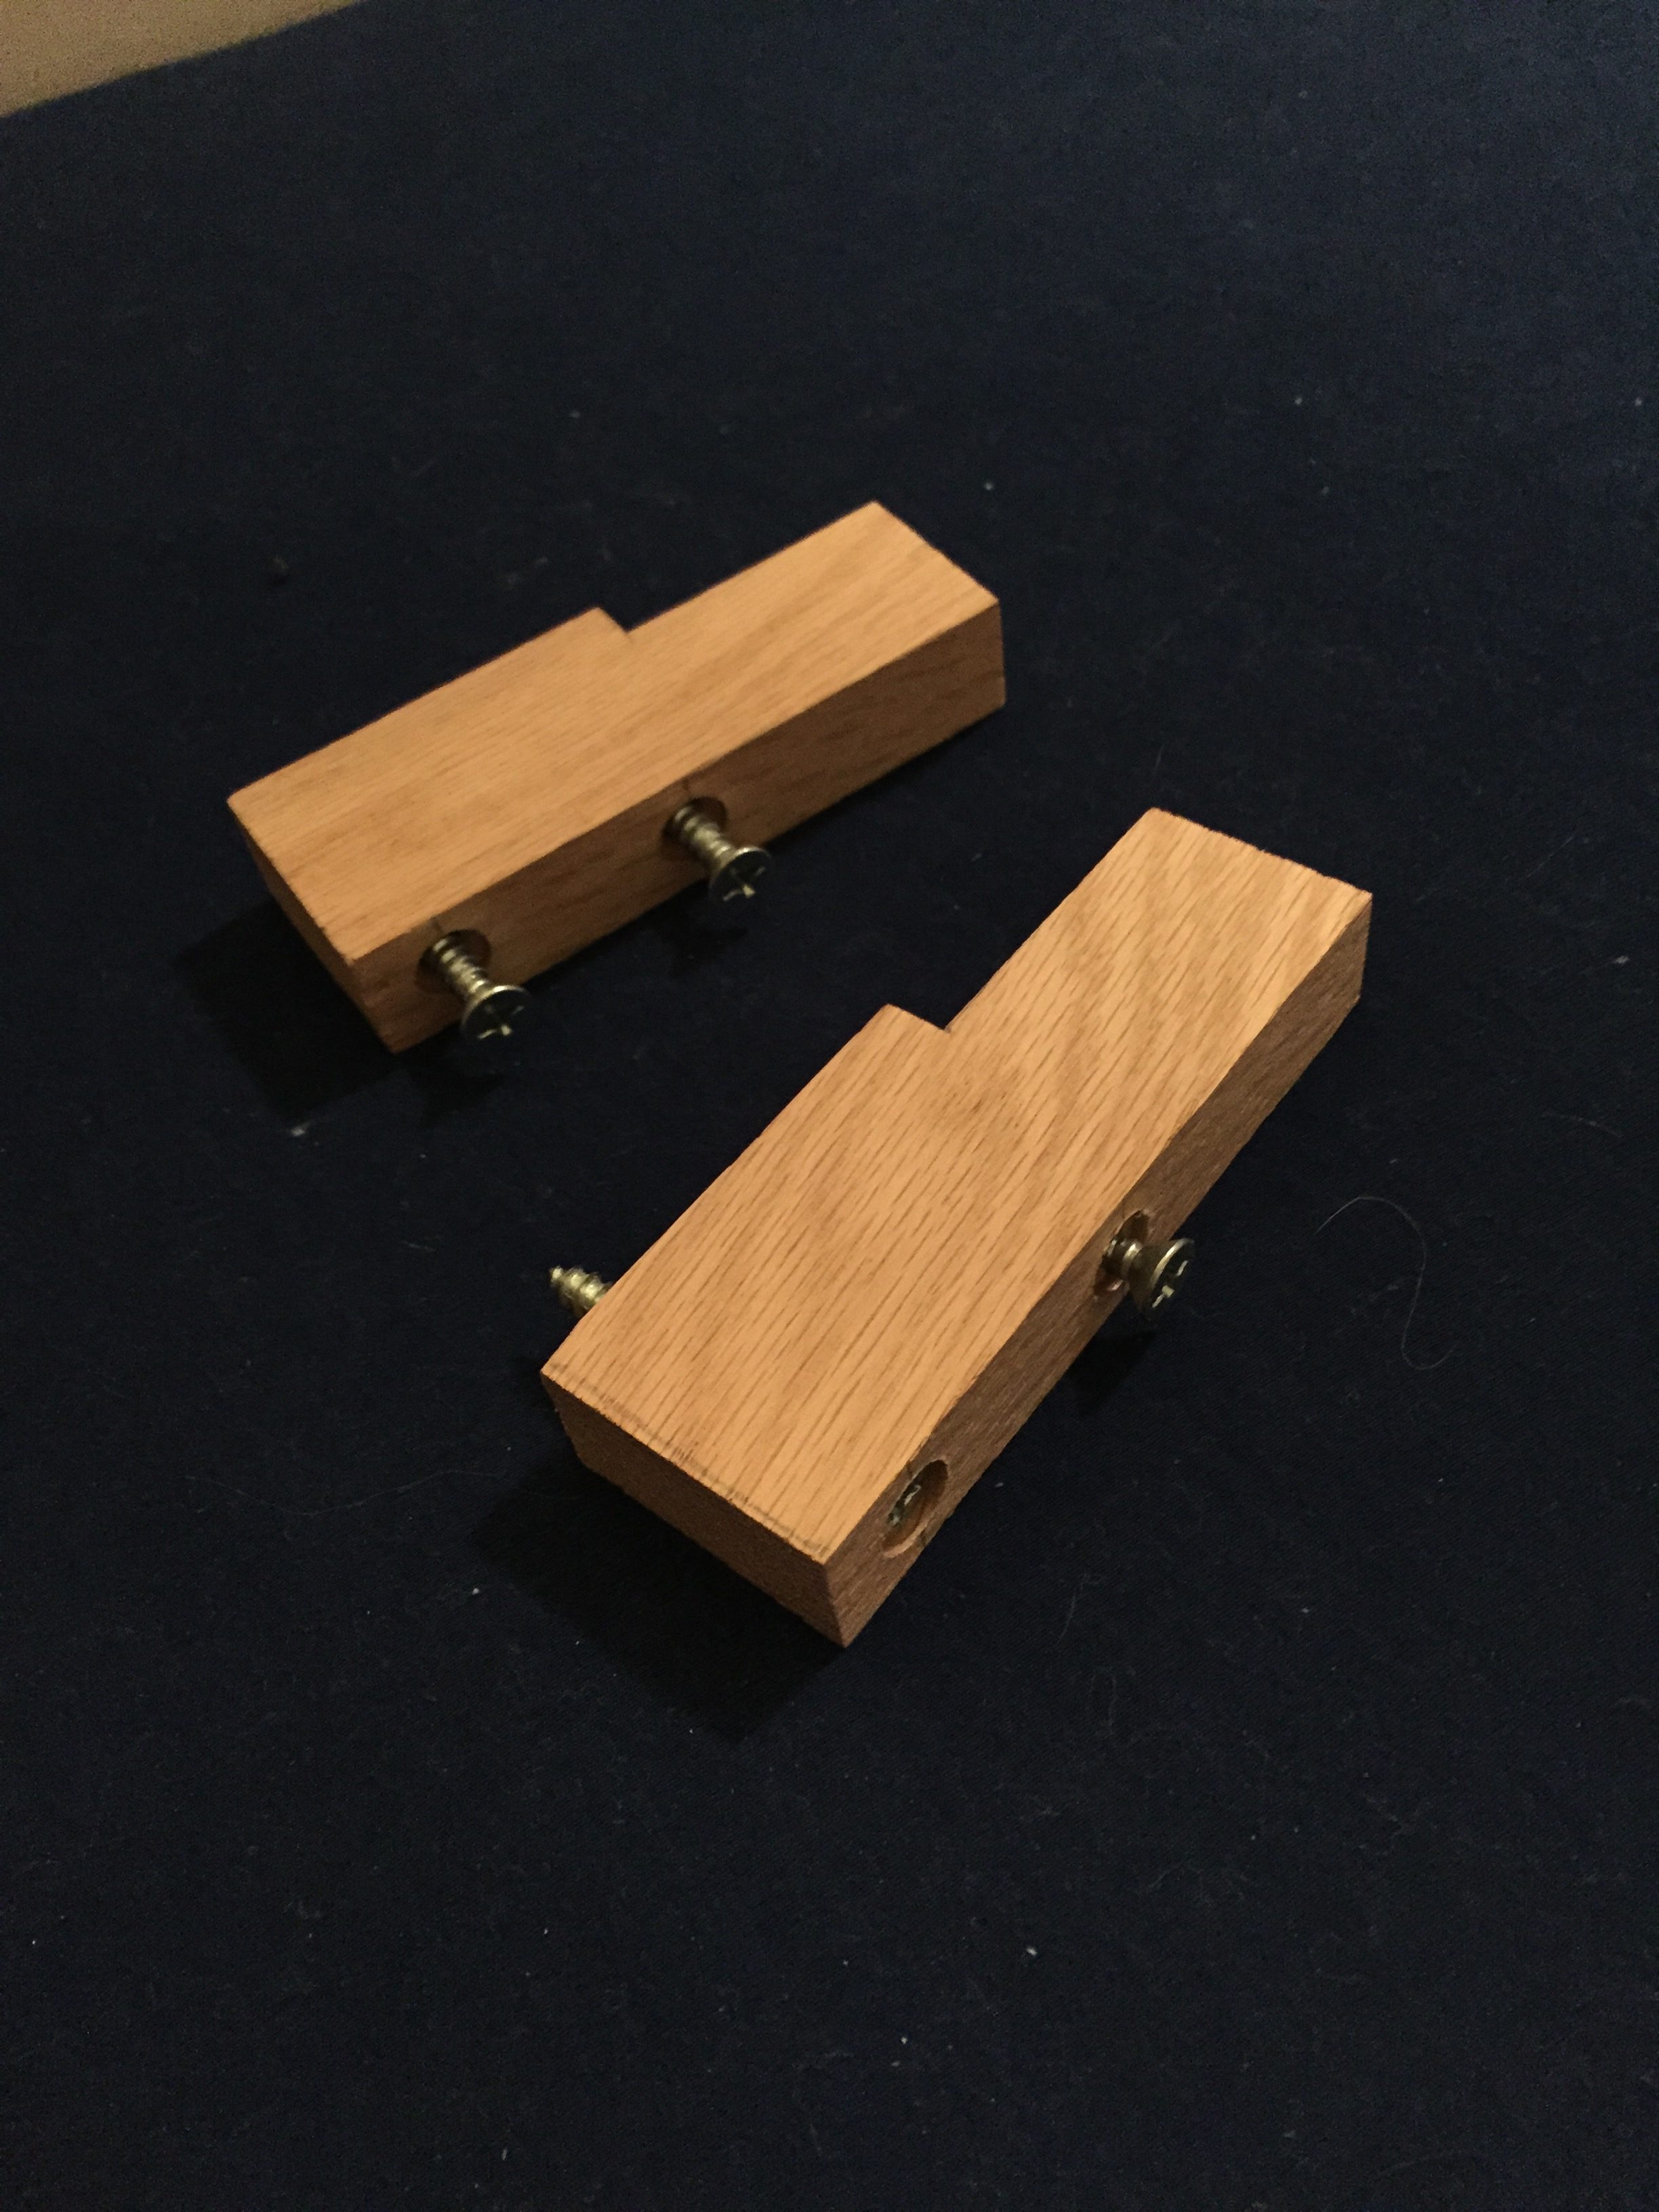
To add extra rigidity, I fashioned blocks for the drop-side wall to rest on, since there was no existing hardware there.
Dropside wall has no hardware for the wall to rest on.
With the block, showing how the wall will rest on it.
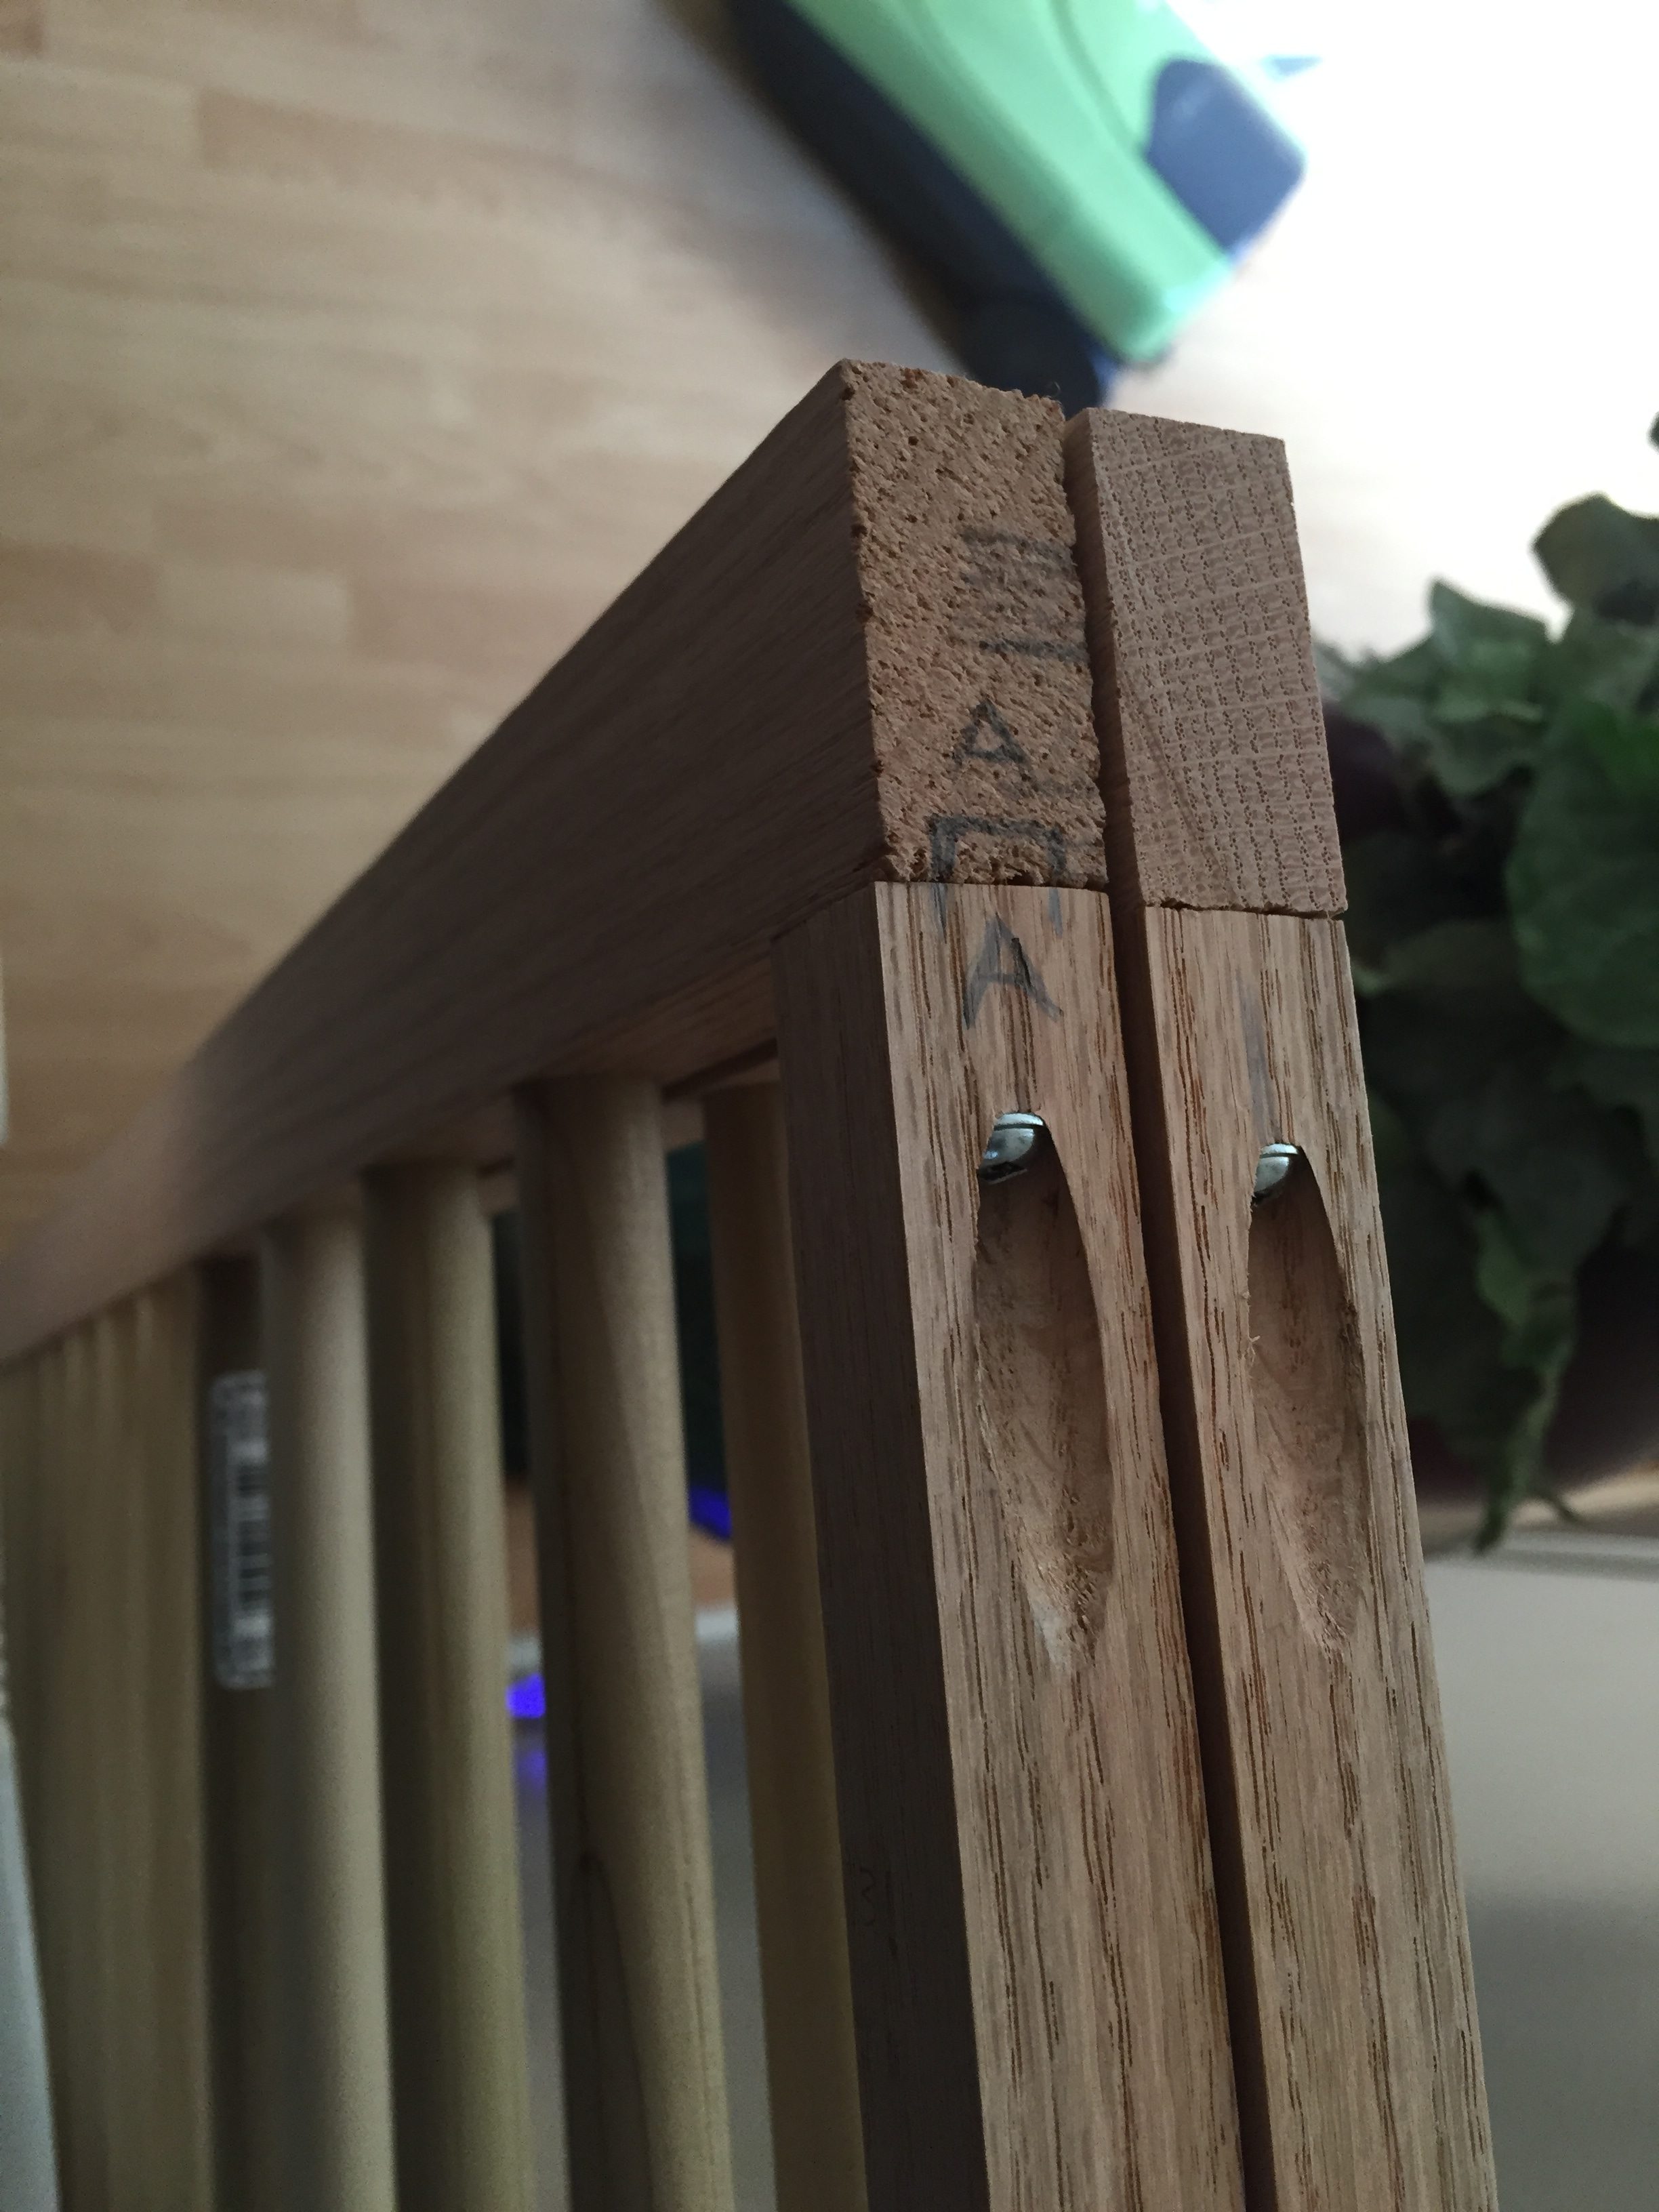
Used pocket holes to hold the walls together. I like replaceable parts.
The two ends with blocks attached.
Testing wall fit and marking holes to predrill.
Chamfered the edges for comfort.
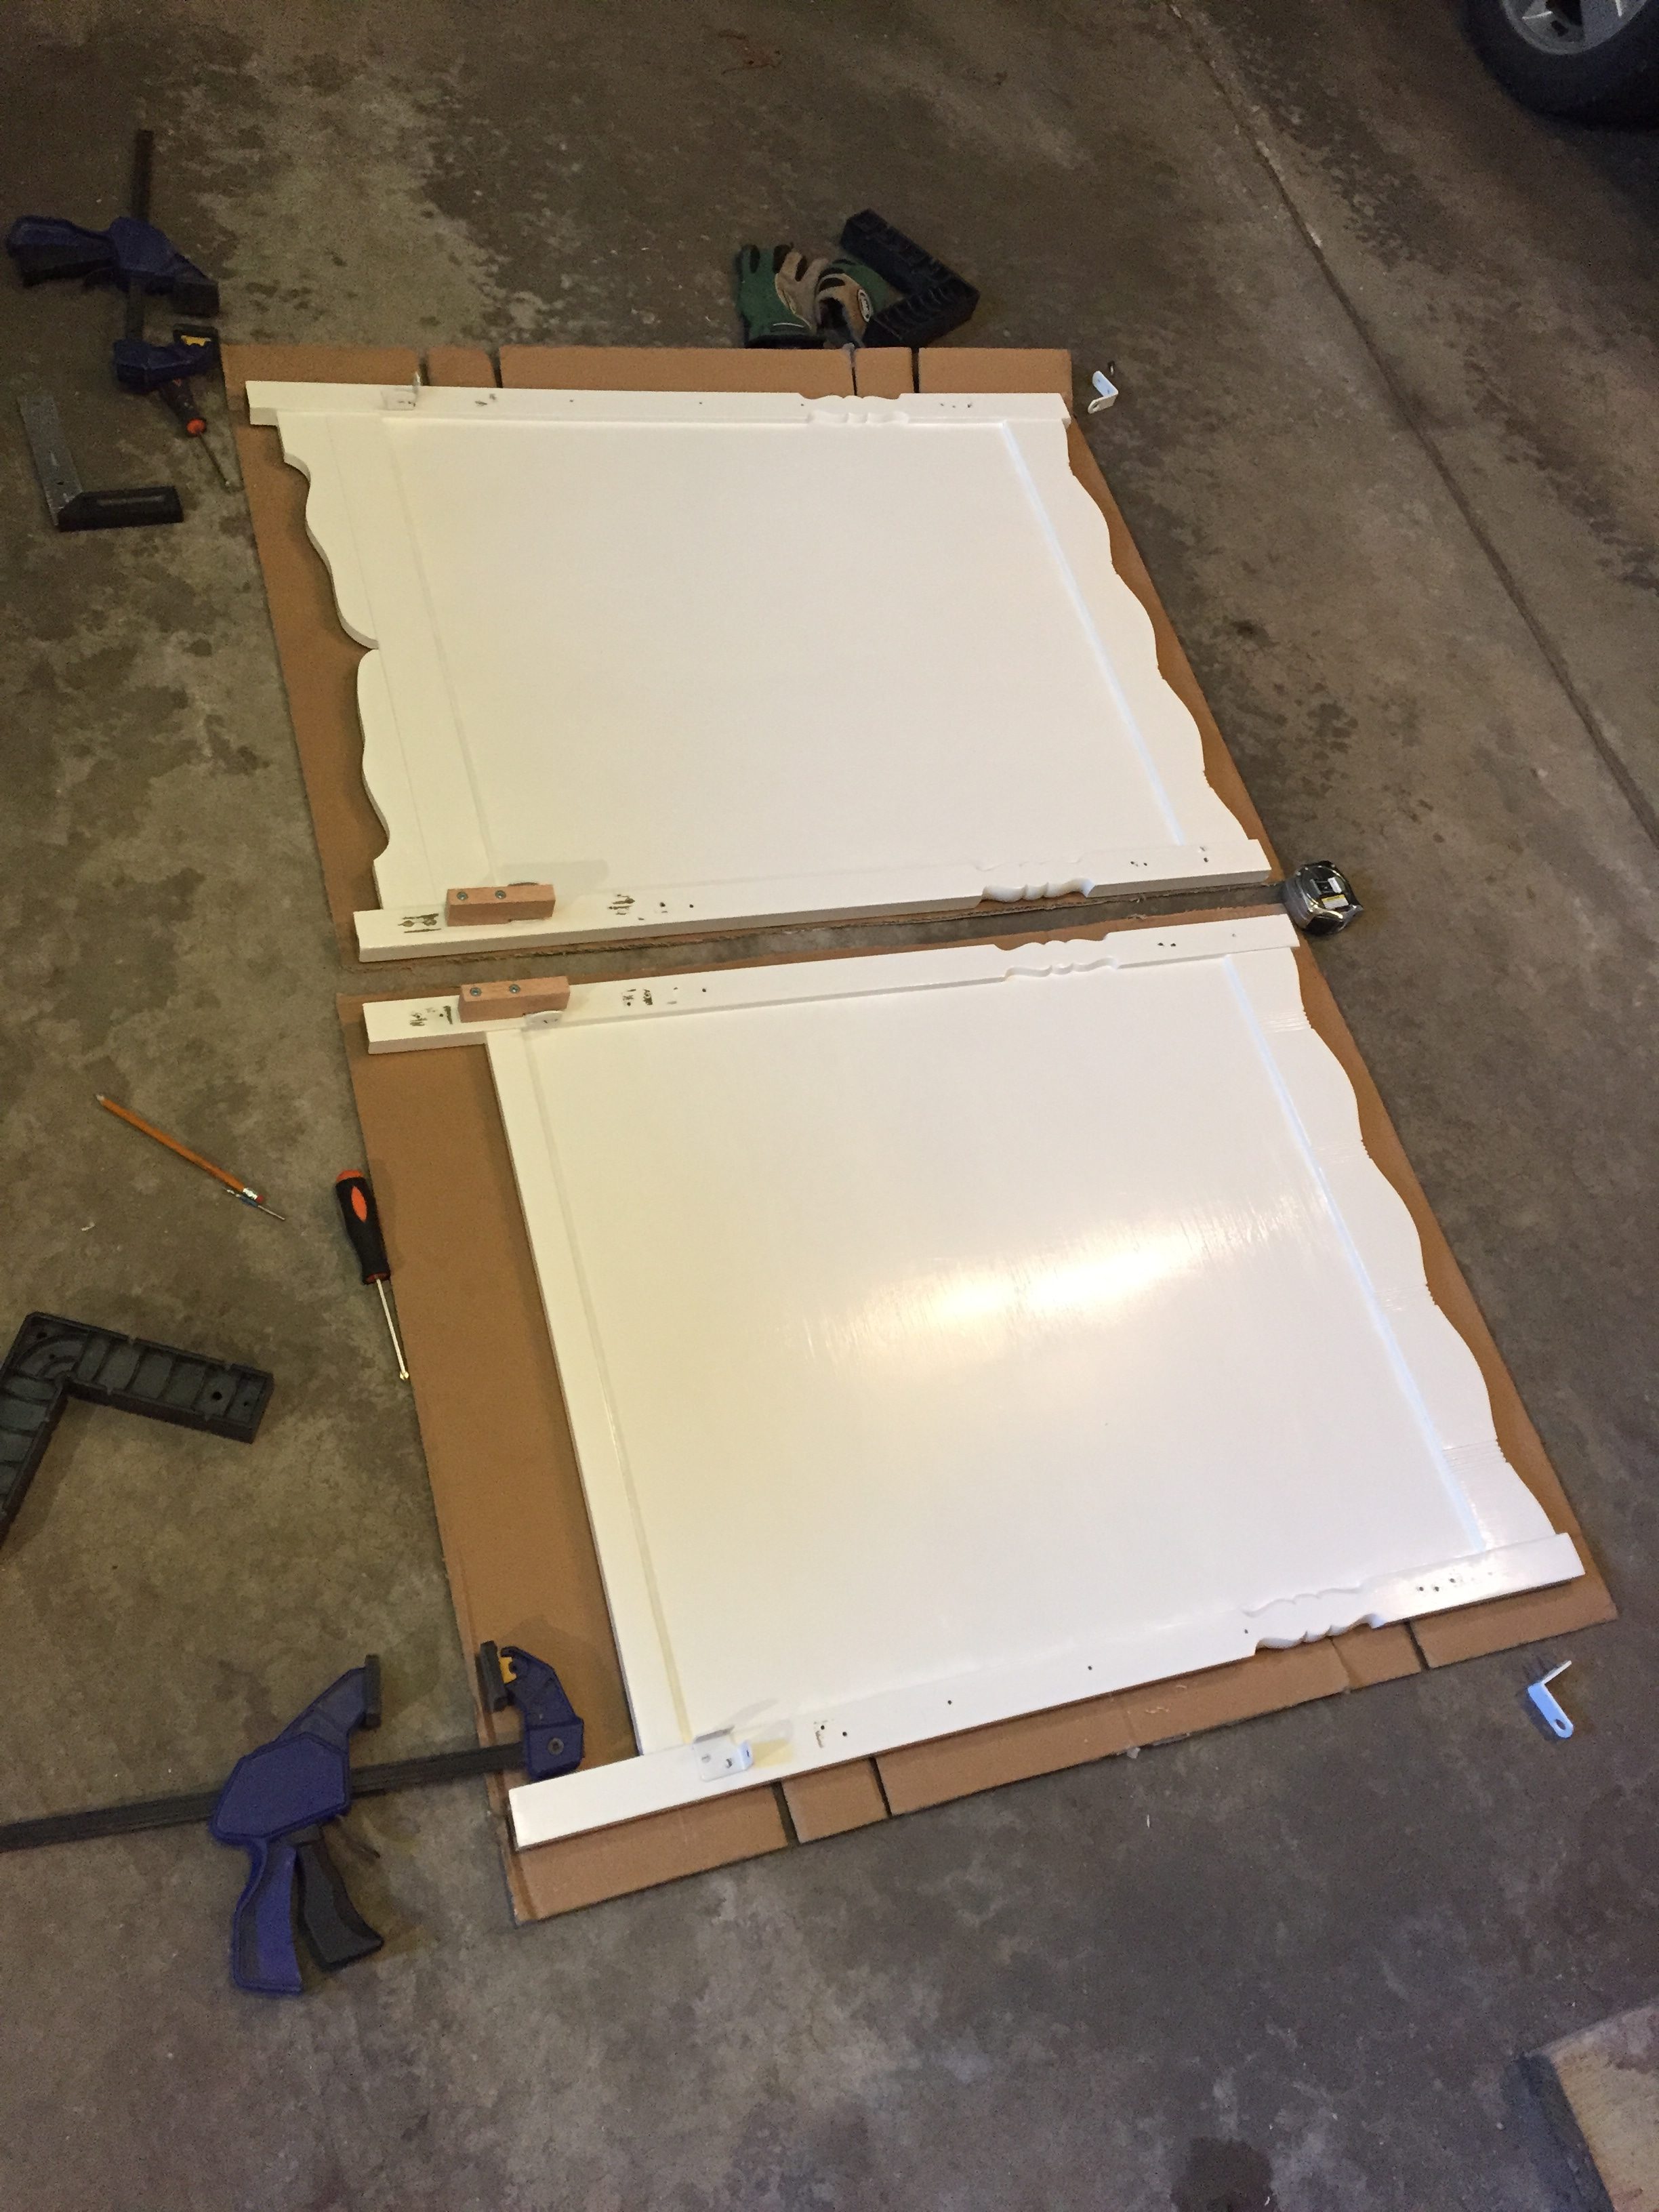
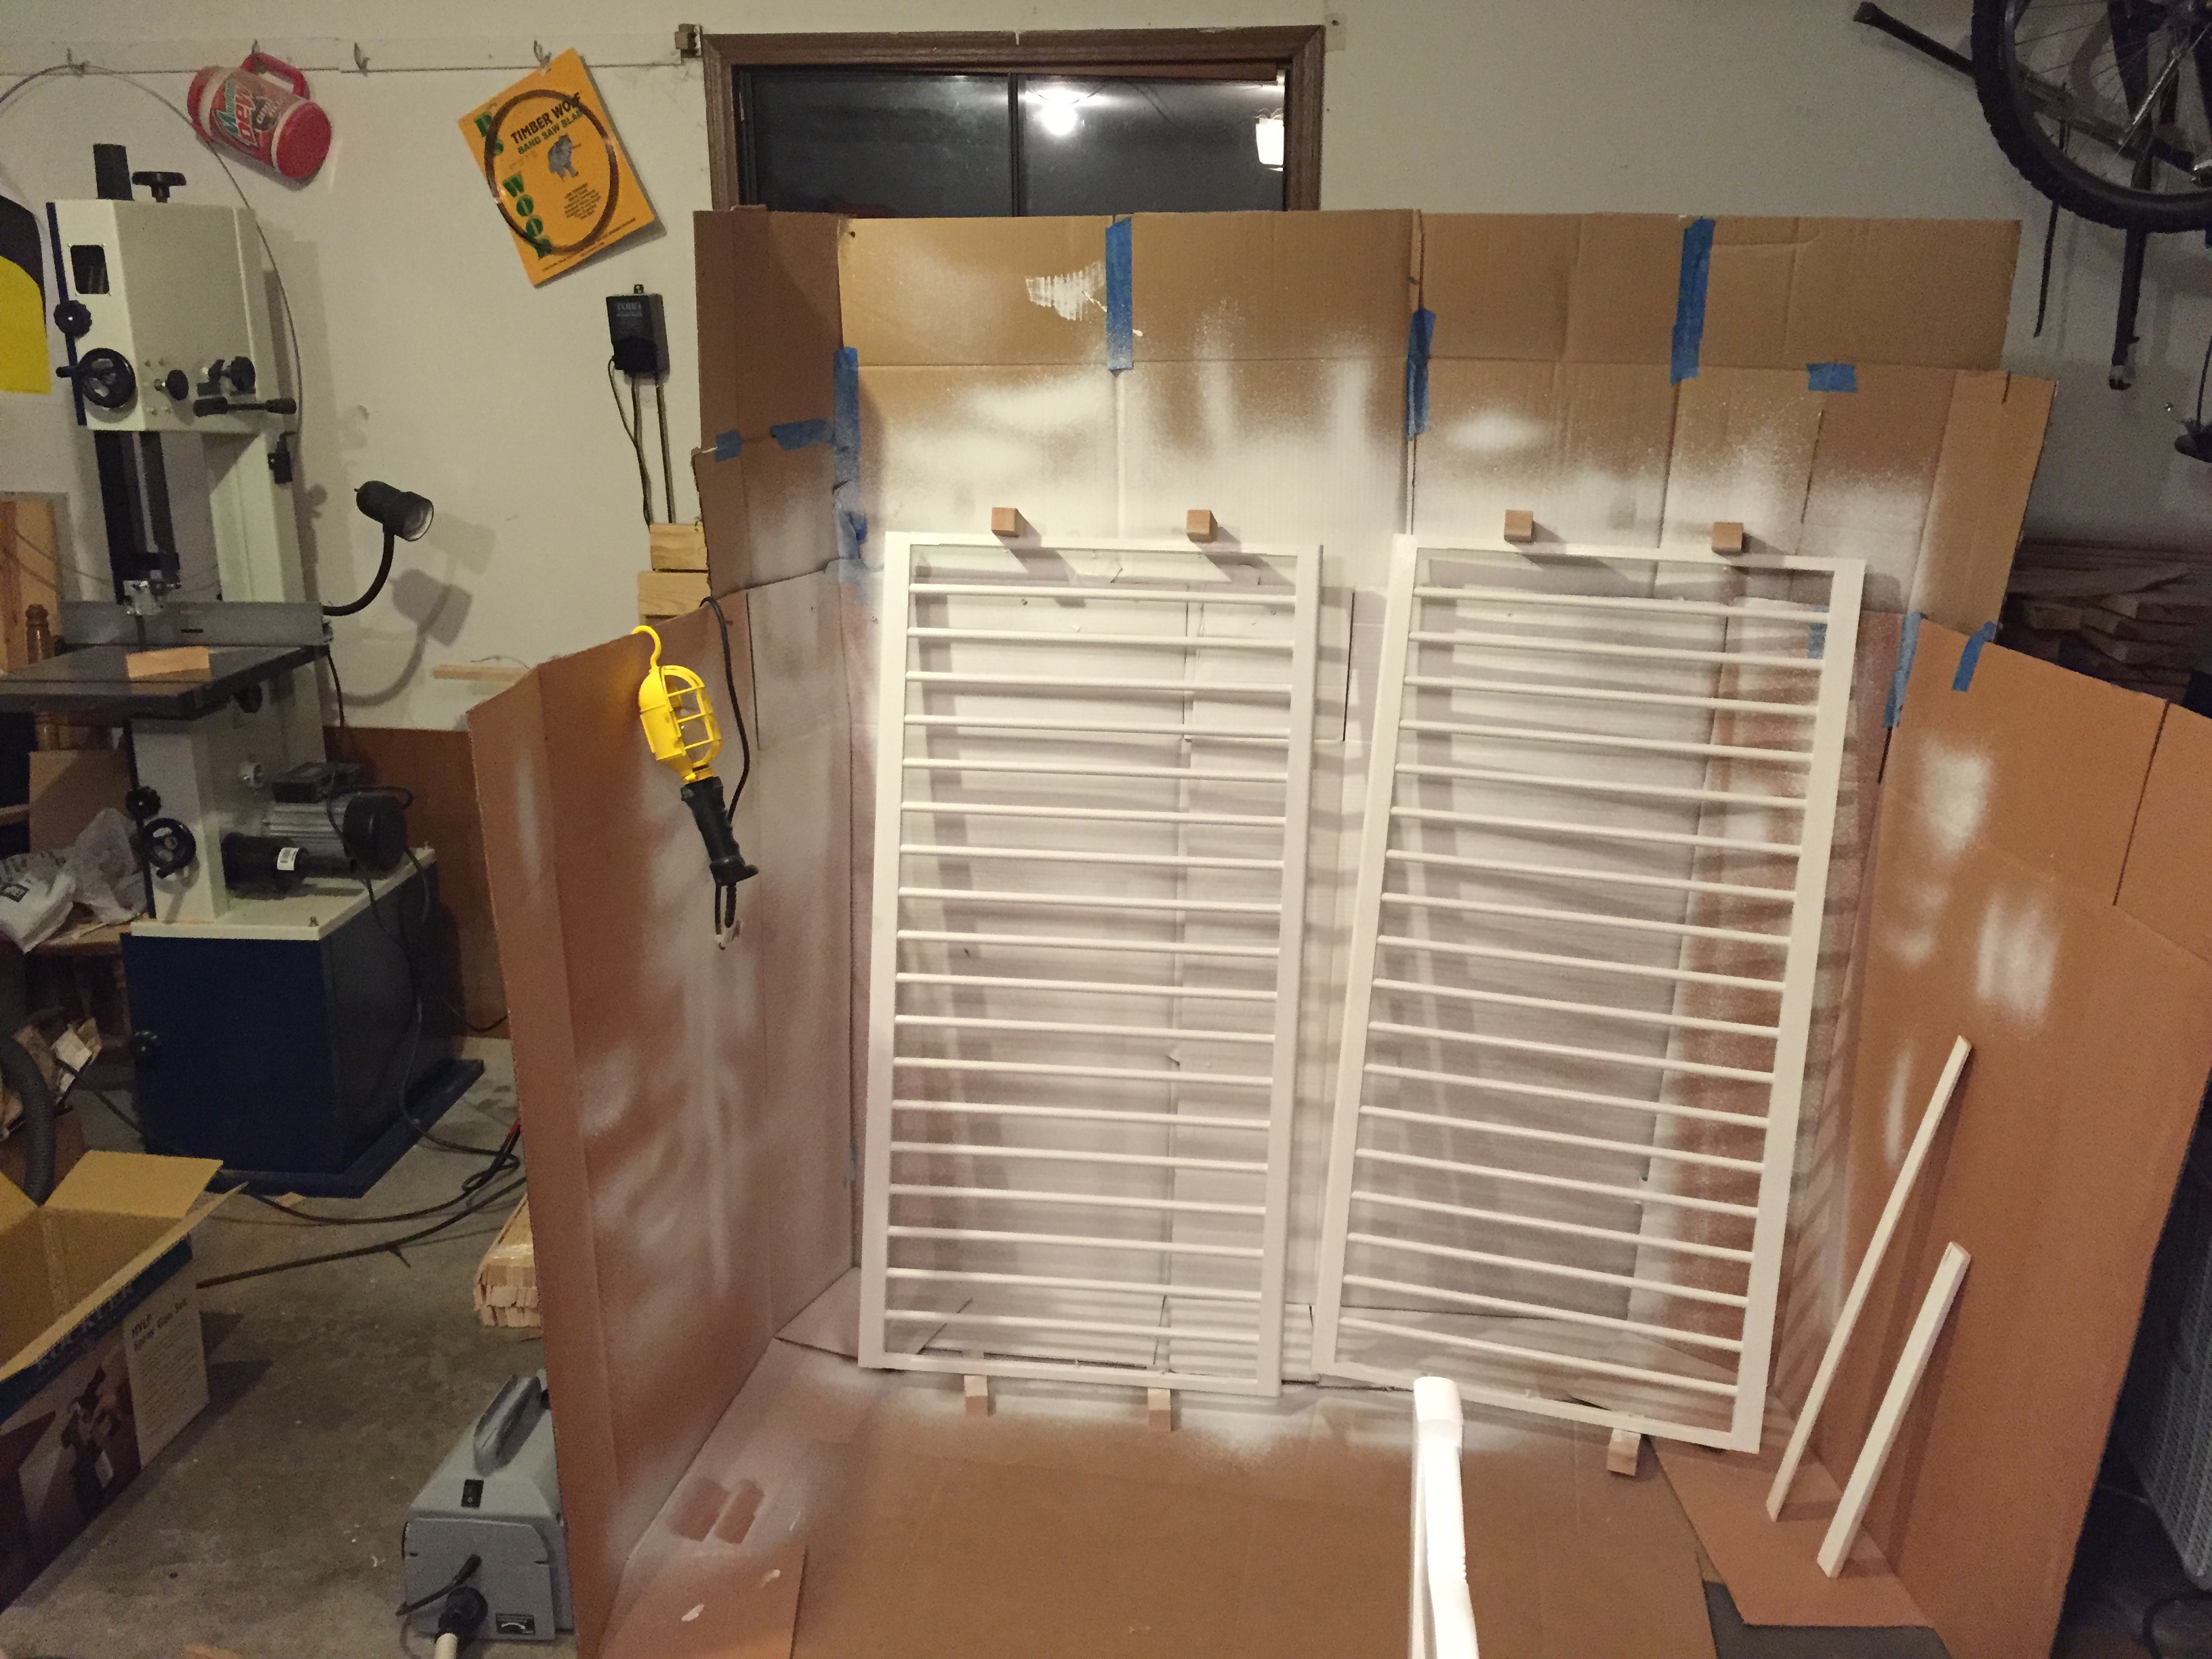
Spent literally 6 hours painting the walls by hand with a brush. Big mistake.
Bought a HVLP paint sprayer to apply the second coat. Only took 20 minutes this time. Totally worth it.